


Water pump - role
The water pump circulates the coolant in the engine and the radiator to remove the calories (heat) generated by the fuel combustion and movement of mechanical parts inside the engine. The coolant absorbs the heat as it passes through the engine block and dissipates it as it flows through the radiator.
The water pump is generally driven by a pulley linked to the crankshaft by one or more belts.
Why replace the water pump?
The water pump is not a particularly fragile component however the O-rings or the bearing can wear over time. When this happens the pump will no longer be watertight and may even seize up.
The water pump does not have a specified replacement schedule. However, always check the water pump when replacing the belts and replace it if necessary.
If the water pump leaks or seizes up, the cooling circuit will no longer function correctly and will result in overheating. This can be fatal for the engine.
In this article, we show you step-by-step how to change the water pump in your 4x4.
We are using a Toyota HJ 61 for this article.
This tutorial is valid for many 4x4 models.
TOOLS
To replace the water pump on your 4x4 you just require the following:
- 12mm Flat and/or pipe spanner
- Emery cloth
- Liquid gasket
- Coolant
- Thread lock
DIFFICULTY
To give you an idea of the difficulty level of our tutorials, we note them from 1 to 5.
A DIY water pump replacement on a 4x4 is a level 2 job.
WORKSHOP
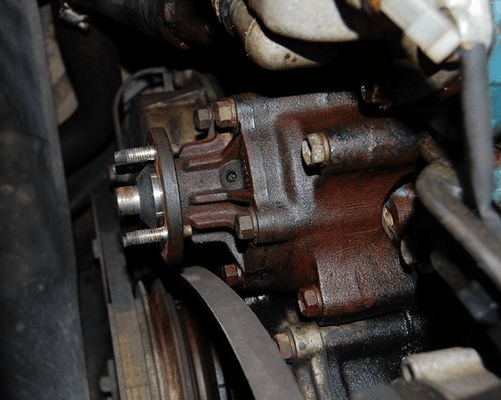
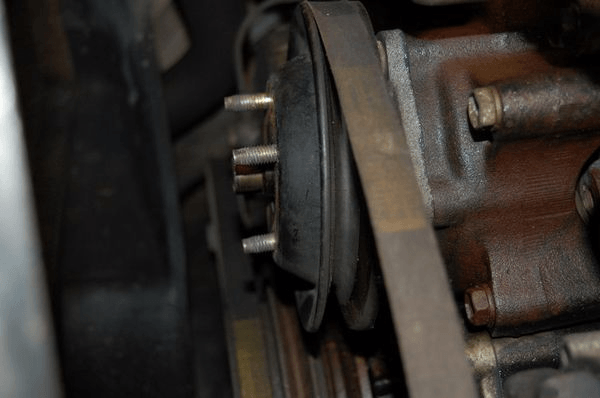
1 - One of the common signs of a faulty water pump is when water starts to drip out of the lower part of the housing.
To remove the pump, you must first loosen the alternator to slacken off the belt, remove the 4 nuts that hold the viscous clutch then remove the clutch, remove the pulley, drain the the coolant. The pump can then be removed.
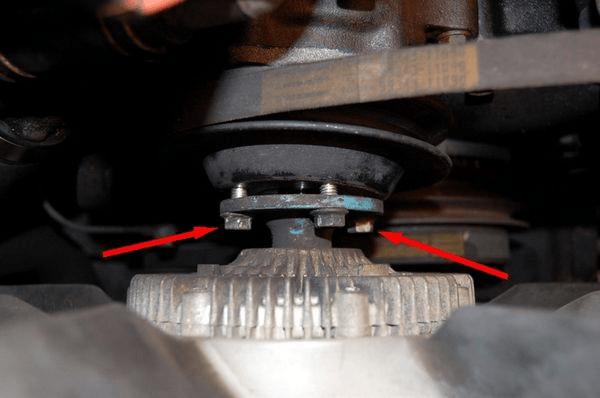
2 - No need to remove all the hoses, just undo the 5 nuts that hold the water pump in place.
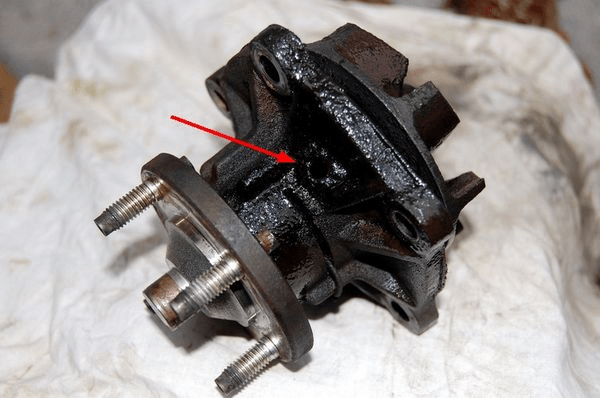
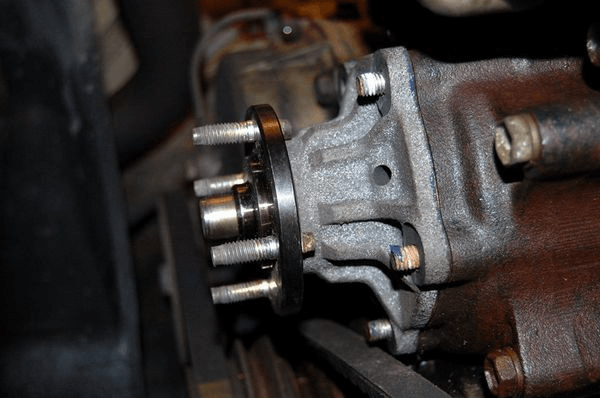
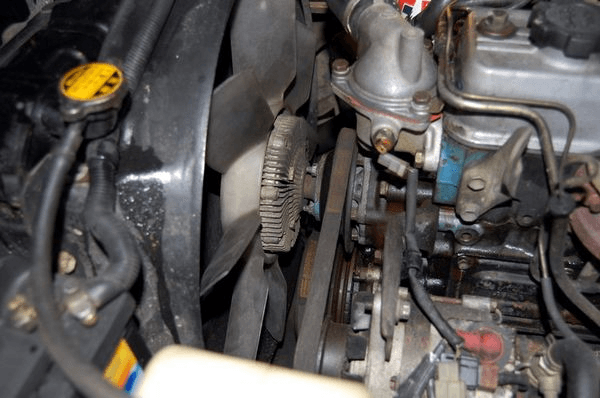
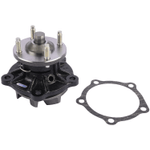
3 - You can see traces of collant on the hole at the base of our pump.
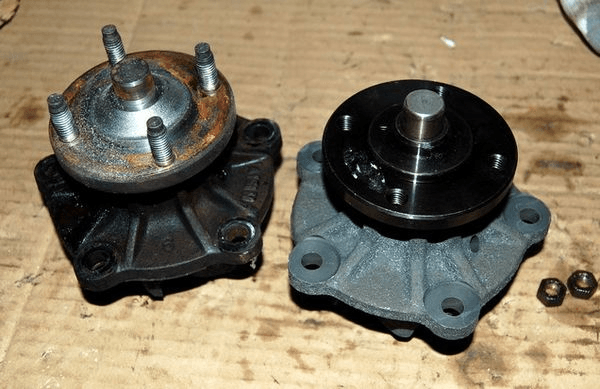
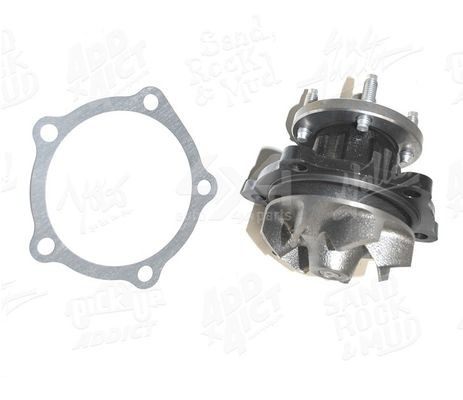
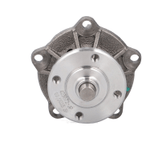
4 - Old and new pumps side by side. The new water pump is an aftermarket unit from our catalogue.
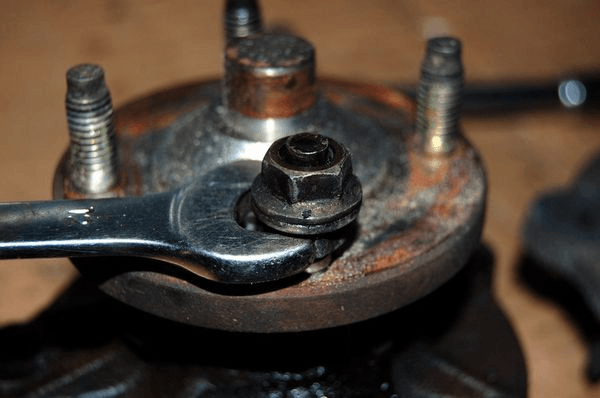
5 - The aftermarket pump is supplied without the studs so we take them off the old pump.
Just use the double nut technique by putting two nuts on the stud and then undo the lower one to remove the stud.
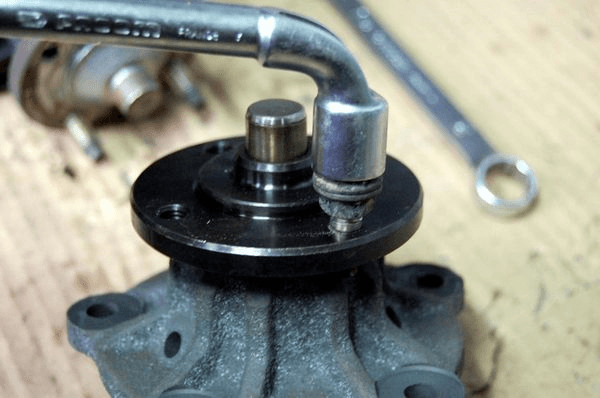
6 - The studs are then screwed into position on the new water pump.
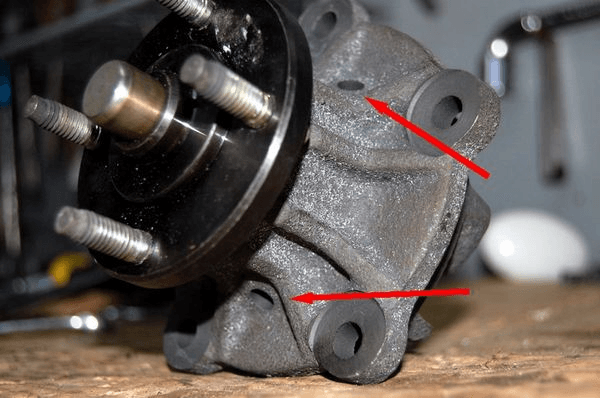
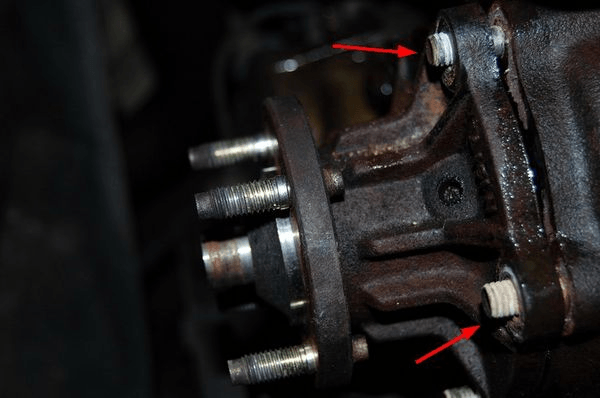
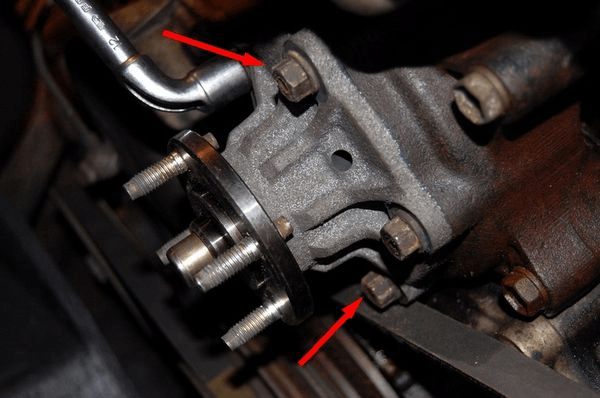
7 - You can that there are 2 holes on the new pump just the same as on the old water pump.
Be sure to note their position when fitting the new water pump:
one hole towards the bottom, the other on the alternator side.
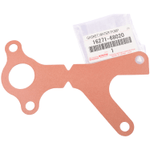
8 - Put the pump into position along with the paper gasket included with the kit.
Tip: Use some liquid gasket to help hold the gasket as you position the pump.
9 - Thread the 5 nuts back onto the studs but don't force them.
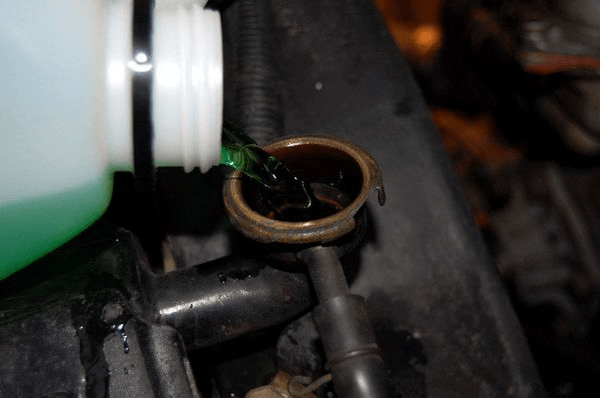
10 - Now the new water pump is in place you can fill the cooling circuit with suitable coolant.
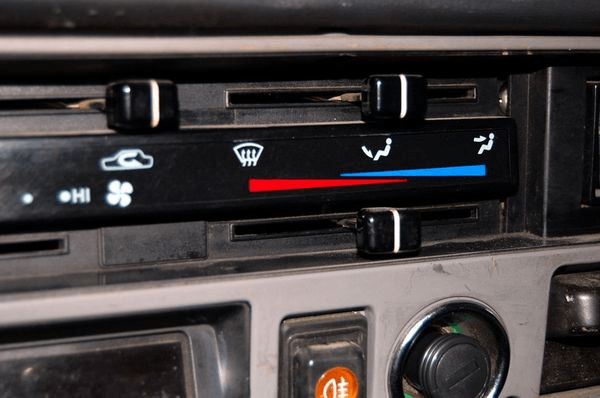
11 - Don't forget to slide the heater controls to hot so as to bleed the cooling circuit.
12 - Now put the pulley back into position along with the belt. Don't hesitate to change the belt if necessary.
13 - Add a dab of thread lok onto the studs then attach the viscous clutch back onto the pulley with the 4 nuts. Tension up the belt and tighten up the alternator.
14 - Now it's time to test your work. Start up the engine and let it idle along with the cabin heat on full blast.
Don't put the radiator cap back on yet. This allows any air in the circuit to bleed out.
Keep an eye on the coolant level and top up if necessary.
PARTS
Water pump & gasket for Toyota HJ61 :
Choose the correct water pump for your 4x4:
Credits: article by Association Sportive Mantaise - blog.asm4x4.com
Please note: Euro4x4Parts publishes this information to help its customers but cannot be held responsible for the advice given here and practical consequences therin.
Do it yourself, you'll be even prouder! To help you out, Euro4x4parts shares its know-how and expertise in mechanics through 4X4XPERT: new products, technical sheets, and personalized tutorials... You've got the keys!
And because we also learn from your experiences, your feedback is essential. Let us know your thoughts and suggestions by email: 4x4xpert@euro4x4parts.com
Check out our complete catalogue of 4x4 parts and accessories!
All the photos in our articles are taken on authorized roads or tracks, private land, or during supervised competitions. Let's all do our part to preserve the environment!
Please note: Euro4x4parts publishes this information to help its customers, but cannot be held responsible for the advice given here and their consequences when used.