


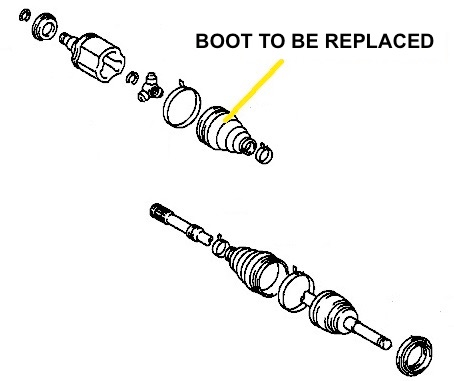
CV joint boot - what is it?
CV joints (or Constant-velocity joints to give them their full name) allow rotational power to be transmitted to the front wheels (in our example) via two drive shafts which linked together form a variable angle. The angle varies according to the the movement of the shock absorbers and steering.
The role of the CV joint is to allow the angle to vary between the two shafts.
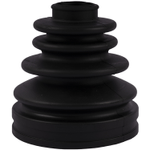
A rubber boot (or bellows) protects the joint from dust and allows the moving parts to be lubricated by holding grease.
Why replace a CV joint boot?
When a rubber boots splits, the grease held inside will leak out. After several kilometers, the CV joint itself will inevitably run dry. Failure to replace the boot runs the risk of breaking the CV joint itself. The cost of replacing a complete CV axle assembly is significantly more than just replacing a boot!
In this article, we show you step-by-step how easy it is to replace a CV joint boot on your 4x4.
For the purposes of this tutorial we chose to work on a Toyota KZJ 90.
This tutorial is valid for almost all 4x4 models fitted with CV joints.
TOOLS
To change the drive shaft boots on your 4x4, you will need:
. Jack + axle stands
. Wheel brace
. Flat spanners and / or ratchet + sockets
. Flat pliers
. Adjustable pliers
. Circlip pliers
. Hammer
. Mallet
. Flat screwdriver
. Ball joint extractor
. Vice
. Grease
DIFFICULTY
To give you an idea of the difficulty level of our tutorials, we note them from 1 to 5.
Replacing the boots on your CV joints is a level 3 job.
WORKSHOP
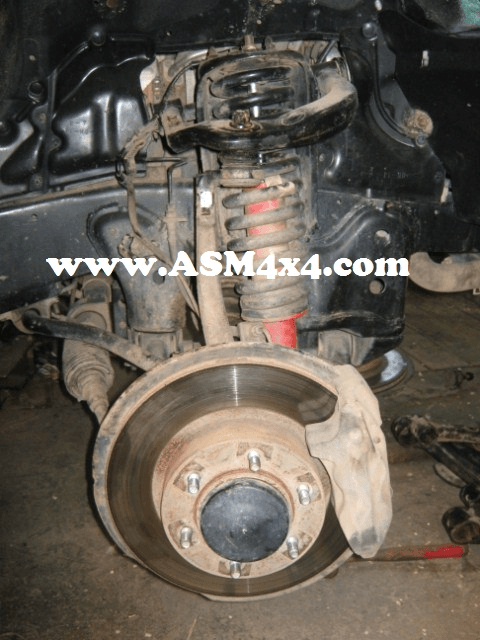
1 - Step one is to jack up your 4x4 and place it firmly on axle stands so you can remove the wheel on the side you want to work on.
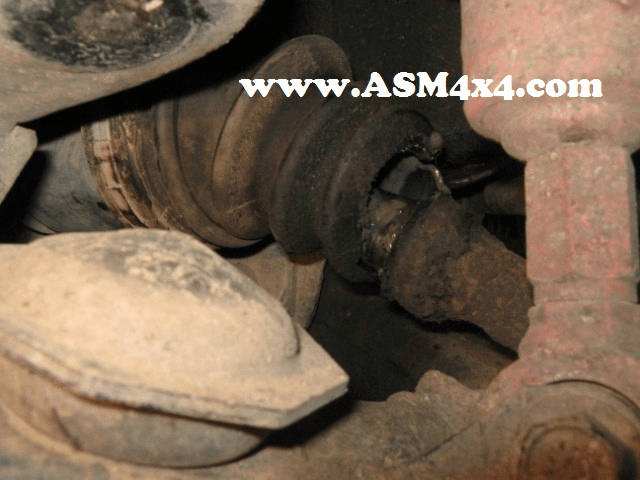

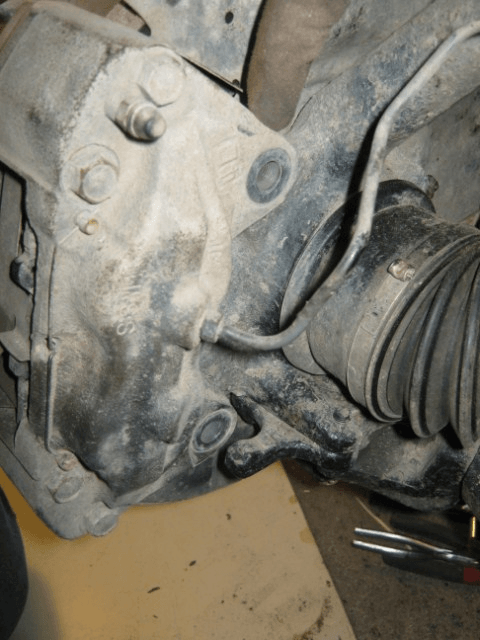
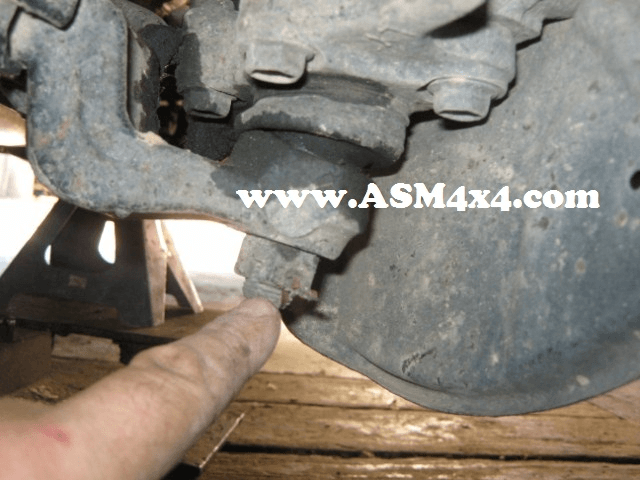
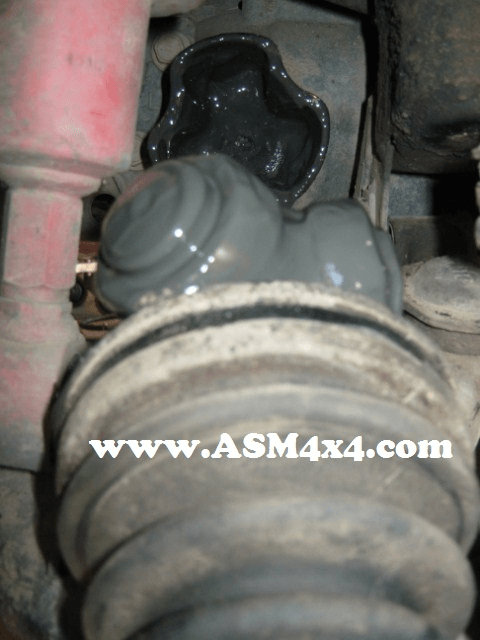
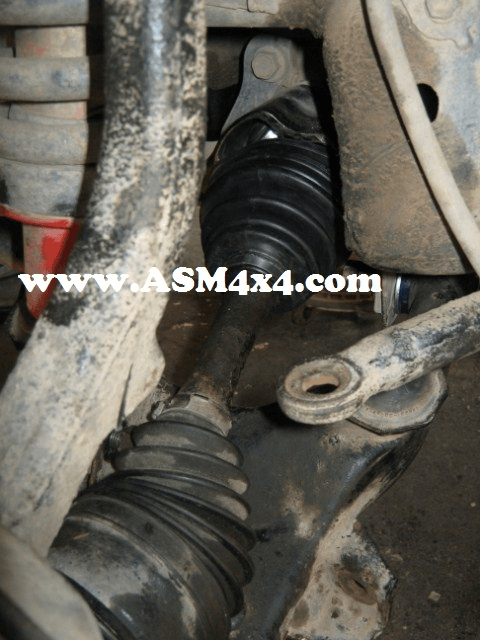
2 - There's no doubt about it - the rubber boot is well and truly split. However, there is still some grease in there and there is no detectable play in the drive shaft. Now's the time to change that boot before the CV joint is damaged.
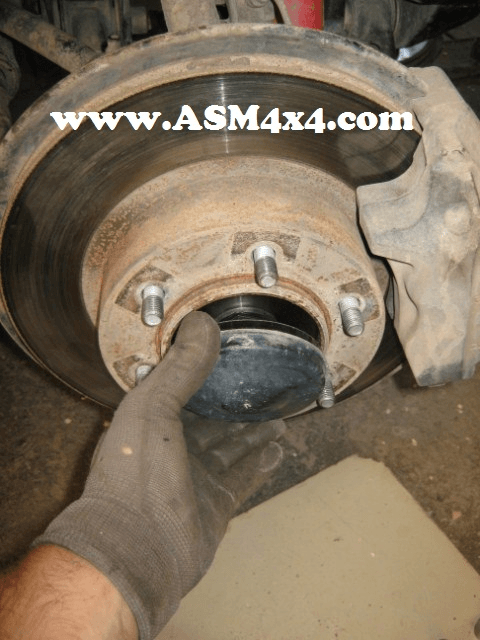
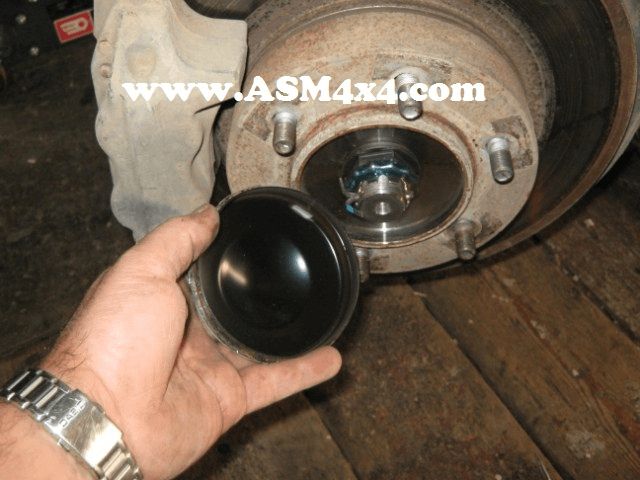
3 - Remove the dust cap using a screwdriver and the hammer - remember, don't tap too heavily otherwise you pay damage the part.
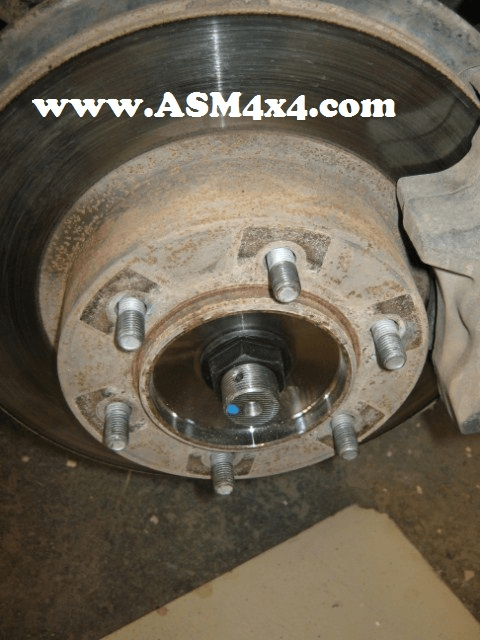
4 - Having removed the split cotter pin, loosen the nut. Use a big screwdriver to prevent the brake disk from rotating whilst you do this.
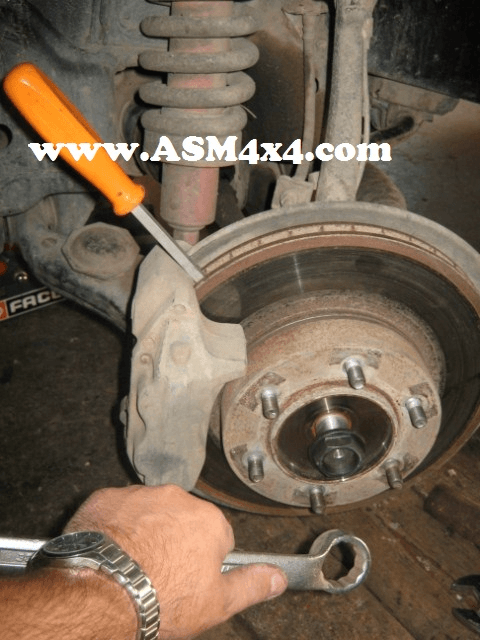
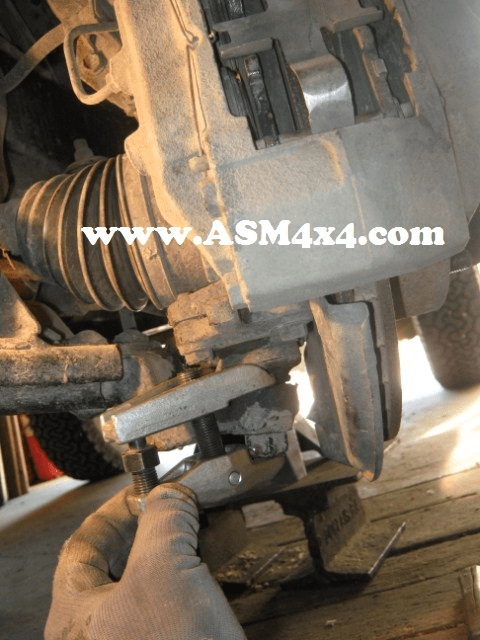
5 - Undo the 2 bolts that hold the caliper.
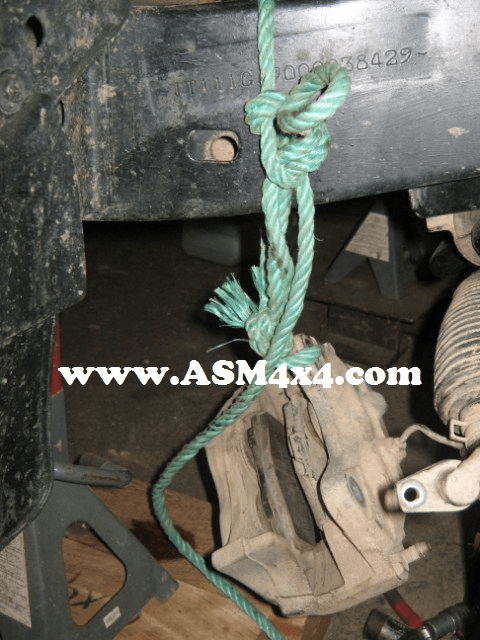
6 - Hang the caliper from a rope attached to the chassis rail.

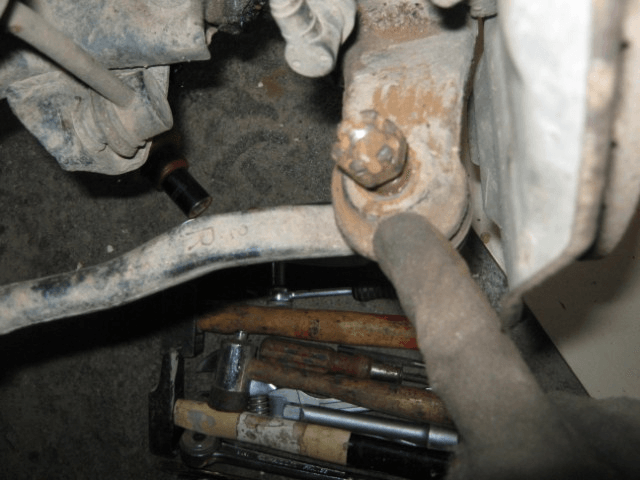
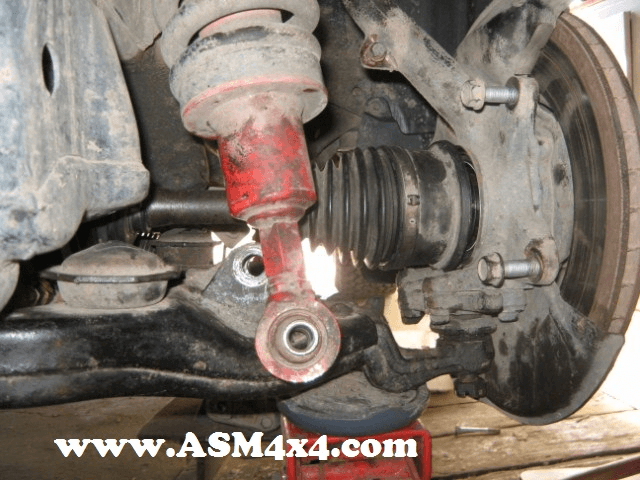
7 - Undo the bolt at the lower end of the shock absorber and the sway bar drop link that is attached to the lower wishbone.
8 - Disconnect the ball joint from the steering rod.
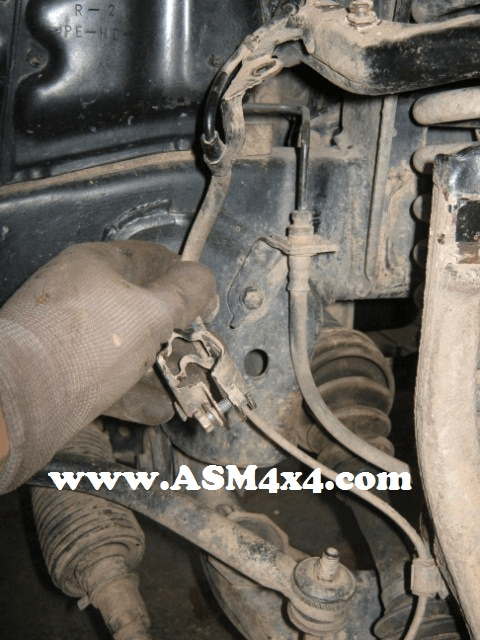
9 - Release the ABS wiring.
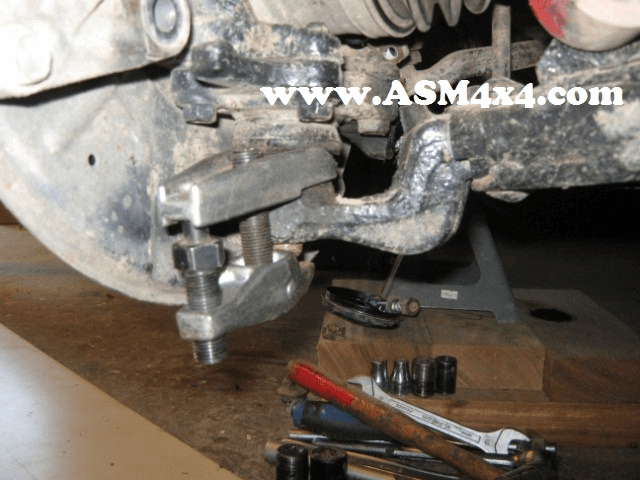
10 - Use the ball joint extractor to release the ball joint from the lower wishbone
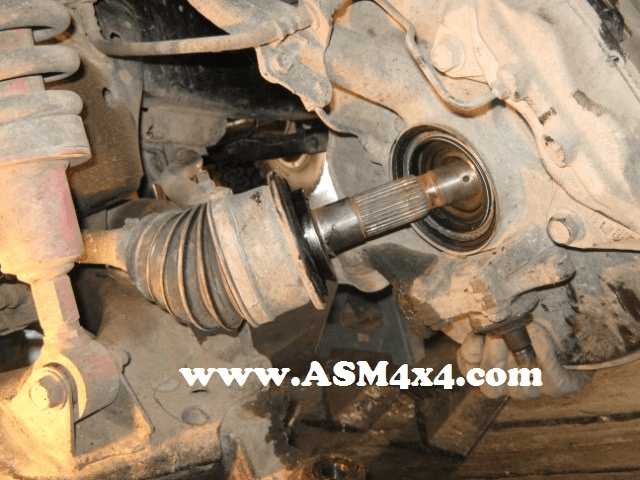
11 - Now you can pull on the wishbone to pull out the drive shaft.
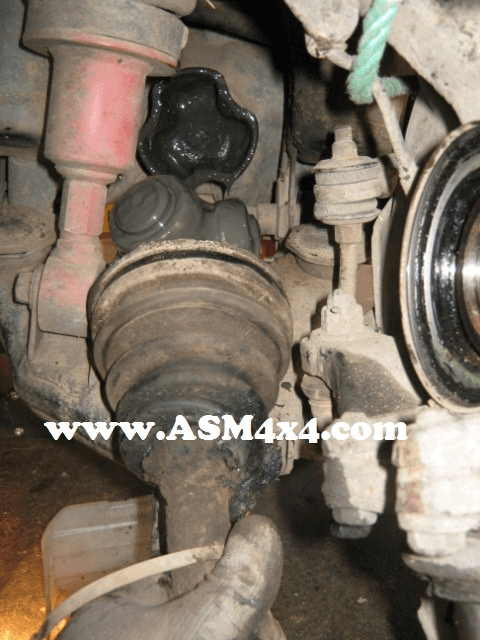
12 - Now remove the drive shaft assembly being careful not to get grease everywhere! You can place a bowl under the axle to catch any grease.
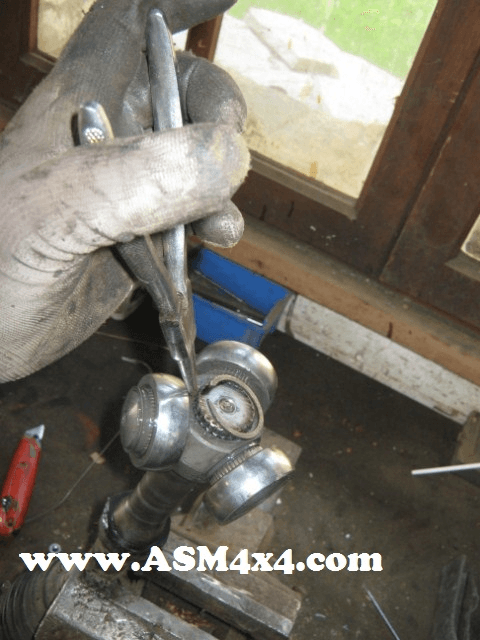
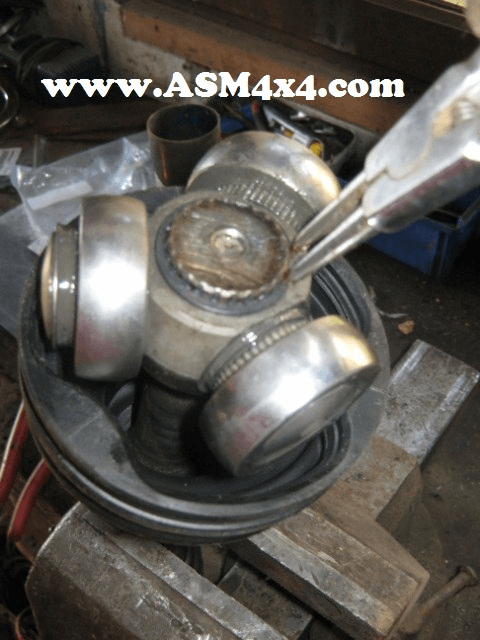
13 - Now put your CV joint into the vice, remove any remaining grease, take off the c-clip and the tripod head. Remove the old boot.
Give the tripod a good clean before reassembly.
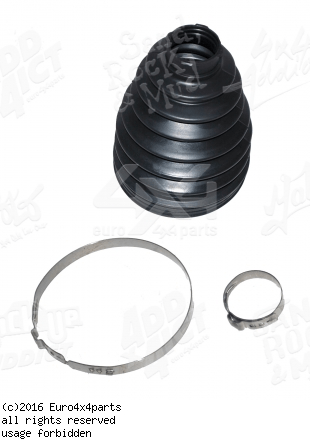
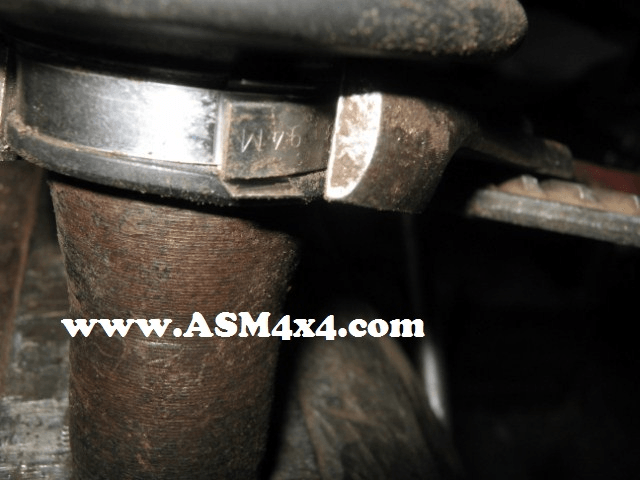
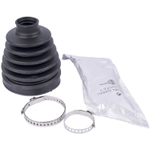
14 - Our boot kits include the collar clips.
15 - Now fit the new boot, put the tripod back into position and refit the c-clip.
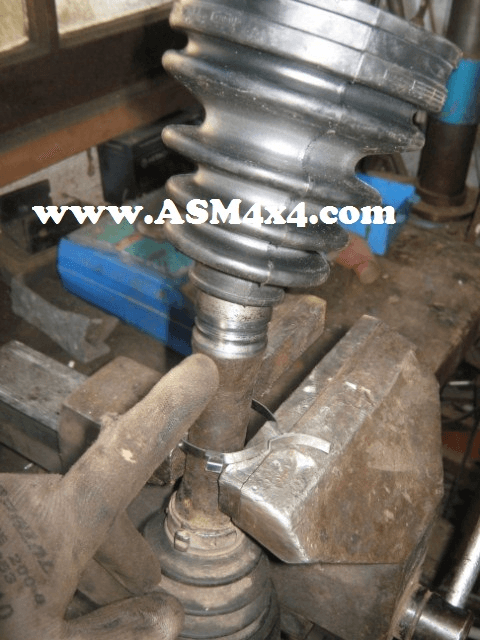
16 - Slide the boot into its correct position.
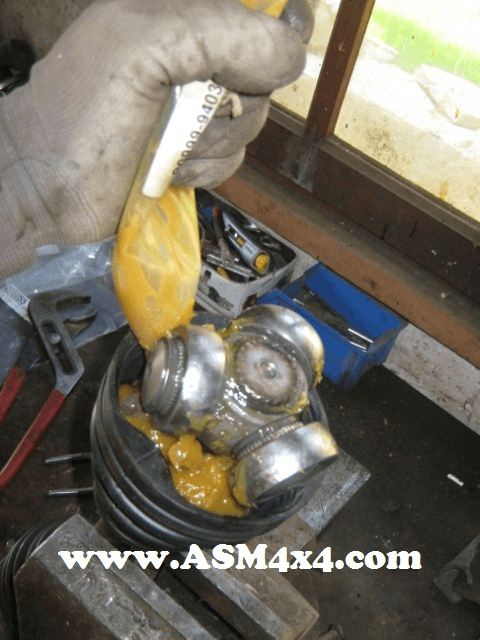
17 - Fill with grease.
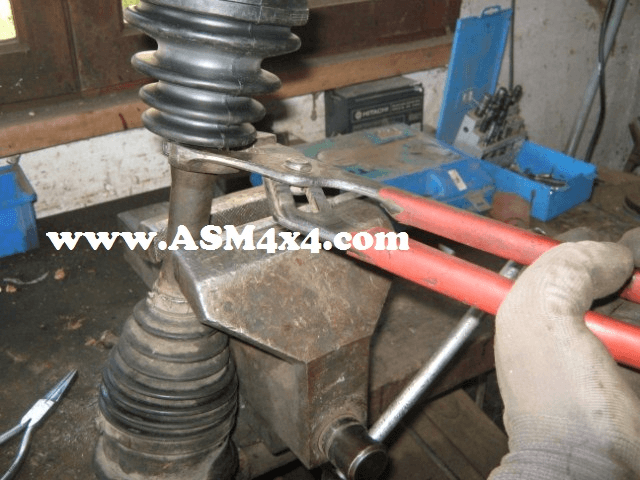
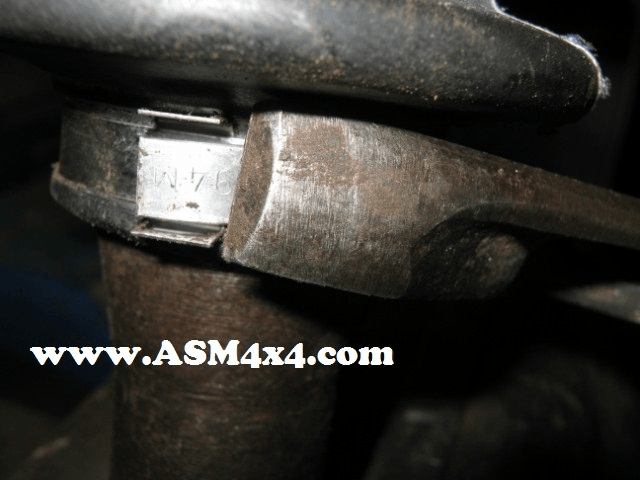
18 - Attach the lower collar using the adjustable spanner and tuck in the ends.
19 - Put the cv axle assembly back into position, making sure that it is horizontal so as not to put any unnecessary force on the boot. Then it's easier to put the other end of the boot back into position.
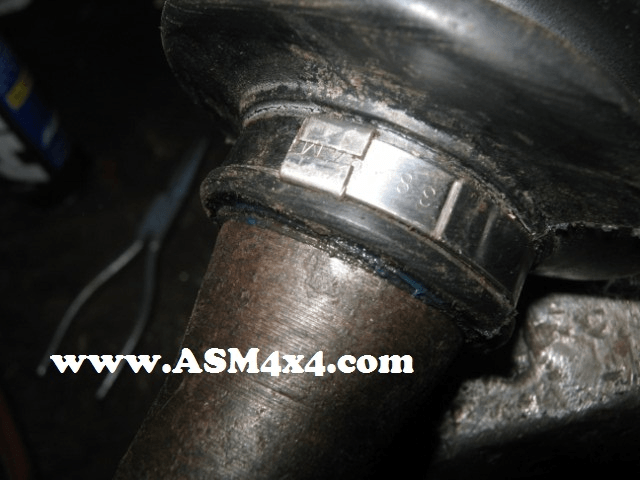
Do not forget to slip the collar on before reassembly.
Now put the boot on and tighten the collar in the same way as the previous one.

20 - Refit the ball joint to the lower wishbone - don't forget the split pin.
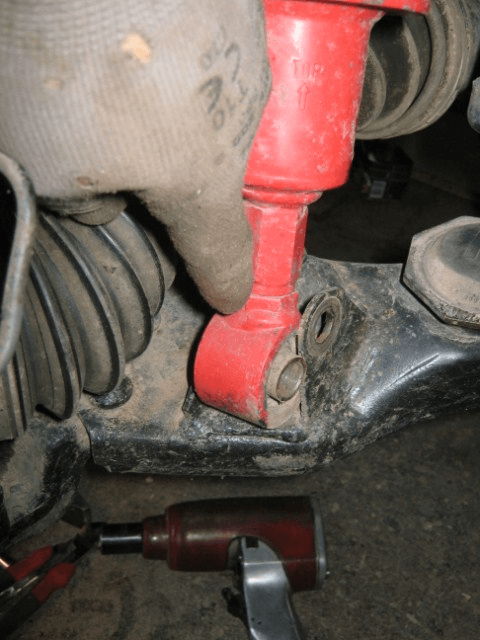
21 - Attach the lower end of the shock absorber and tighten.
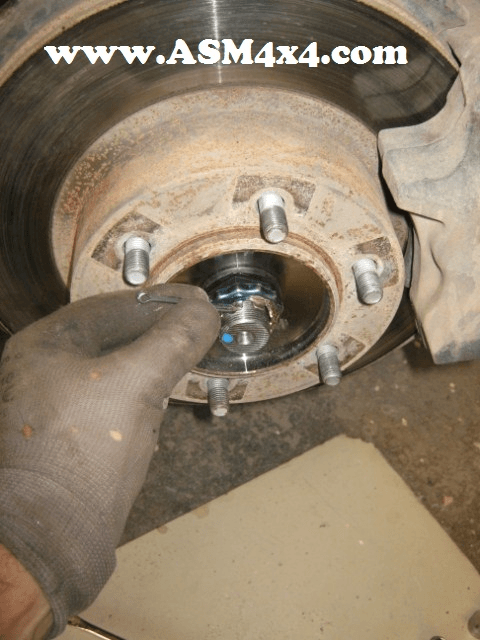
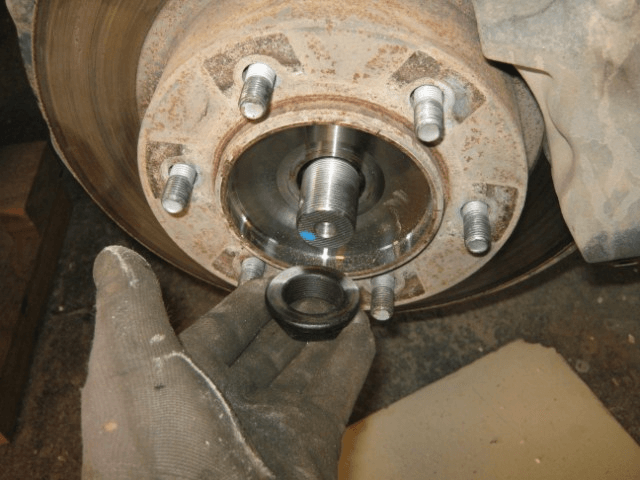
22 - Tighten the hub nut and fit a new split pin.
Now carefully refit the dust cap - tap it into position using the mallet.
Refit the caliper.
Put the ABS assembly back into its correct position.

23 - Refit the ball joint together with a new split pin.
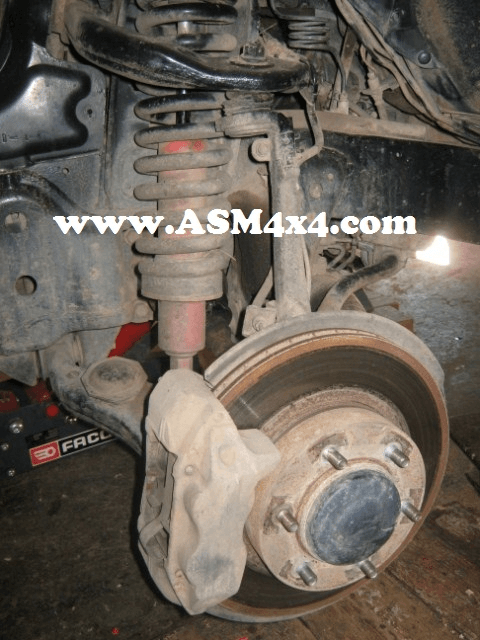
24 - Job done! All that remains to do is refit the wheel.
Remember: Having worked on the caliper always pump the pedal a few times to check that all is OK and avoid any surprises.
PARTS
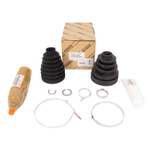
Select the right CV boot kit for your 4x4:
Do it yourself, you'll be even prouder! To help you out, Euro4x4parts shares its know-how and expertise in mechanics through 4X4XPERT: new products, technical sheets, and personalized tutorials... You've got the keys!
And because we also learn from your experiences, your feedback is essential. Let us know your thoughts and suggestions by email: 4x4xpert@euro4x4parts.com
Check out our complete catalogue of 4x4 parts and accessories!
All the photos in our articles are taken on authorized roads or tracks, private land, or during supervised competitions. Let's all do our part to preserve the environment!
Please note: Euro4x4parts publishes this information to help its customers, but cannot be held responsible for the advice given here and their consequences when used.