Why change the oil?
Engine oil needs to be changed at set intervals, as specified by the vehicle manufacturer, to maintain its capacity to correctly lubricate your engine.
In this article, we will show you step by step how to change the engine oil and change the oil filter on your 4x4.
Today we're using a Toyota HDJ 80 as an example but the steps are basically the same for almost all 4x4 models, especially Toyota which are almost all designed in the same way.
TOOLS
To change the oil and replace the oil filter on your 4x4, you need:
. Filter wrench
. 14mm socket spanner
. Catch pan to collect used oil
. Protective sheet
. Cloth
DIFFICULTY
To give you an idea of the difficulty level of our tutorials, we note them from 1 to 5.
Changing the oil and replacing the oil filter on your 4x4 is a level 2 job.
WORKSHOP
1 - Inevitably you may spill some oil on yourself so you should always avoid changing the oil on a hot engine to avoid burns. However, you should run the engine for a few moments before draining. The viscosity of cold, old oil means it doesn't drain out so easily. Briefly turning over the engine will also mix the oil allowing you to drain out various impurities in the lower engine as well.
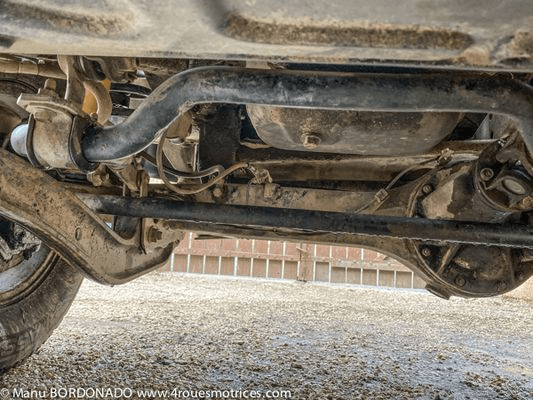
2 - Now grab your 14mm socket spanner and the pan and head under your 4x4. An HDJ80 holds almost 10 L of oil, so make sure the pan is big enough to collect all the old engine oil. It's well worth spreading out a protective sheet of plastic on the ground to protect it from any projections.
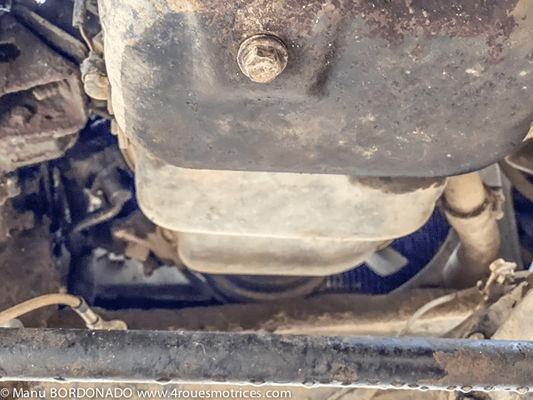
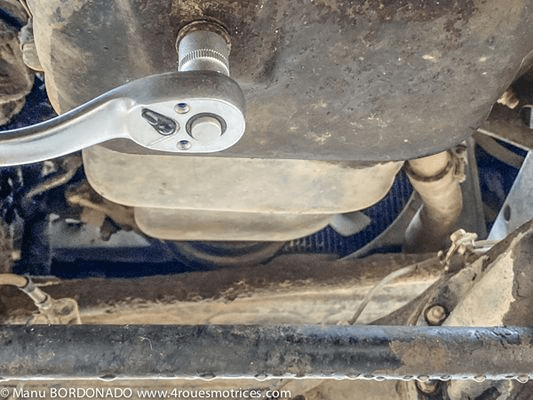
3 - Look for the sump. On the HDJ 80, it is located between the anti-roll bar and the steering bar. The drain plug is the 14mm bolt in the centre of the sump - you can't go wrong since this is the only bolt at the bottom of the sump.
Gently undo the drain plug. When the oil starts to flow be careful not to drop this plug into the pan.
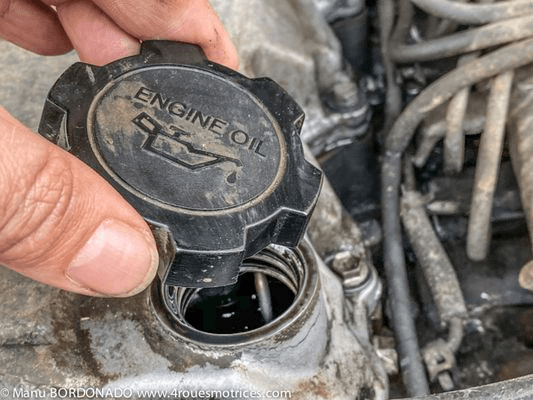
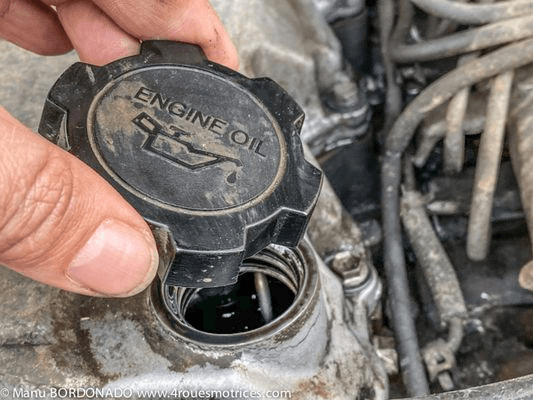
4 - Whilst the oil draining into the pan, you can now under the filler cap on top of the engine - this will help the flow. Rather than removing the cap at the start of the job, we prefer to increase the flow when we're out from under the 4x4.
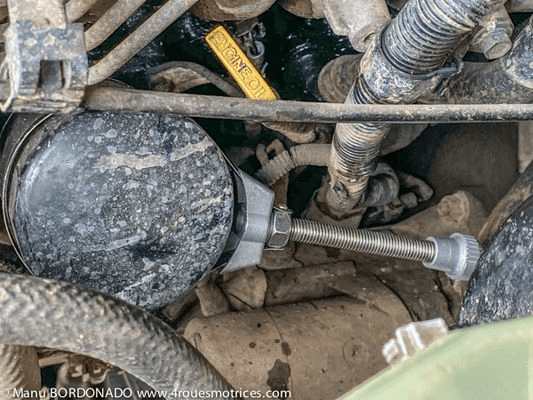
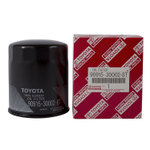
5 - While the oil finishes draining into the pan, you can remove the old oil filter. To unscrew it you will need to use the filter wrench. There are several types to choose from: strap, chain, self-adjusting, self-tightening ... but they all do the same job.
When you unscrew the oil filter, some used oil will almost certainly leak out. Now you know why you laid out that protective sheet on the ground!.
NB: when removing the old oil filter, check that you have removed the old rubber seal as well. Sometimes the old seal sticks in place on the engine and will prevent your new filter from fitting properly.
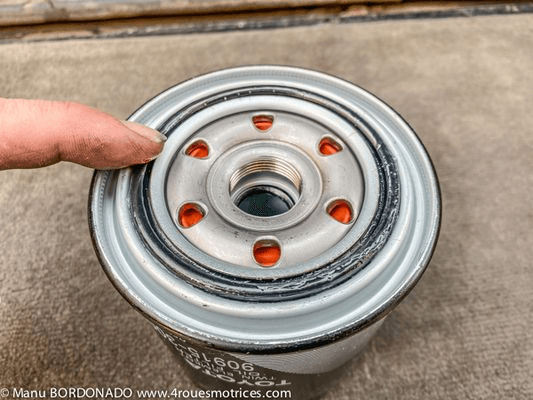
6 - Before fitting your new oil filter, you need to lubricate the seal. Just dip the tip of your finger in the fresh oil and rub it around the surface of the joint.
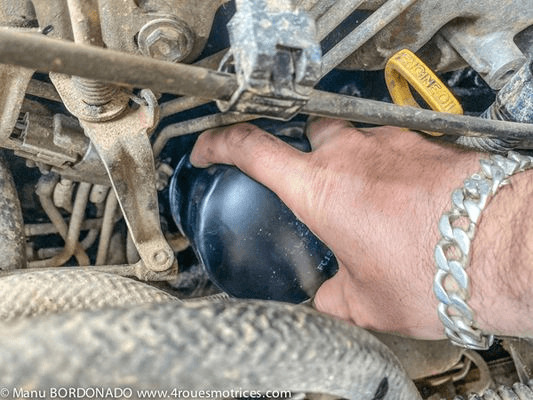
7 - Now you can screw the new oil filter into position. This only needs to be hand tight - don't use the filter wrench!
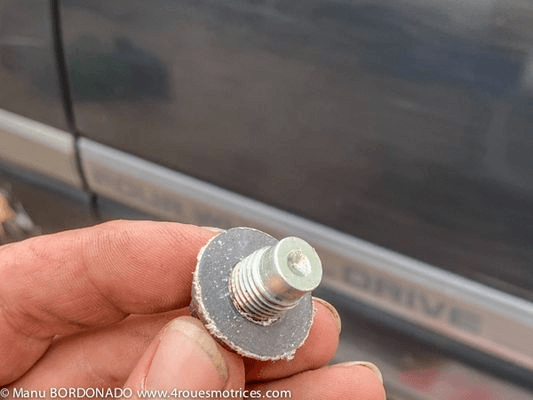
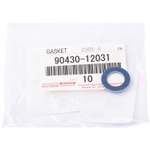
8 - Don't forget put the new gasket (washer) on the drain plug - you may need to clean off the remains of the old gasket. Now head back under your 4x4.
Re-fit the drain plug. There's no need to overtighten to obatain a perfect seal.
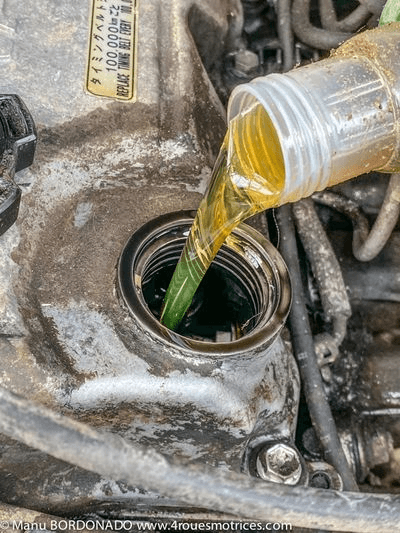
9 - Now you can fill the engine with new oil. 10W40 grade is recommended for an HDJ 80. If possible, use a graduated oil can as this makes it easier and faster to pour in just the right amount. On this model (with a new filter) you will need 9.4L of oil.
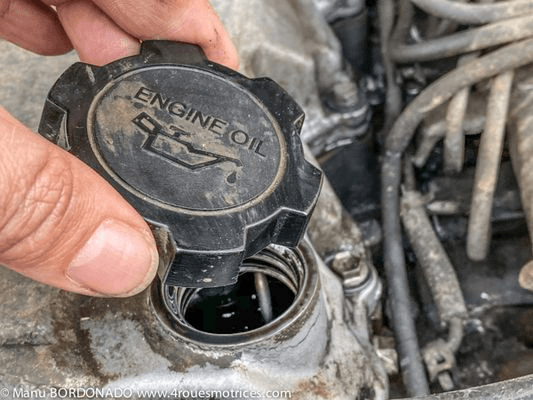
10 - Don't forget the screw the filler cap back on - once again, hand-tight is all that is needed.
11 - Use the dipstick to check the oil level. Don't worry if it's up to the maximum mark because it will drop slightly when the engine is started for the first time as the oil filter fills up.
Start the engine and let it idle for a few minutes. Now cut the engine and check the level again & top-up if necessary.
NB: All that remains is to dispose of the old filter and the used oil at your local refuse centre for recycling.
PARTS
Tools
Choose the right filter and drain plug gasket for your 4x4:
Thanks to Manu Bordonado for this article - blog.4rouesmotrices.com
Please note: Euro4x4Parts publishes this information to help its customers but cannot be held responsible for the advice given here and practical consequences therin.
Do it yourself, you'll be even prouder! To help you out, Euro4x4parts shares its know-how and expertise in mechanics through 4X4XPERT: new products, technical sheets, and personalized tutorials... You've got the keys!
And because we also learn from your experiences, your feedback is essential. Let us know your thoughts and suggestions by email: 4x4xpert@euro4x4parts.com
Check out our complete catalogue of 4x4 parts and accessories!
All the photos in our articles are taken on authorized roads or tracks, private land, or during supervised competitions. Let's all do our part to preserve the environment!
Please note: Euro4x4parts publishes this information to help its customers, but cannot be held responsible for the advice given here and their consequences when used.


