


Brake master cylinder - role
When the brake pedal is pressed, the calipers and / or wheel cylinders in the brake circuit of your 4x4 are controlled by the brake master cylinder.
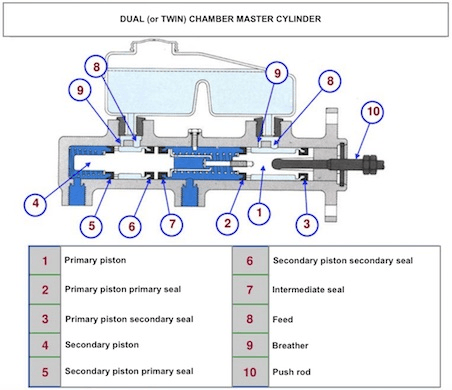
As required by French legislation since July 1976 and in most other countries, 4 four wheel vehicles are required to have two independent brake circuits. This led to the widespread use of dual-circuit (or dual-chamber) master cylinders.
The dual-chamber master cylinder consists of two independent circuits: the primary circuit is directly controlled by the force resulting from the action of the foot on the brake pedal or the brake booster. And the secondary circuit, which is controlled by the action of the pressure of the primary circuit and by a pre-stressed spring.
Brake master cylinder - why replace?
If one circuit fails, the brakes of the other circuit will still function on two wheels. When a circuit fails the brake pedal travel and braking (stopping) distance will be increased.
In this article, we show you step-by-step how to replace the brake master cylinder on your 4x4.
We chose to work on a Toyota KZJ 73 for this brake cylinder replacement tutorial.
However, this tutorial is valid for almost all 4x4 models.
TOOLS
To change the brake master cylinder of your 4x4, you will need:
. Ring spanner (size to suit your vehicle)
. Flare nut spanner (size to suit your vehicle)
. Syringe + length of tubing
. Container
. Cloth
. Grease
DIFFICULTY
To give you an idea of the difficulty level of our tutorials, we note them from 1 to 5.
Replacing the brake master cylinder on your 4x4 is a level 1 job.
WORKSHOP
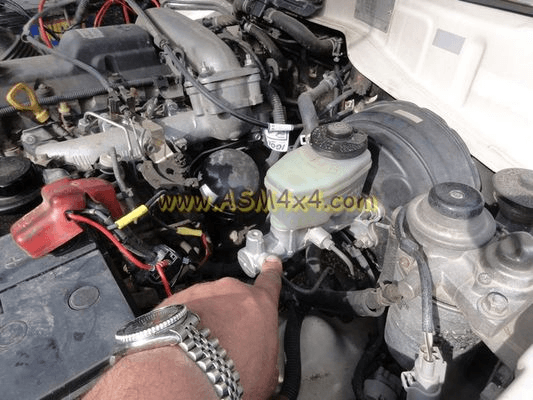
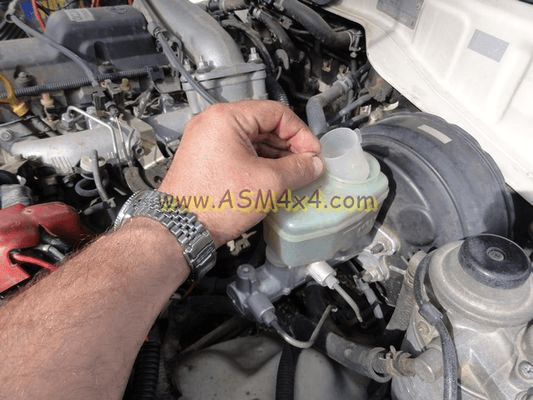
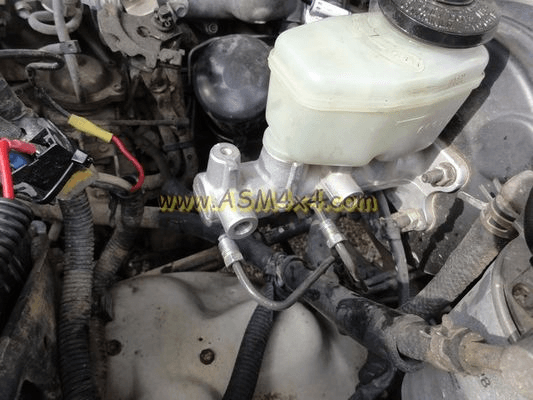
1 - The brake master cylinder is easily identified as soon as you lift the bonnet.
2 - Undo the bleed screw.
3 - Use the container to catch as much brake fluid as possible.
Remember: brake fluid is corrosive.
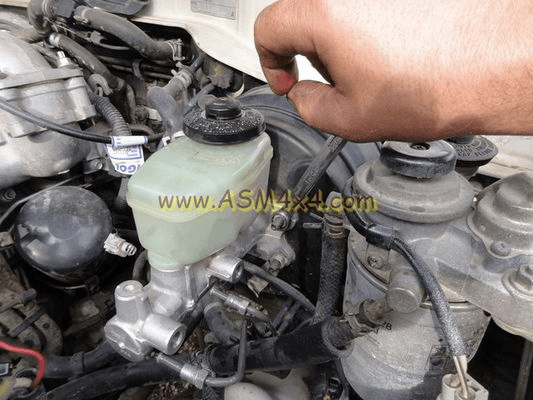
4 - Remove the filter.
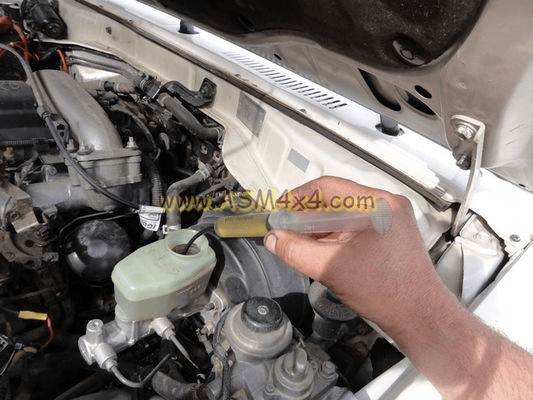
5 - Suck out any remaining brake fluid using the syringe with the length of tubing.
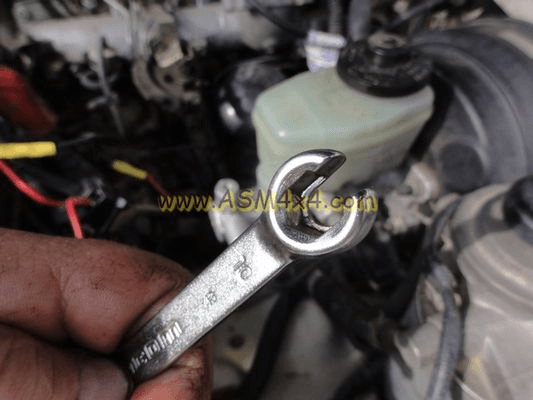
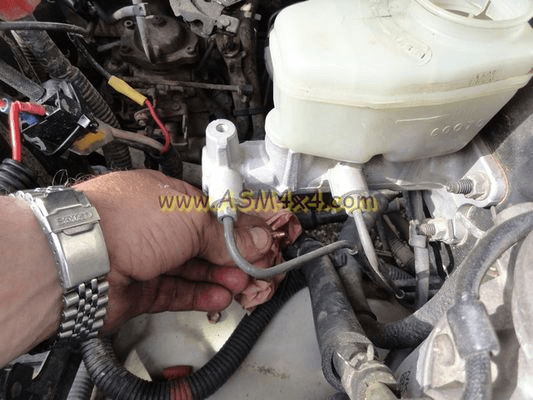
6 - Use the correct size flare nut spanner to avoid damaging the nuts at the end of the pipes.
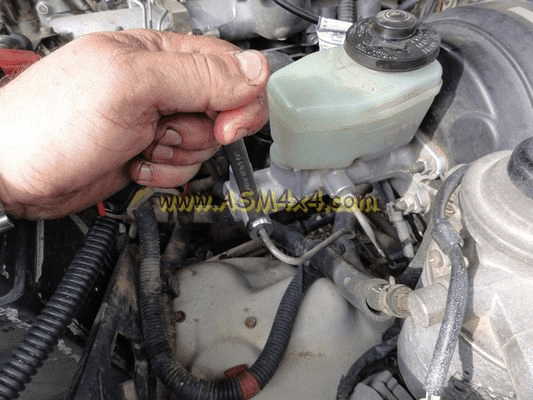
7 - Loosen off all the pipes - no particular order required.
8 - Pull the pipes out of the ports.
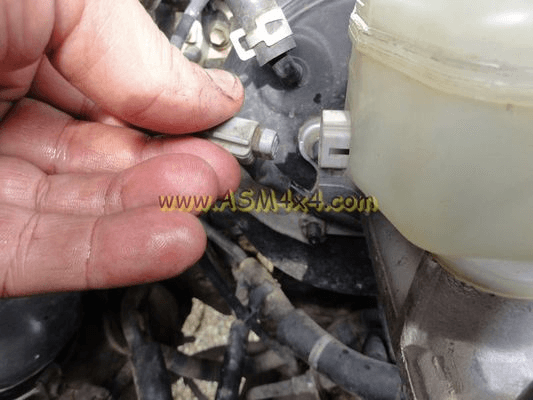
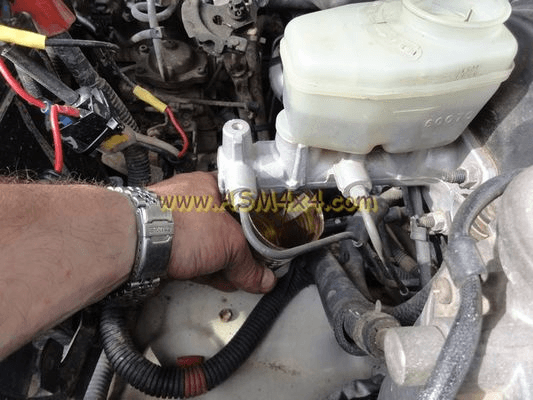
9 - Unplug the level sensor on the reservoir.
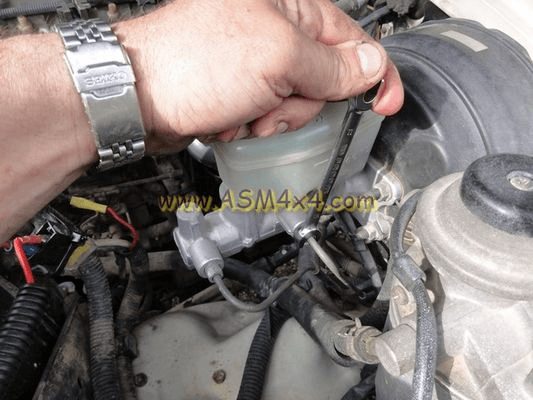
10 - Undo the 4 bolts that hold the brake master cylinder.
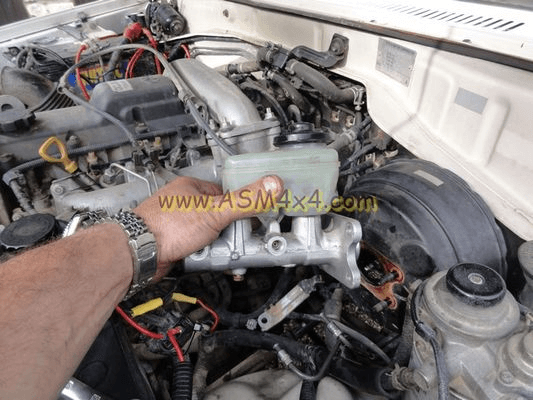
11 - Carefully extract the brake master cylinder.
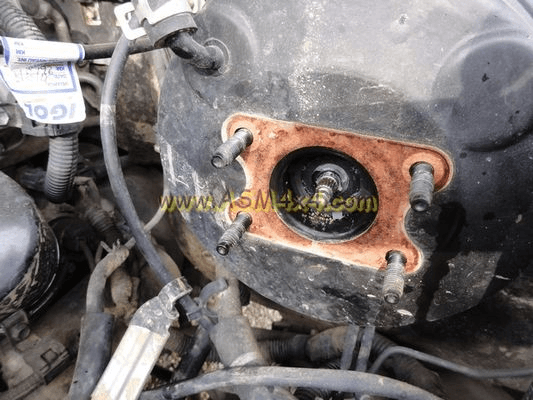
12 - Check the gasket. We need to change this one because it is slightly damaged.
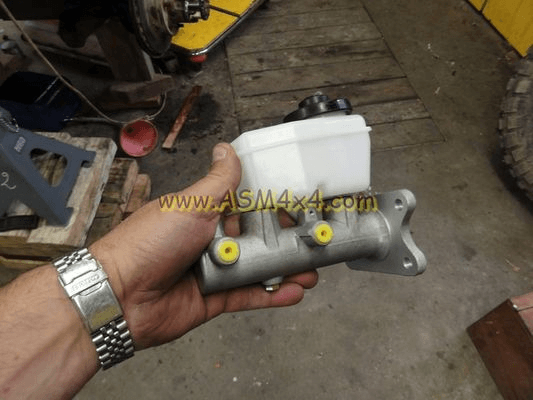
13 - You're now ready to fit the new brake master cylinder.
14 - To fit just follow the previous steps #11 to #2 in reverse then refill the reservoir with brake fluid.
Above all, don't forget to bleed the brake system.
PARTS
Examples and prices:
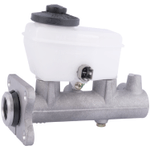
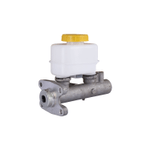
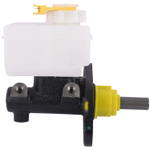
Select the correct brake master cylinder for your 4x4:
Credits: Thanks to Association Sportive Mantaise - blog.asm4x4.com
Please note: Euro4x4Parts publishes this information to help its customers but cannot be held responsible for the advice given here and practical consequences therin.
Do it yourself, you'll be even prouder! To help you out, Euro4x4parts shares its know-how and expertise in mechanics through 4X4XPERT: new products, technical sheets, and personalized tutorials... You've got the keys!
And because we also learn from your experiences, your feedback is essential. Let us know your thoughts and suggestions by email: 4x4xpert@euro4x4parts.com
Check out our complete catalogue of 4x4 parts and accessories!
All the photos in our articles are taken on authorized roads or tracks, private land, or during supervised competitions. Let's all do our part to preserve the environment!
Please note: Euro4x4parts publishes this information to help its customers, but cannot be held responsible for the advice given here and their consequences when used.