


What is a CV joint?
A CV joint (short for constant velocity joint) is a mechanical system composed of several moving parts designed to allow the drive from one axis to be transferred to another non-aligned axis.
The best known constant velocity joint is the universal joint (or UJ). However, the single universal joint has the big disadvantage of performing constant velocity only if the shafts are perfectly aligned. It does not offer a solution for high powered vehicles with high suspension travel.
Why remove a CV joint?
It is a replaceable part that must be changed as soon as the first symptoms of trouble appear.
If your 4x4 features a solid front axle and you can hear a clicking or cracking noises when you steer in full-lock (with your freewheel hubs in 4WD if fitted) then chances are that your CV joint is worn. This can be down to general wear over time but also due to water ingress. When water enters the housing it can promote corrosion and damage. Similarly struggling in deep sand or mud at full lock at full power can place too much strain on the CV assembly which may fail and cause the vehicle to grind to a halt.
In this article, we explain step by step how to remove the CV joints of your 4x4.
For the purposes of this tutorial, we chose to work on a Toyota Land Cruiser LJ73.
This tutorial can be used as a guide for working on many other 4x4 models that feature a solid front axle set-up.
TOOLS
- Jack
- Axles stands
- Ratchet + sockets (10,12,14 & 17) or flat spanners
- Multigrip pliers
- Hammer and or mallet
- Roll pin punch
- Bronze drift
- Flat-headed screwdriver
- Circlips pliers
- 54mm socket
DIFFICULTY
To give you an idea of the difficulty level of our tutorials, we note them from 1 to 5.
Reloving a CV joint is a level 2 job.
WORKSHOP
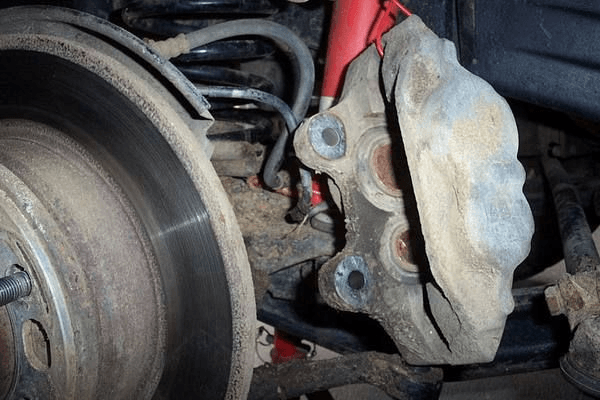
1 - Having removed the road wheel, remove the brake pads and caliper.
2 - Remove the hose/pipe clip to make it easier to move the caliper.

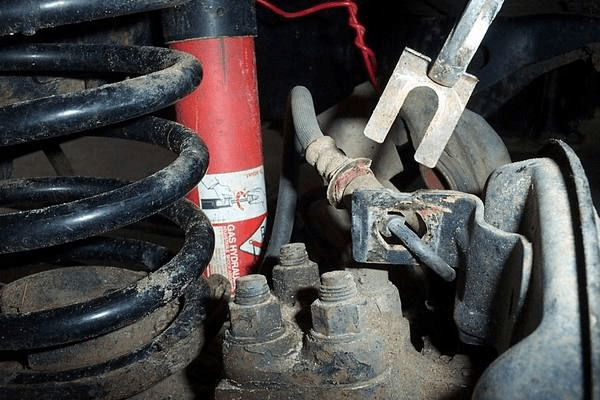
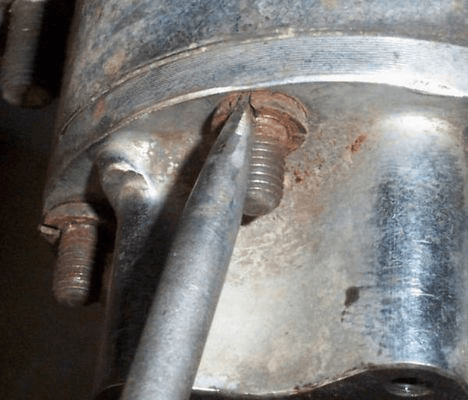
3 - Remove the 6 bolts to remove the manual freewheel hub.
4 - Use the circlips pliers to remove the spring clip on the end of the half shaft.
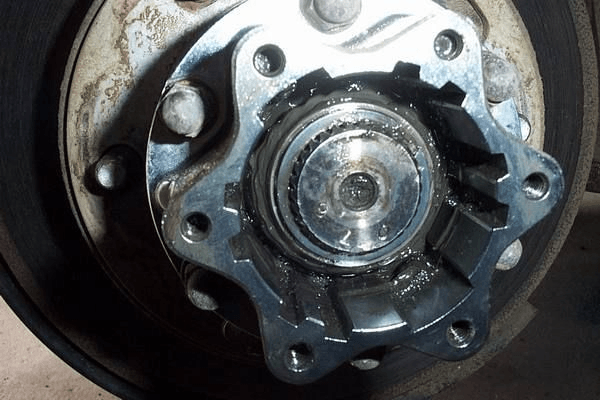
5 - Having removed the 6 nuts, extract the conical spacers using the punch and by (carefully) tapping on the side of the hub.
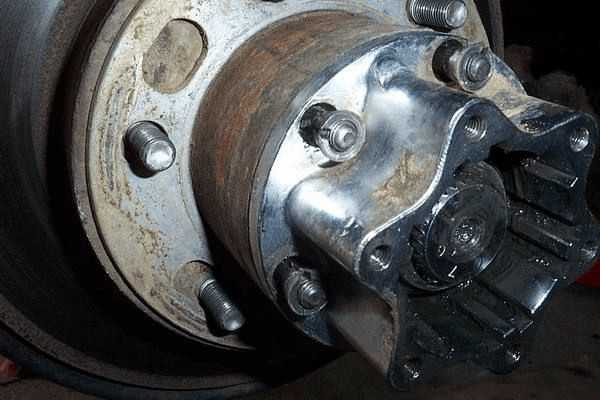
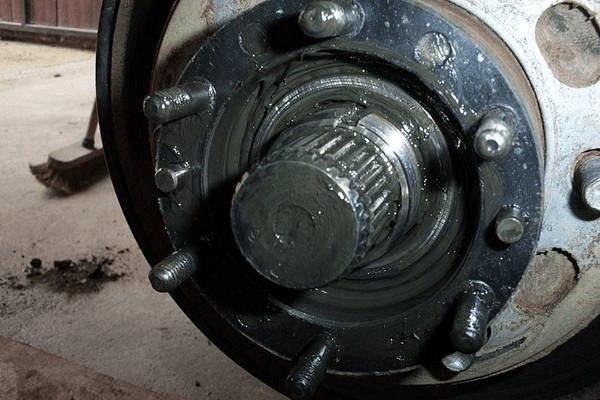
6 - Now remove the hub
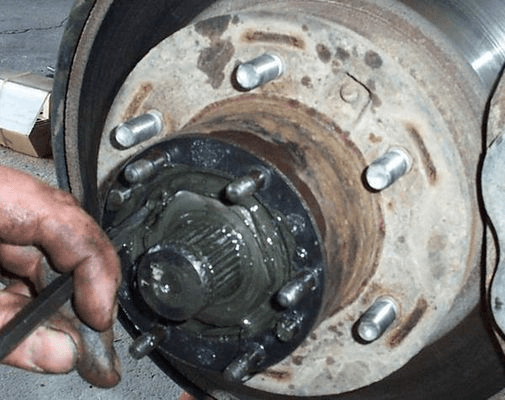
7 - Use the flat-headed screwdriver to flatten the locking washer that sits between the 2 hub nuts.
8 - Undo the locking nut, remover the locking washer then undo the second hub nut. Then remove the washer that sits inside.
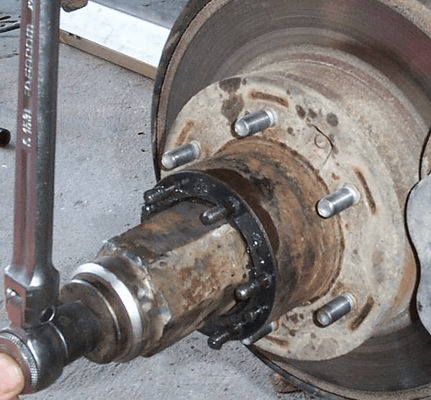
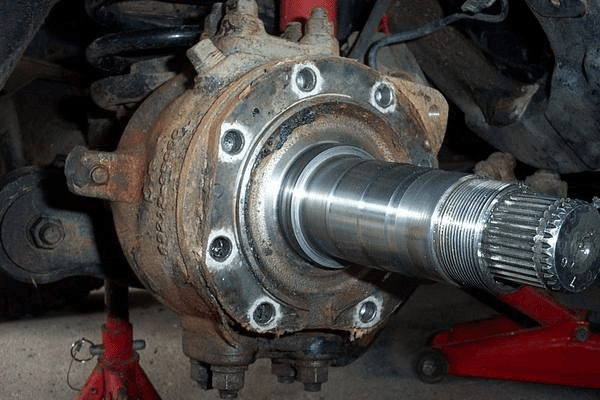
9 - Now you can carefully remove the whole hub / disc assembly.
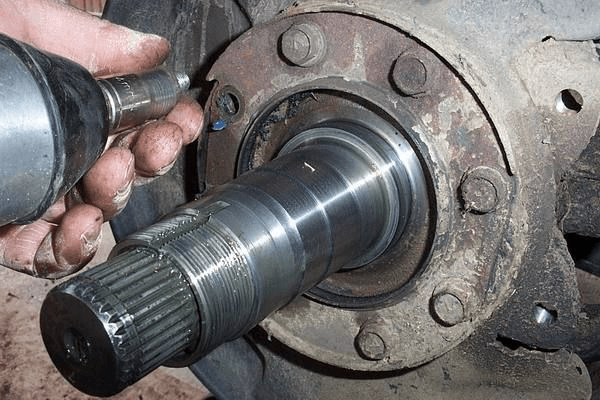
10 - Undo the 8 bolts that hold the drive member and remove the metal dust cover.
11 - Use the mallet to gently tap the drive member to release.
12 - Now you can extract the CV joint and its shaft but positioning the flat side upwards.
Repeat all these steps for the CV joint on the opposite side of the axle.
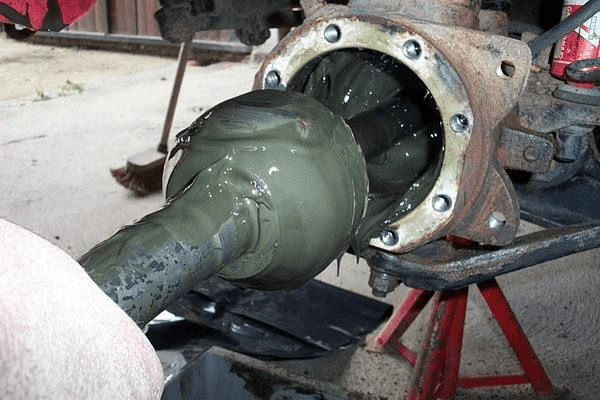
You can now disassemble the CV joint from its shaft if required, change the whole CV joint and or bearings as required or event work on the differential if you have removed both CV joints.
Now it's time to follow our full tutorial to disassemble the CV joint :
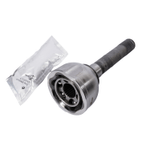
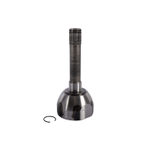
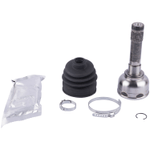
PARTS
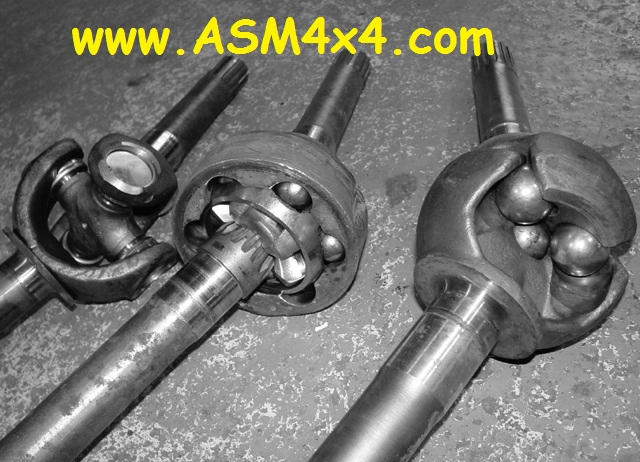
Some examples of CV joints available at Euro4x4parts:
Find the correct CV joint for your 4x4
Thanks to the Association Sportive Mantaise for this article - blog.asm4x4.com
Please note: Euro4x4Parts publishes this information to help its customers but cannot be held responsible for the advice given here and practical consequences that ensue.
Do it yourself, you'll be even prouder! To help you out, Euro4x4parts shares its know-how and expertise in mechanics through 4X4XPERT: new products, technical sheets, and personalized tutorials... You've got the keys!
And because we also learn from your experiences, your feedback is essential. Let us know your thoughts and suggestions by email: 4x4xpert@euro4x4parts.com
Check out our complete catalogue of 4x4 parts and accessories!
All the photos in our articles are taken on authorized roads or tracks, private land, or during supervised competitions. Let's all do our part to preserve the environment!
Please note: Euro4x4parts publishes this information to help its customers, but cannot be held responsible for the advice given here and their consequences when used.