


TOOLS
. Ratchet wrench + sockets
. Set of flat and pipe wrenches
. Flat and Phillips screwdriver
. Cloth
DIFFICULTY
To give you an idea of the degree of difficulty in our tutorials we give them a note of 1 (easy) to 5. This is a level 3 job.
HOW TO
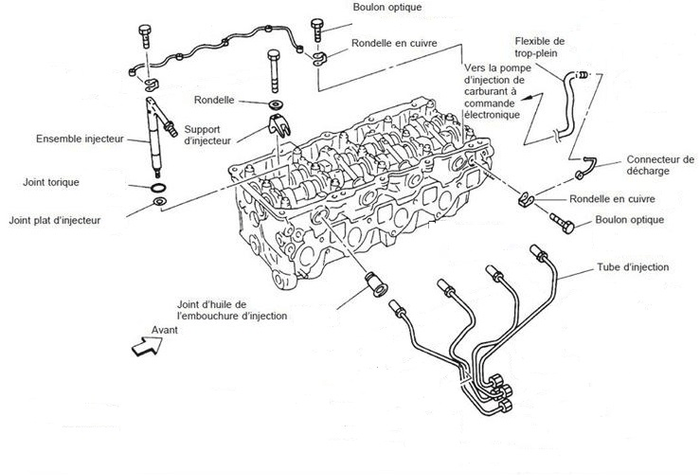
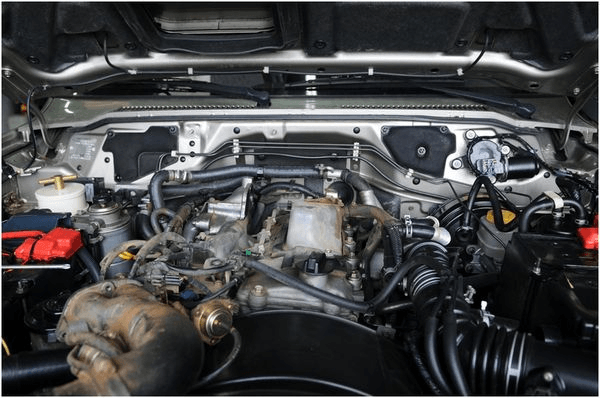
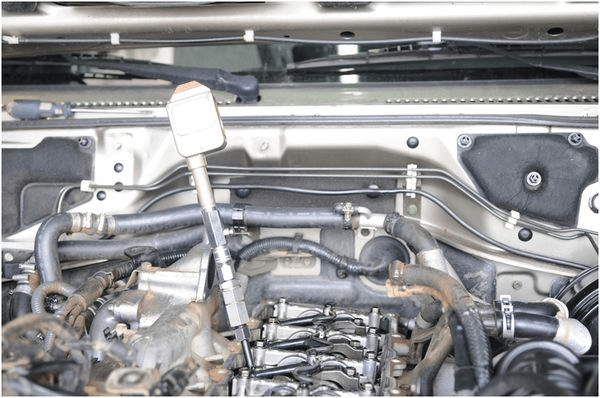
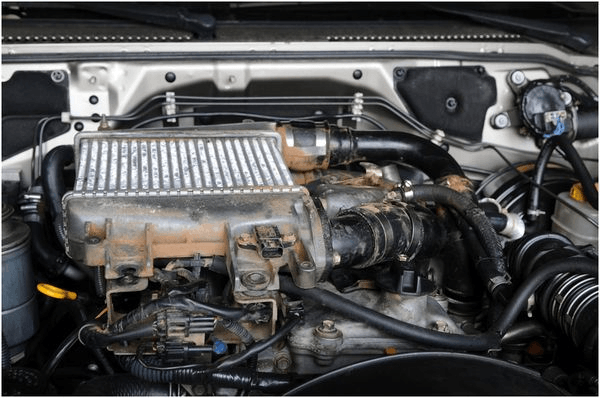
General view of the diesel fuel supply circuit of the engine.
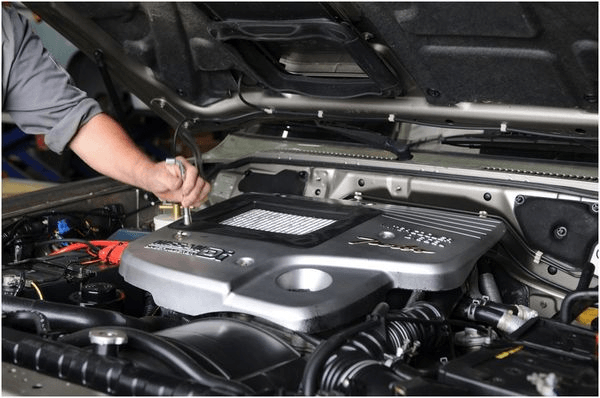
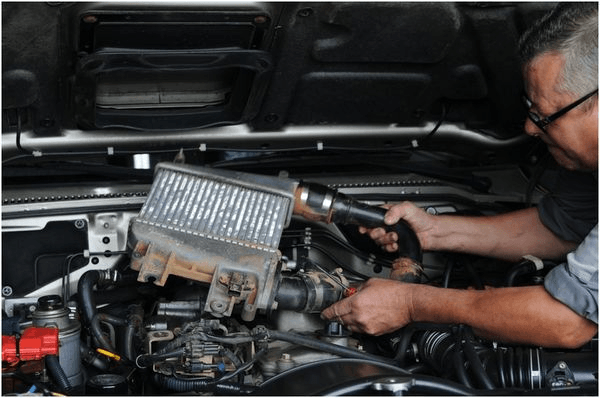
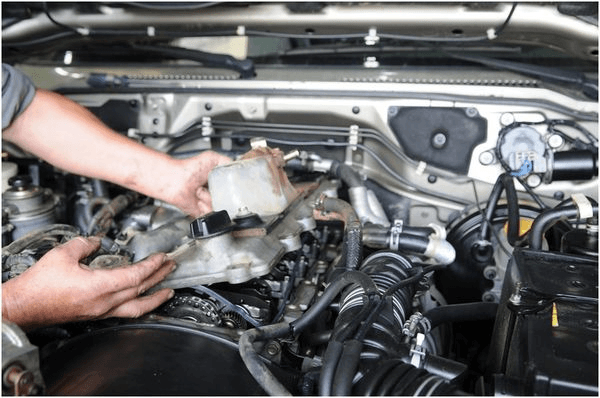
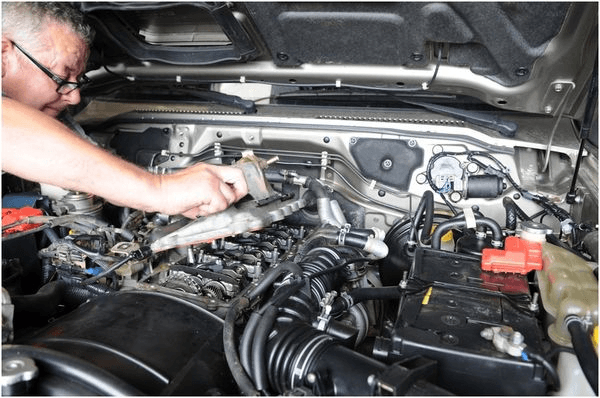
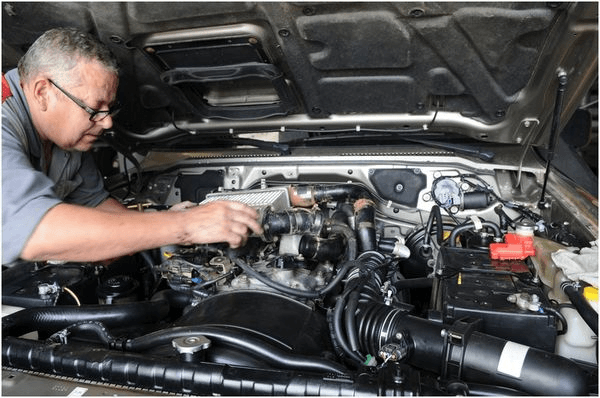
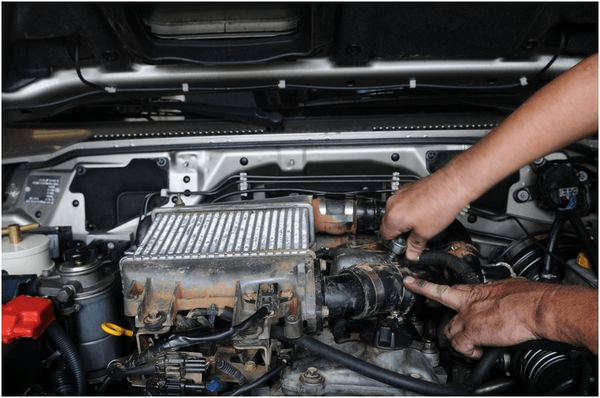
The first step is to remove the plastic cover from the intercooler.

Then remove the intercooler and all the pipes ... Take your time!
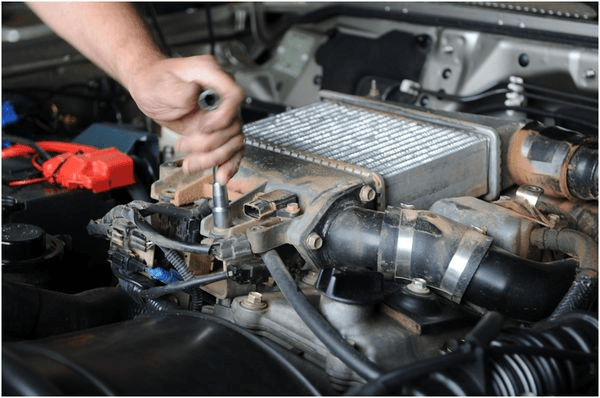
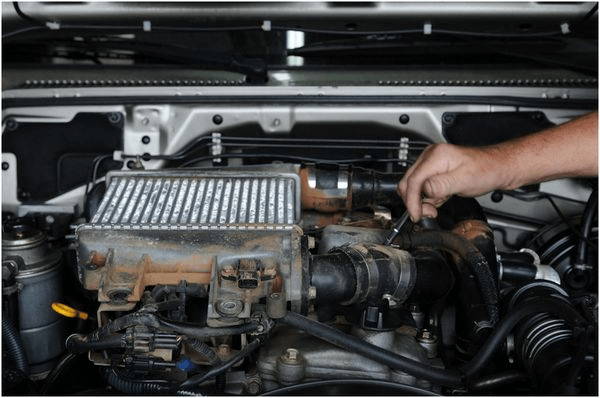
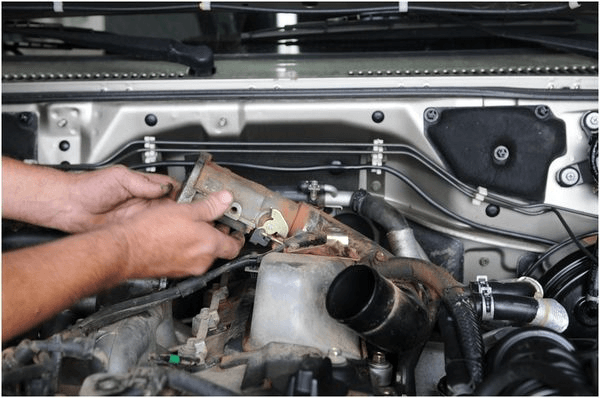
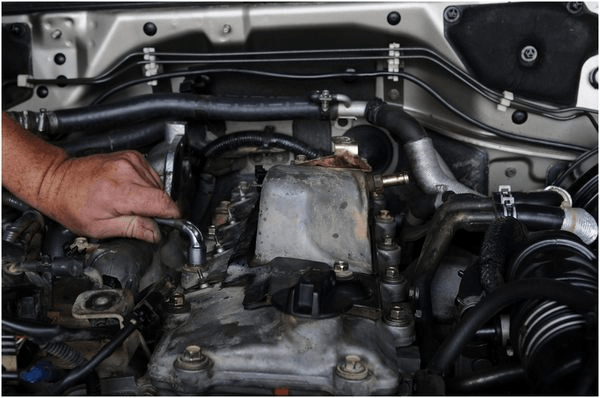
Disconnect the pressure sensor at the from of the intercooler then undo the four bolts holding the intercooler (12mm socket).
Loosen the hose clamps (8mm socket).
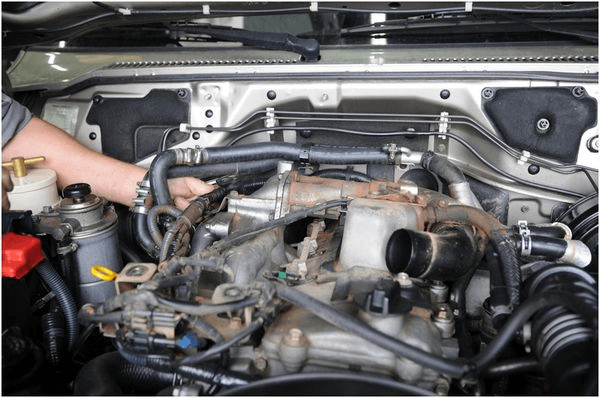
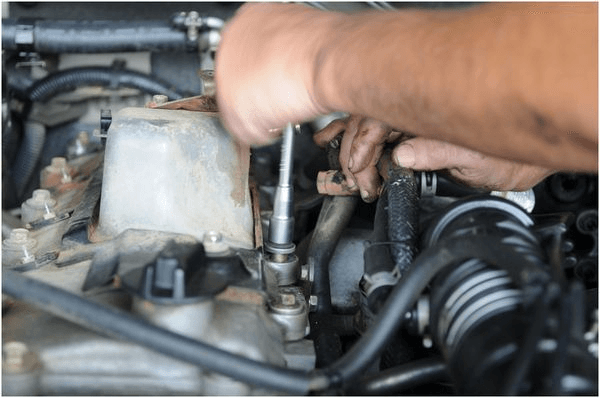
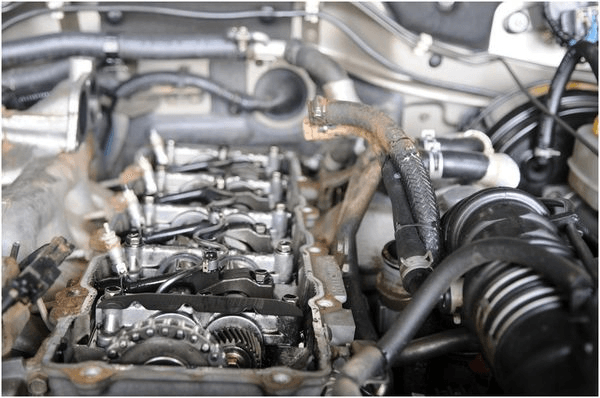
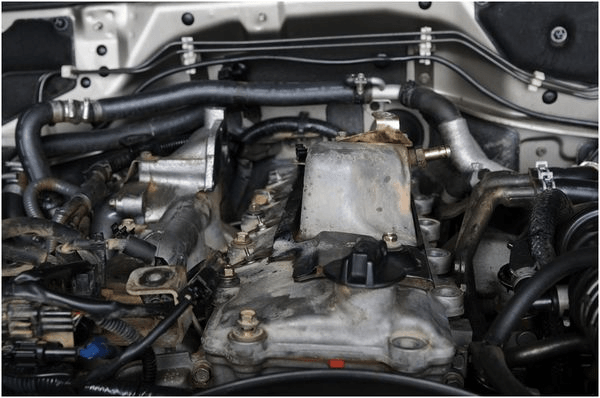
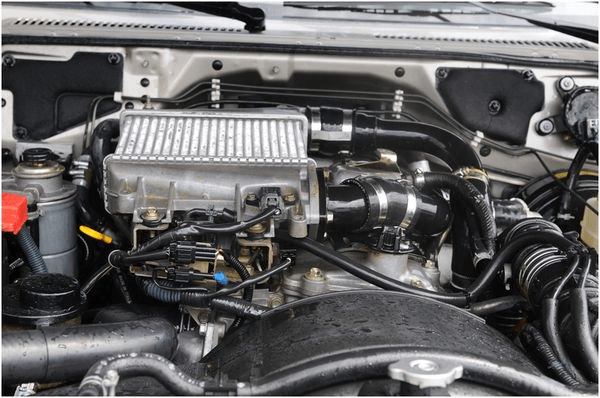
We can now see straight! Now we continue with the hose that goes to the throttle body intake manifold.
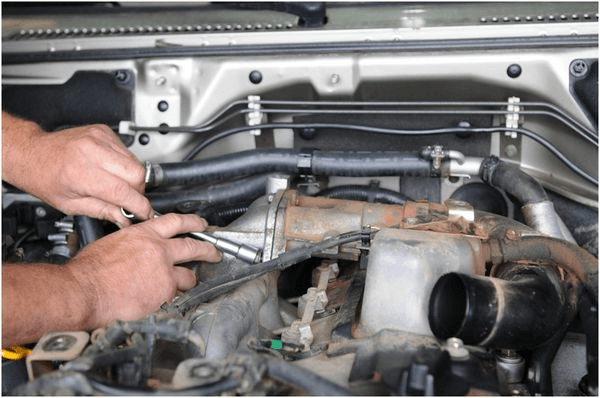
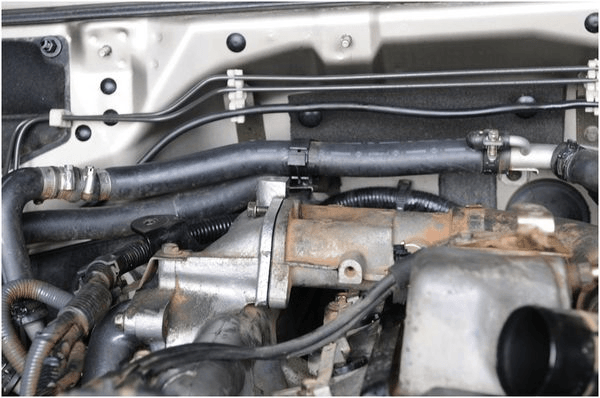
Undo the 3 bolts that hold the trhottle body to the inlet manifold (12mm socket). Be careful with the gasket!
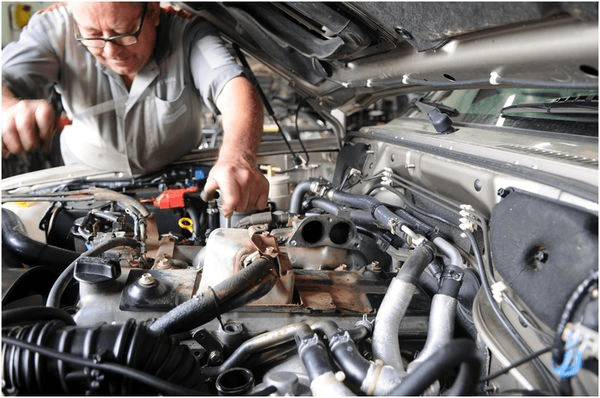
Carefully withdraw the whole assembly.
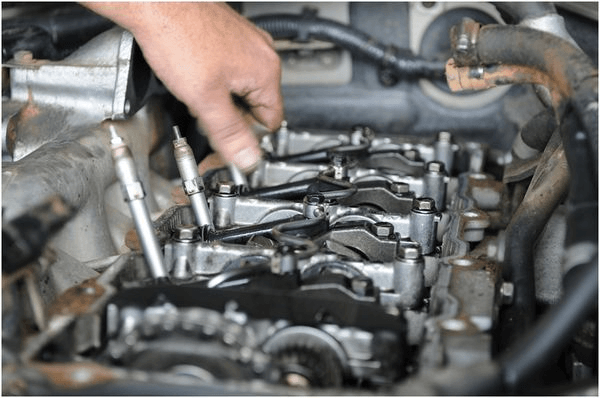
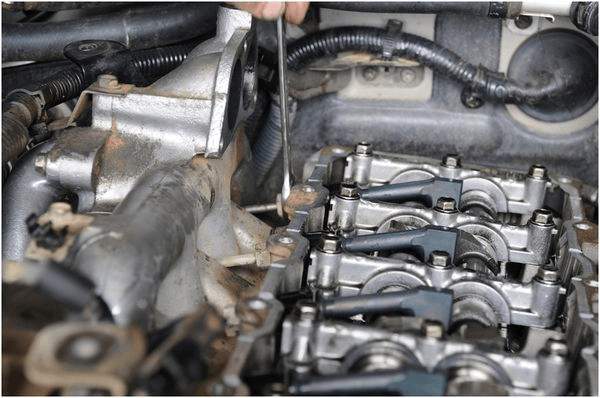
Now the working area is clear we get down to the serious stuff! Remove the glow plug power supply bar.
Undo the 12 bolts that hold the rocker cover.
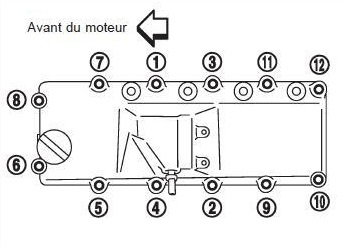
And we go to the rocker cover which has 12 fixing screws.
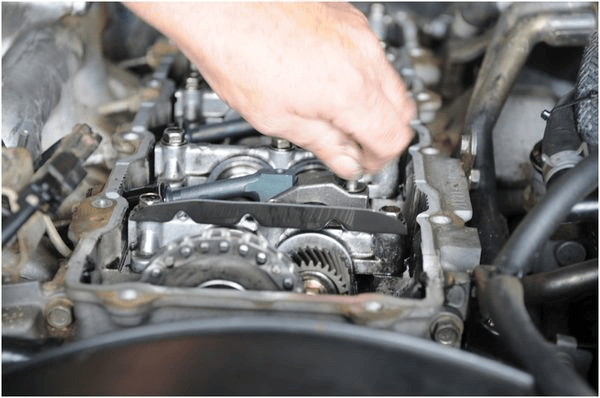
Loosen the fixing screws in the opposite direction to the numbering above.
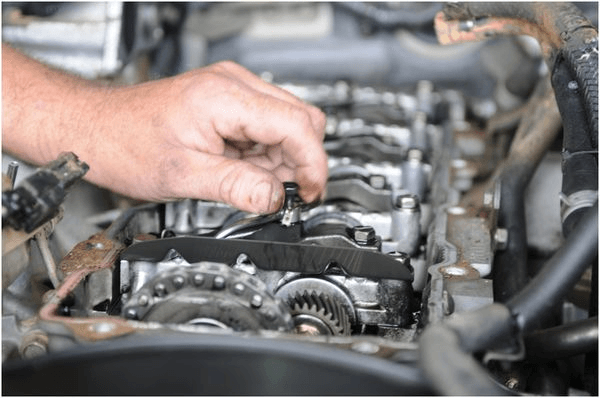
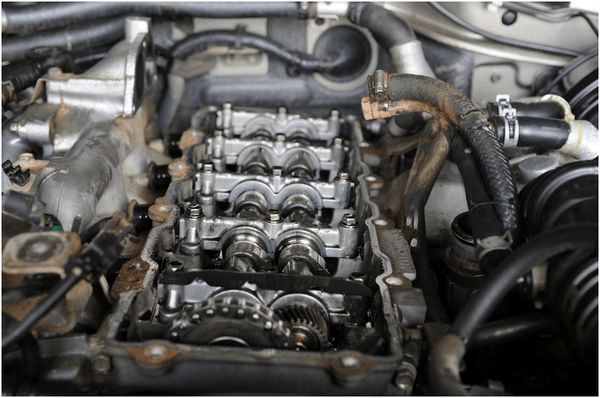
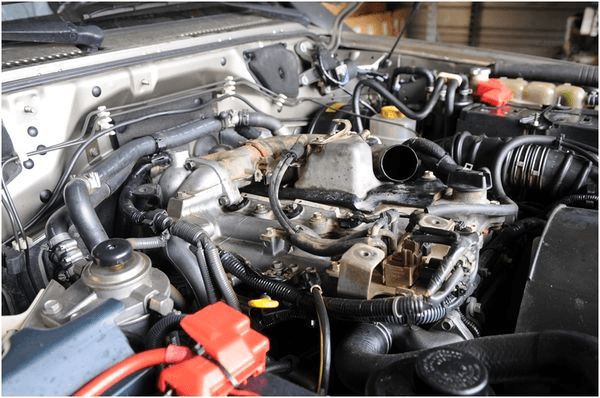
Remove the blow-by hose and then carefully remove the cover and its gasket and put them on the bench.
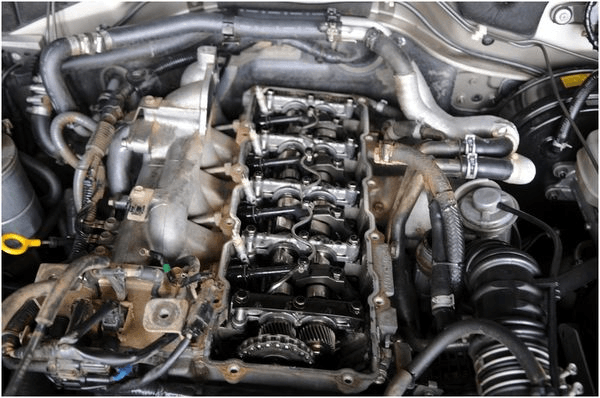
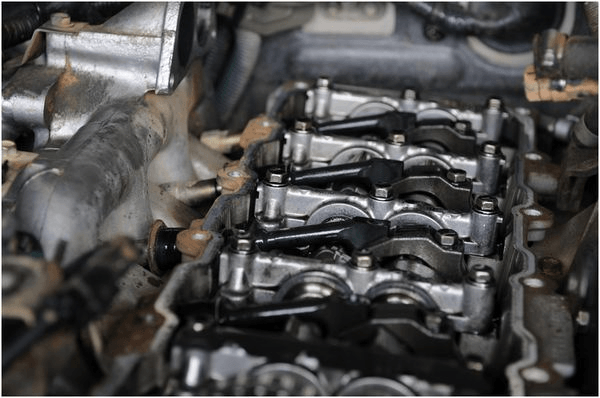
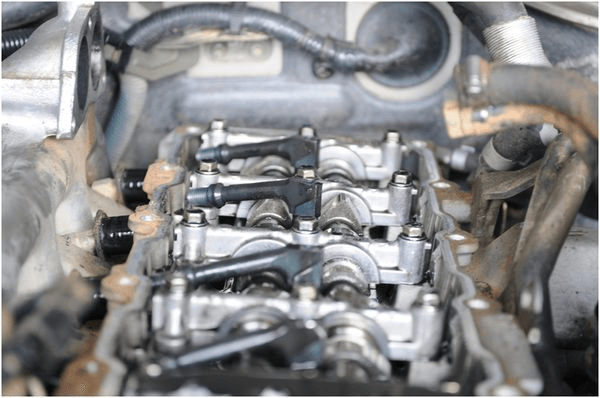
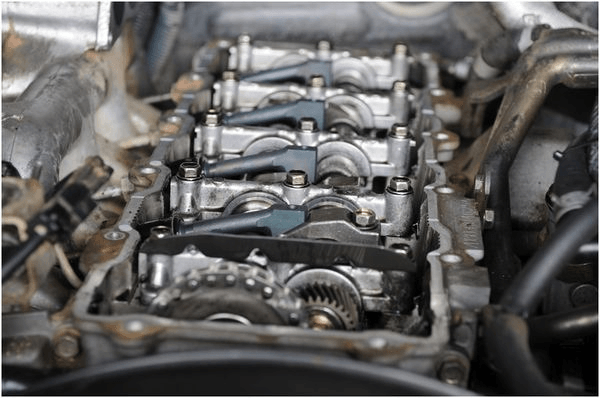
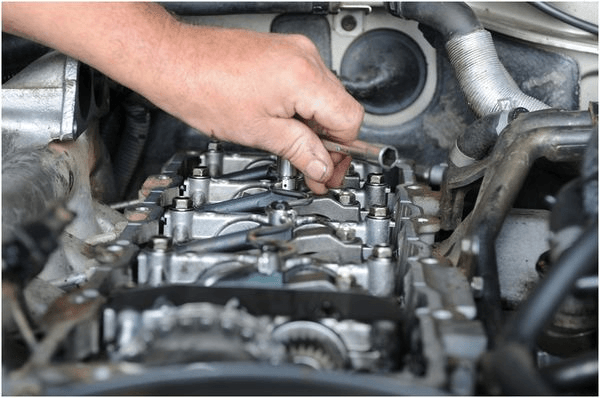
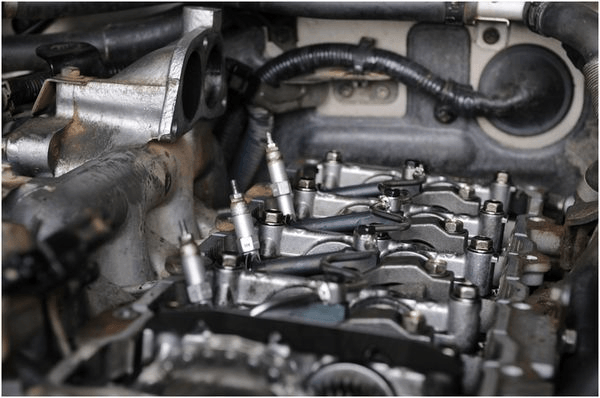
Now we can now see the injectors!
Remove the glow plugs.

At this stage you could make the most of things and take the opportunity to do a compression test if you have the right equipment to hand.
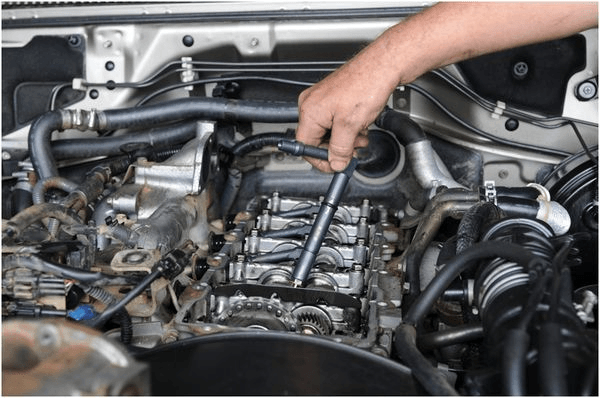
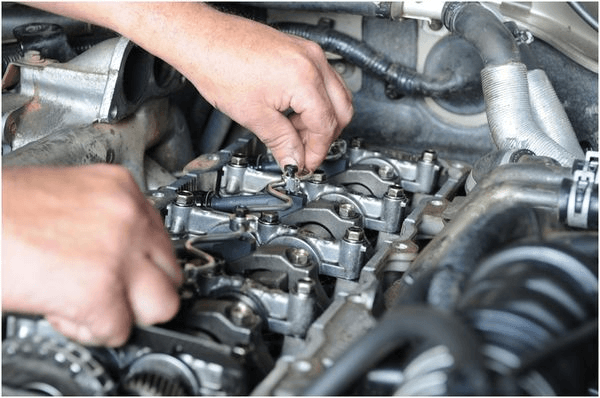
Now we can remove the injectors, starting by taking off the spill tube pipework.
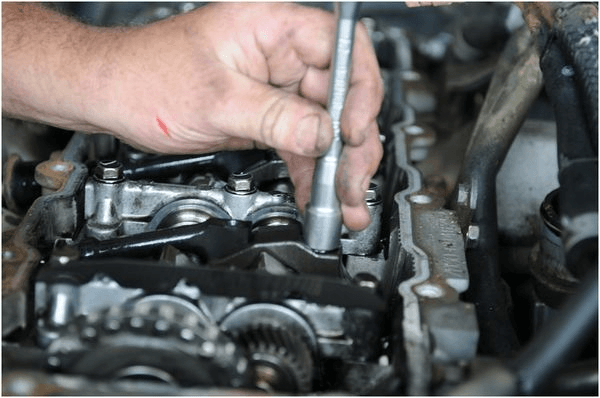
Remove the injector nozzle protectors and seperate the injection line (having removed the insulation).
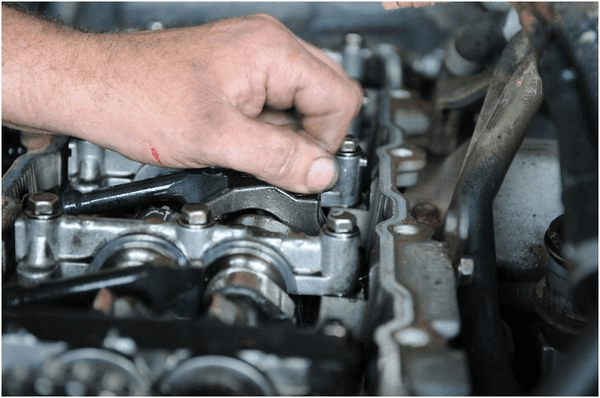
Push back the oil seals to free access to the injector inlets.
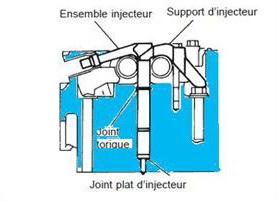
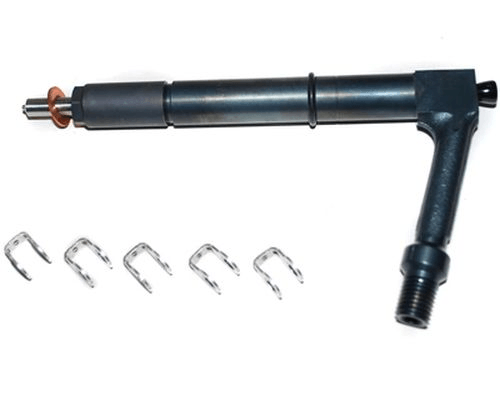
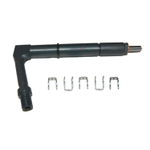
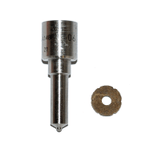
Details of the assembly of the injectors.
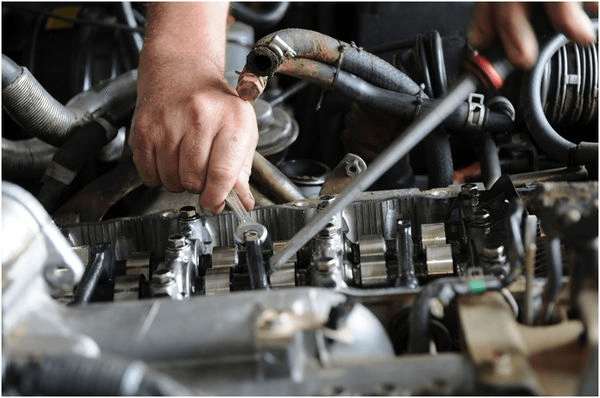
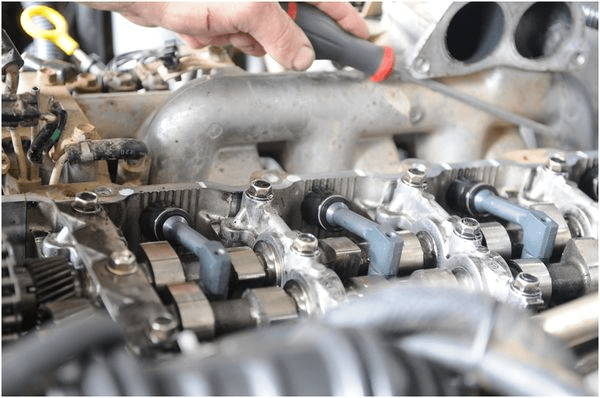
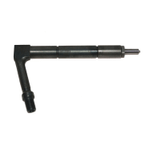
Use a large flat blade screwdriver to gently lever each injector.
If they're worn or damaged then they should be replaced.

The injectors are finally out!
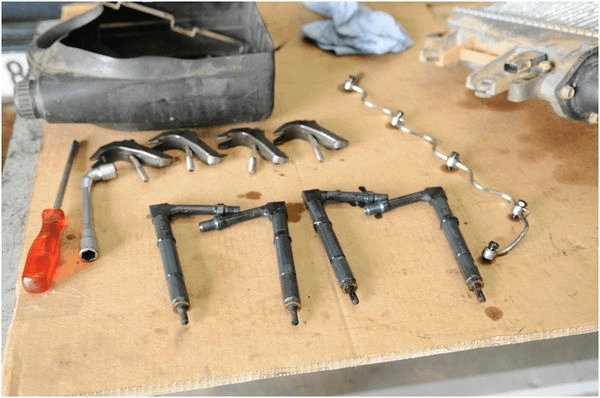
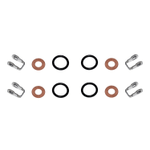
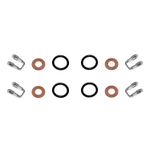
Here are the injectors, the nozzle protectors and the return line.
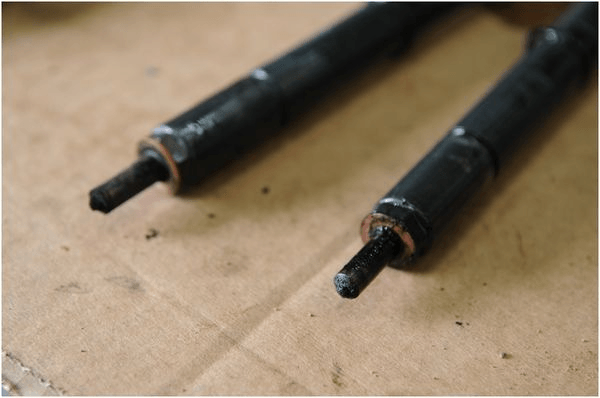
The injectors are looking rather old. I guess that Moroccan diesel took its toll!
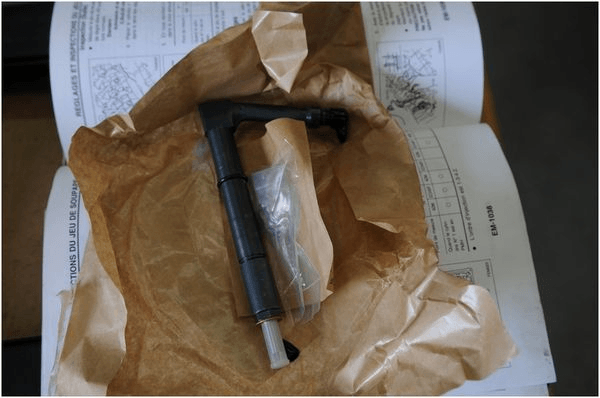
Unwrapping the brand new Zexel injector.
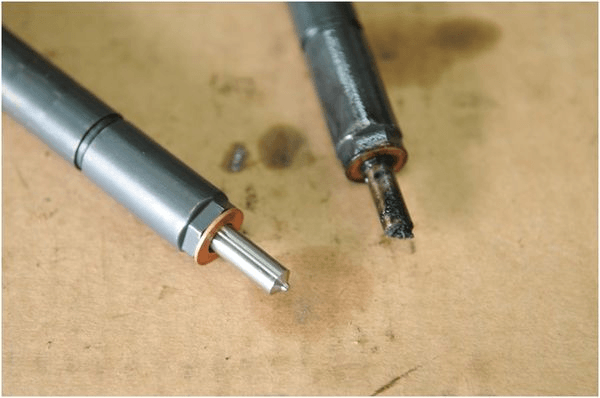
Looking at the old and new injectors side-by-side it's hardly surprising that my fuel consumption had gone up!

Refitting the injectors, being carefull to check that the copper washer is in place at the seat and lightly oiling the O-ring. Refitting is the same as above but in reverse.
Be sure to check the return line for any leaks otherwise you run the risk of getting diesel in the engine oil as well as increased fuel consumption!
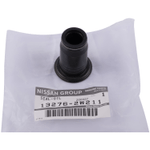
Refit the glow plugs, being careful not to overtighten them.

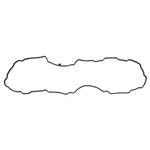
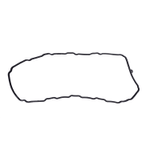
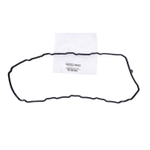
Fit a new rocker cover gasket before refitting the cover.

Continue putting all parts back into place.
Pipes and intercooler back into place.
When everything is back in place and tightened up, it's time for a quick blast from the power hose to get rid of that Moroccan sand, before refitting the plastic cover...

Job done! Allow about 5 hours in total because this entails a fair bit of disassembling / reassembling. Be sure to check everything is tightened up correctly!
PARTS


Article published in association with our partner website https://www.patrol-gr.net/
Please note: Euro4x4parts publishes this information for the benefit of clients but cannot be held responsible for any use or misuse of this advice.
We'd love to hear from you!
If you have a question about this or any other of our articles ,or any suggestions please feel free to get in touch.
Do it yourself, you'll be even prouder! To help you out, Euro4x4parts shares its know-how and expertise in mechanics through 4X4XPERT: new products, technical sheets, and personalized tutorials... You've got the keys!
And because we also learn from your experiences, your feedback is essential. Let us know your thoughts and suggestions by email: 4x4xpert@euro4x4parts.com
Check out our complete catalogue of 4x4 parts and accessories!
All the photos in our articles are taken on authorized roads or tracks, private land, or during supervised competitions. Let's all do our part to preserve the environment!
Please note: Euro4x4parts publishes this information to help its customers, but cannot be held responsible for the advice given here and their consequences when used.