


In this article, we explain step by step how to replace a tail lamp on your 4x4.
For this tutorial, we’re working on a Mazda BT 50.
However, the steps are basically the same for almost all other 4x4s.
TOOLS
To replace a tail lamp on your 4x4:
. Ratchet spanner + size 10 socket
. Flat spanner: size 10
. Teflon or plastic strip
. Degreaser
. Cloth
. Cutting pliers
. Wire stripper
. Electrician's fittings
. Electrician's tape
. Cable tie
DIFFICULTY
To give you an idea of the difficulty level of our tutorials, we rate them from 1 to 5.
Replacing a tail lamp on your 4x4 is a level 1 job.
WORKSHOP
Thanks to Fabien Degalle for this video.
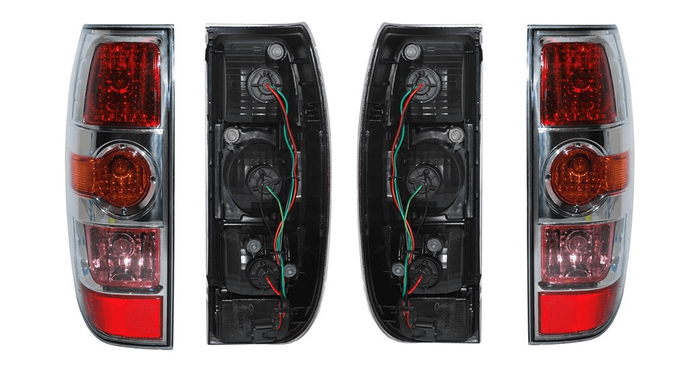
PARTS
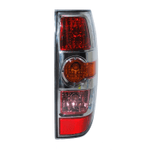
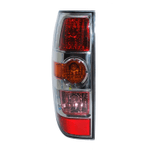
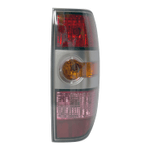
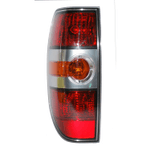
Choose the correct tail lamp for your 4x4
Do it yourself, you'll be even prouder! To help you out, Euro4x4parts shares its know-how and expertise in mechanics through 4X4XPERT: new products, technical sheets, and personalized tutorials... You've got the keys!
And because we also learn from your experiences, your feedback is essential. Let us know your thoughts and suggestions by email: 4x4xpert@euro4x4parts.com
Check out our complete catalogue of 4x4 parts and accessories!
All the photos in our articles are taken on authorized roads or tracks, private land, or during supervised competitions. Let's all do our part to preserve the environment!
Please note: Euro4x4parts publishes this information to help its customers, but cannot be held responsible for the advice given here and their consequences when used.