


What is a Panhard Rod?
Taking their name from Panhard & Levassor - the company that invented them, the Panhard rod is a metal bar that is fixed at the upper end to the chassis and to the rigid axle at the other. It's designed to guide the axle laterally and restrain the axle from moving left or right when under strain.
Why replace Panhard rods ?
An adjustable Panhard rod is recommended when a 4x4 has undergone a suspension lift. It enables an axle to be aligned correctly with the body/chassis.
In the article, we take you step-by-step through how to replace your standard rods with adjustable Panhard rods.
For this tutorial, we are working on a Nissan Patrol Y61.
The same method applies to many other 4x4s.
TOOLS REQUIRED
To replace the Panhard rods on your 4x4 with adjustable rods, you will need:
. 24mm flat spanner
. Impact wrench or pry bar (1m+) for loosening the nuts
. Ratchet spanner
. Torque wrench for tightening
. Adjustable spanner
. 24mm socket
. Pipe wrench with at least 54 mm capacity
. Flat ruler at least 1m long
. 50 cm tape measure minimum
. Grease
. Penetrating oil
Difficulty
To give you an idea of the difficulty level of our tutorials, we note them from 1 to 5.
Replacing the Panhard rods is a level 2 job.
WORKSHOP
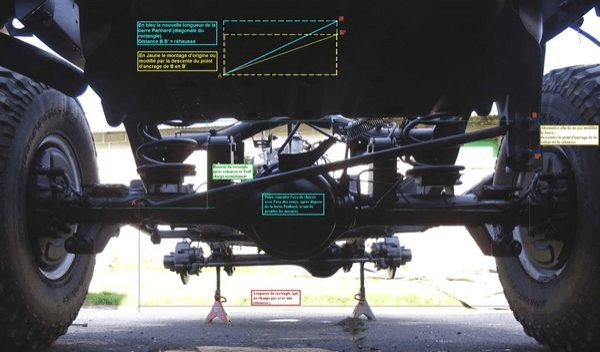
1 - The work must be carried out with the wheels of the 4x4 on perfectly flat and level ground. The vehicle, once the Panhard bar has been removed, must not move under any circumstances.
First of all, spray all the nuts to be dismantled with penetrating oil at least twice, starting a day before.
Lubricate the internal adjustment threads on the adjustable Panhard rods to prevent them from seizing up in the future.
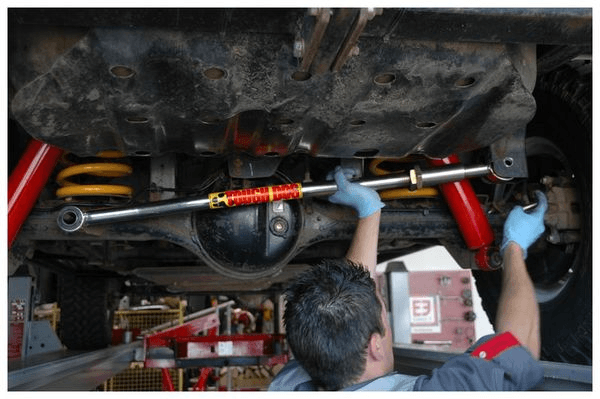
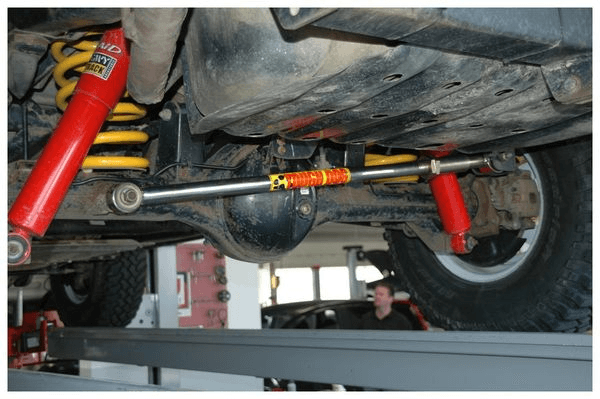
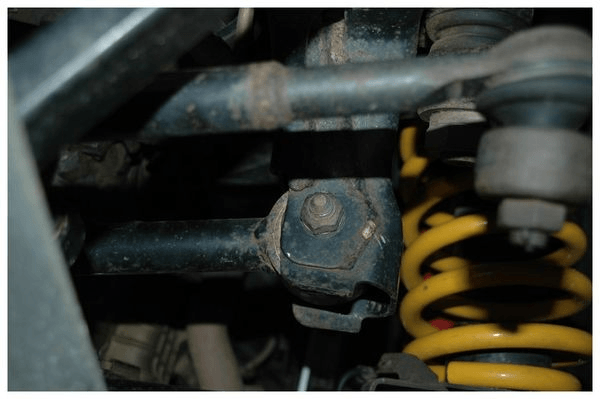
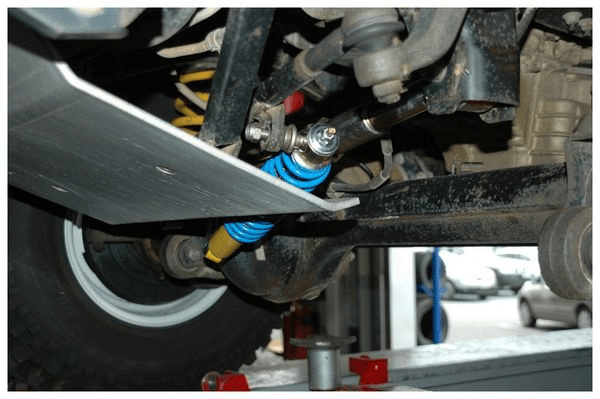
2 - Here is the rear rod, on our Nissan Patrol Y61 3l, it is slightly curved to avoid rubbing on the differential housing on the axle.
It is worth noting that, a 3.0l rod does not fit on a Y61 2.8l or Y60 (and vice versa too). The chassis side bushing was modified and replaced by a ball joint style system, wider than the previous rods.
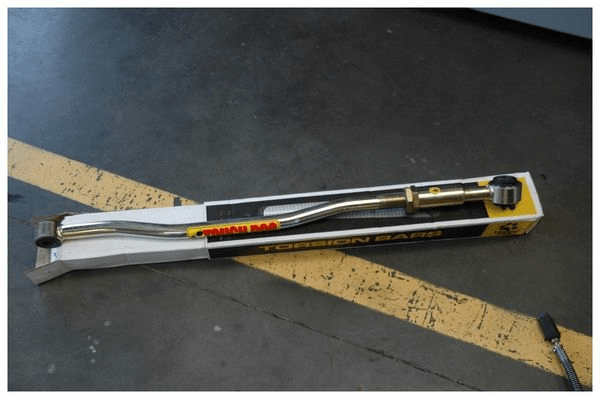
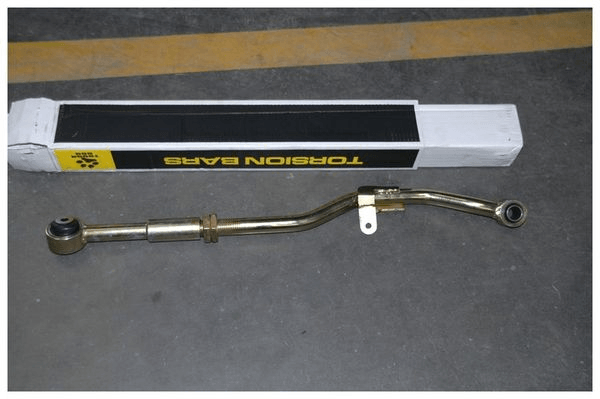
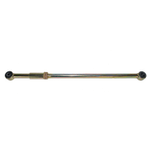
3 - Here is the Panhard rod we are going to replace
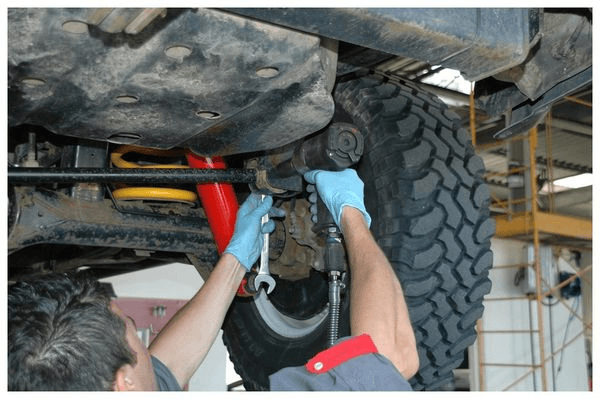
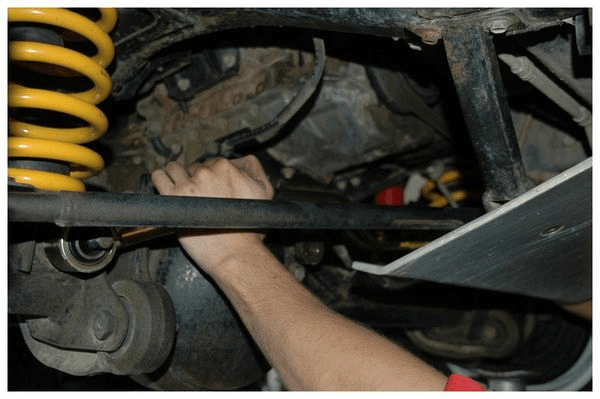
4 - Remove the nuts using an impact wrench available, especially during the first disassembly, the nuts at this point are very tight and will probably put up quite a fight. They can also be removed with a good quality spanner or socket by extending it with a tube but be beware of the risk of breaking tools.
5 - Start at the axle end first, this makes it easier to remove the rod at the chassis end.
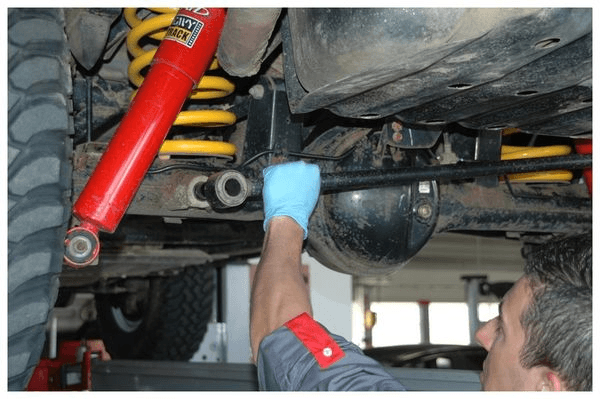
6 - Now remove the old Panhard rod.
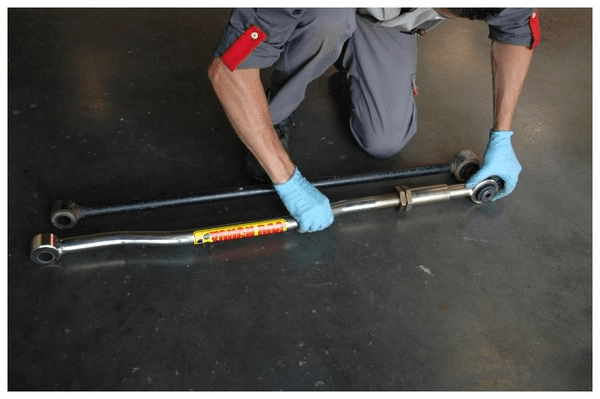
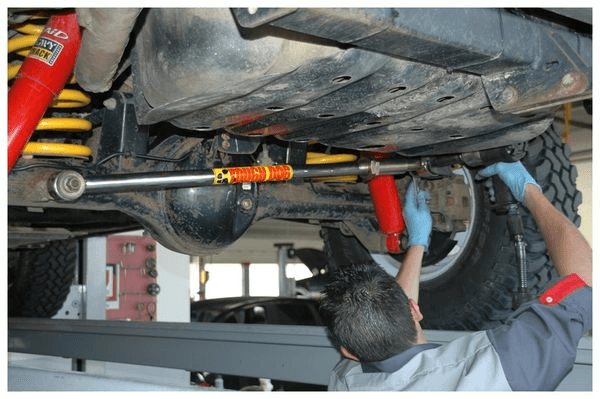
7 - Place your new Panhard rod alongside the old rod and adjust it to the same almost the same length. If your vehicle has a suspension lift under 10cm then setting the new rod to 1cm longer than the original rod is all you need. Over this amount of lift then you will be looking to set it at 2cm longer.

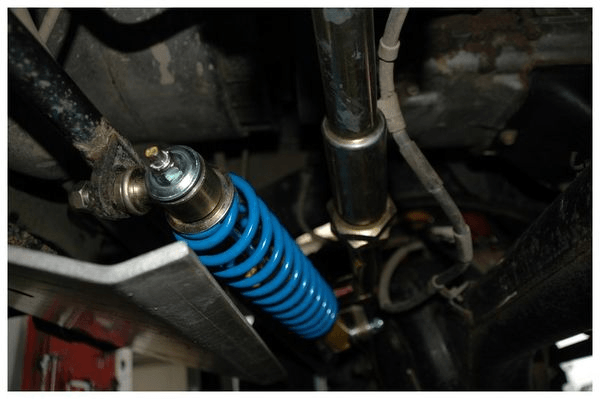
8 - The new bar features a heavy-duty design.
9 - Reassemble the new bar, taking care to grease the axle side mount and the bearing on the chassis side. It is also necessary to lightly lubricate the threaded section.
At this stage, don't tighten up the nuts, just tighten them enough to hold the rod in position.

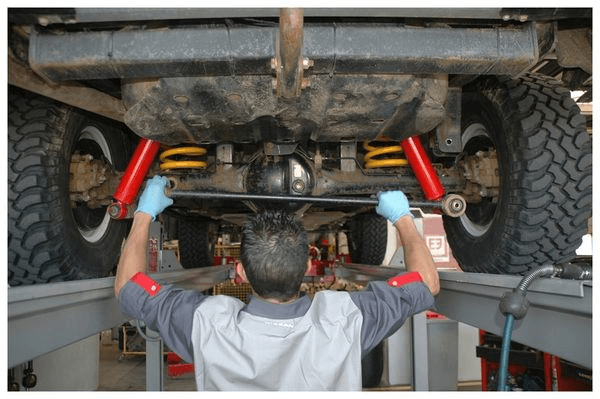
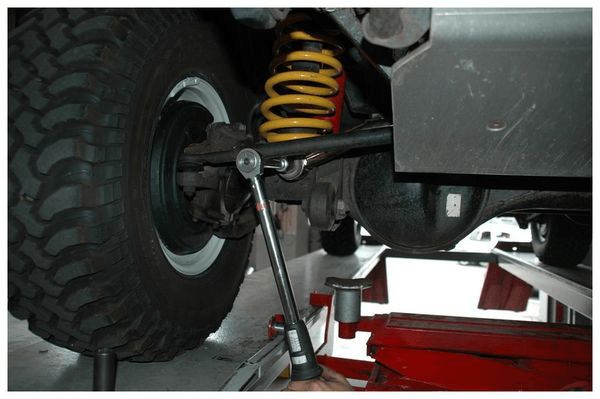
10 - Using the ruler and the tape measure, measure the distance between the edge of the wheel (where the ruler rests) and the chassis on each side. The 2 sides must have the same distance otherwise shorten or lengthen the Panhard bar. The adjustment must be as precise as possible (with this kind of bar, you can adjust to within +/- 1 cm).
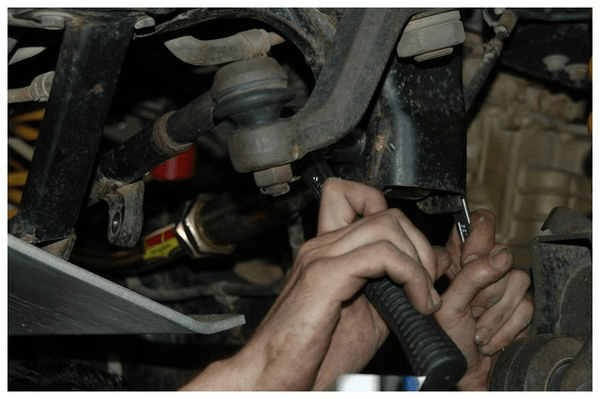
11 - When you have centered the axle tighten up the nuts.
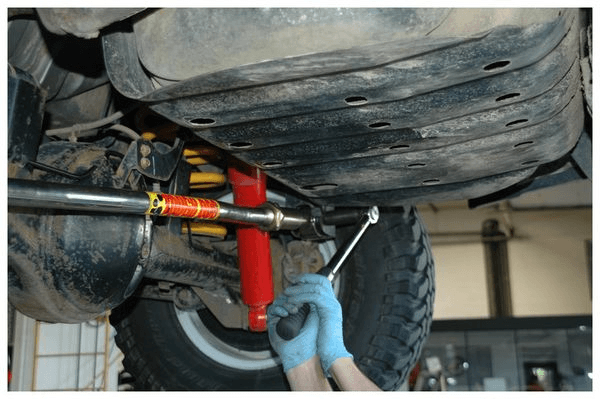
12 - Then tighten up with a torque wrench to the specified settings.
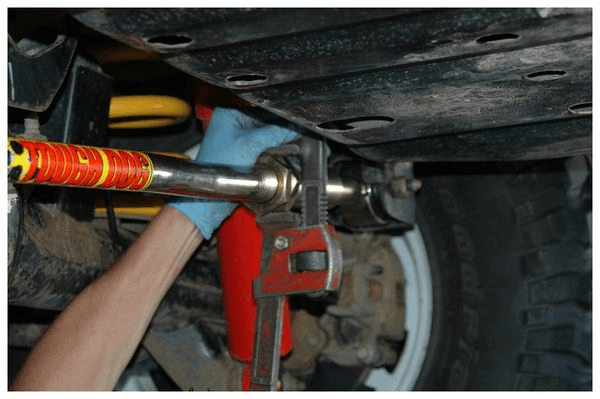
13 - Use the large pipe wrench to tighten up the adjusting nut and then the locking nut.
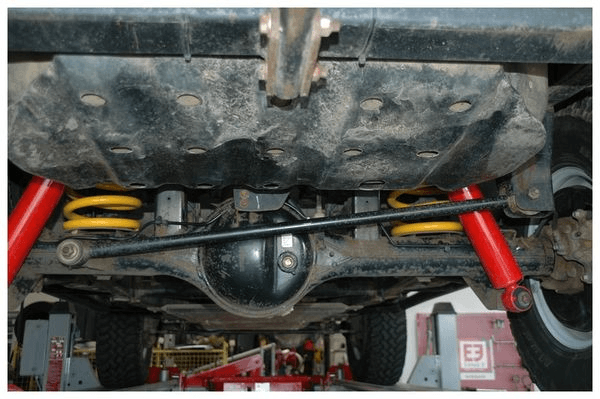
14 - Job done - your Tough Dog Panhard rod is now ready for action.
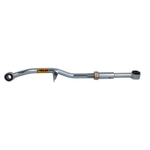
15 - Here is the front rod with its bent shape and the steering damper mount. You will notice that just as with the rear rod, the chassis side bushing is a special design (on the left in the photo).

16 - Remove the steering damper.
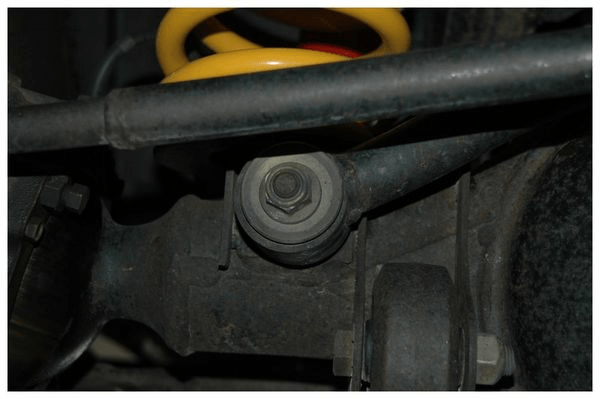
17 - The axle end nut.
18 - As with the rear rod, detach the axle end before undoing the chassis end of the rod.

19 - Same as before, roughly match the length of the new Panhard rod to the old rod.
20 - Now fit the new Tough Dog Panhard rod, taking care to grease the same parts as with the rear rod.
21 - Loosely tighten the nuts to keep the rod in position, then check the distance between the wheels and the chassis just like we did at the rear. Adjust the length as required.
22 - When everything is OK, finish off the job with the torque wrench to the specified settings.
23 - We took the opportunity to replace the standard steering damper with a Tough Dog return-to-centre (RTC) damper.
24 - If the RTC damper was already fitted then you will need to adjust accordingly.
Complete the job by double-checking that all the nuts have been properly tightened - your safety is of paramount importance.
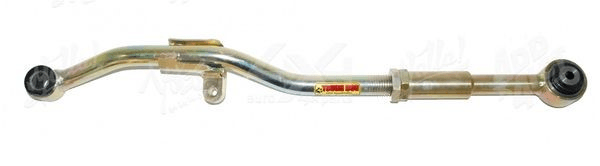
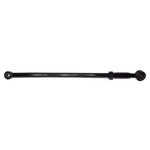
PARTS
A few examples of adjustable Panhard rods for the Nissan Patrol Y61:
For Nissan Patrol Y61 3.0L:
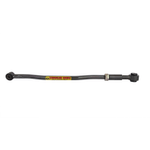
For Nissan Patrol Y61 2.8L:

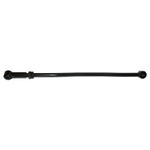
Choose the right Panhard rod for your 4x4:
Thanks to Jeff - https://www.patrol-gr.net/
Please note: Euro4x4parts publishes this information to help its customers but cannot be held responsible for the advice given here and practical consequences that ensue.
Do it yourself, you'll be even prouder! To help you out, Euro4x4parts shares its know-how and expertise in mechanics through 4X4XPERT: new products, technical sheets, and personalized tutorials... You've got the keys!
And because we also learn from your experiences, your feedback is essential. Let us know your thoughts and suggestions by email: 4x4xpert@euro4x4parts.com
Check out our complete catalogue of 4x4 parts and accessories!
All the photos in our articles are taken on authorized roads or tracks, private land, or during supervised competitions. Let's all do our part to preserve the environment!
Please note: Euro4x4parts publishes this information to help its customers, but cannot be held responsible for the advice given here and their consequences when used.