


U-Pol Raptor - what is it?
The Raptor is a resistant and tintable protective coating. Developed to withstand most weather conditions, it is UV resistant and will not fade even after years in the sun.
Raptor is also waterproof. The coating forms a waterproof membrane when applied thereby preventing moisture penetration and reducing the risk of corrosion. It is ideal for surfaces submerged in water, including salt water.
U-Pol is an english company specializing in automotive refinishing products such as fillers, coatings, aerosols, adhesives and paint related products.
We've tested Raptor for you
Easy to apply, tintable in any color and scratch resistant, Raptor from U-Pol is becoming increasingly popular. More and more 4x4 owners are using this this super-tough & durable 2-pack urethane coating. However, to avoid disappointment, it is important to follow the basic rules & recommendations. When it comes to bodywork, preparation is just as important as the product you apply.
For the purposes of this article, a Raptor specialist came to give us a demonstration. We seized the opportunity to test how the product works on different coatings such as plastic, carbon, steel or wood.
We're going to show you step-by-step how to apply a Raptor coating.
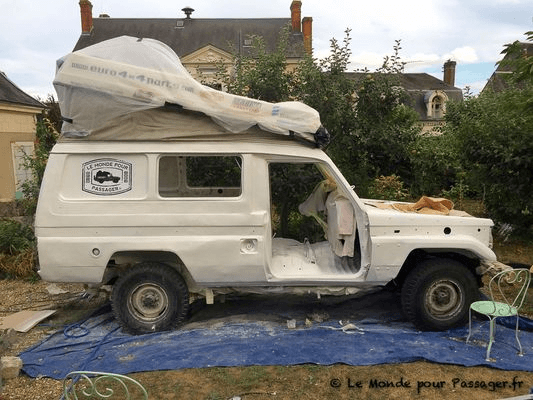
We took a Toyota HZJ 75 to test the Raptor coating.
This tutorial is valid for many other applications.
TOOLS
To apply the Raptor coating to different parts of your 4x4, you will need:
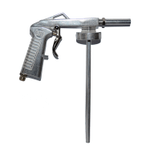
. Compressor
. Blow gun
. P80 and P180 sandpaper/discs
. Orbital sander
. Angle sander
. Degreaser
. Acetone
. Phosphating primer
. Thick masking paper or plastic film
. Masking tape
. Graduated dispenser
. Personal protective equipment: mask, pair of glasses and combination
. Paint spray gun suitable for Raptor (check out the products at the end of this article)
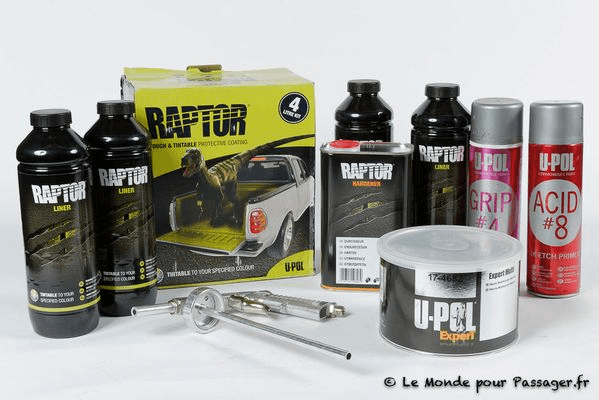
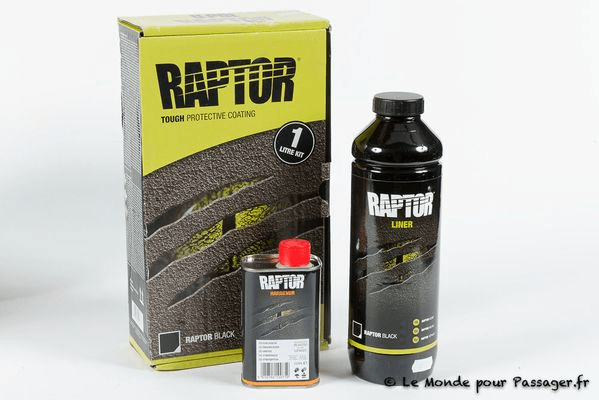
. Raptor coating, bonding primer, adhesion activator, thinner (see products at the bottom of the article)
DIFFICULTY
To give you an idea of the difficulty level of our tutorials, we rate them from 1 to 5.
Applying a Raptor coating to various parts of your 4x4 is a level 3 job.
WORKSHOP
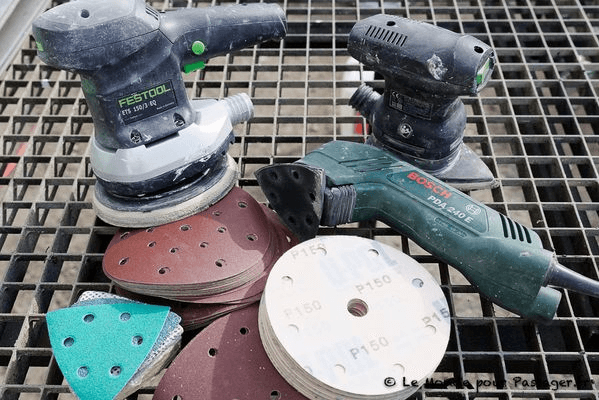
1 - Sanding constitutes a large part of the preparatory work. Luckily, there are machines to ease the pain! An orbital sander is perfect for flat surfaces while the small angle sanders help in the nooks and crannies. However, it will still be necessary to prepare certain areas by hand.
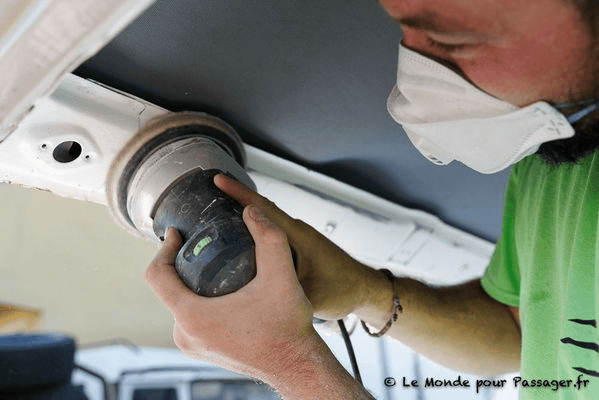
2 - Sanding increases the adhesion of the product to the bodywork. U-Pol recommends a grain of 80 to 180. The thickness of the product masks certain imperfections and allows you to be less fastidious about the quality of the surface finish. As opposed to a traditional paint job where the final sanding is done with a 600 grade finish.
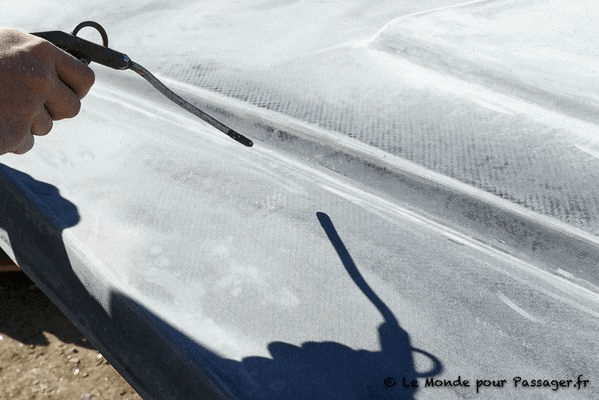
3 - When the sanding is complete you need to blow away the dust and then degrease with acetone.
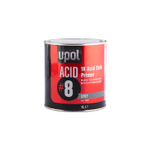
4 - It took 3 of us half a day to complete the the preparation. We applied a coating of the aerosol phosphating prime Acid8, to any bare metal.
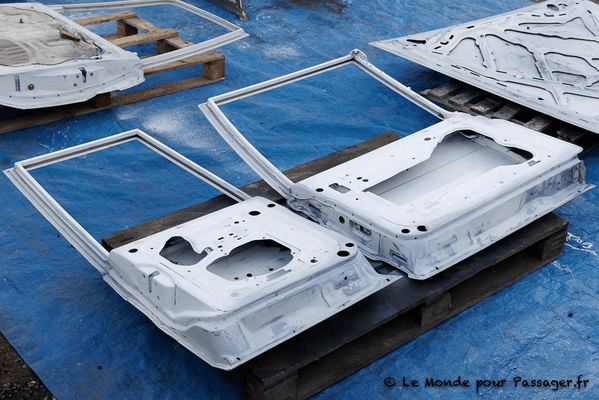
5 - The doors and the bonnet all got the same treatment.

6 - Unlike LineX, a much more expensive, direct competitor, Raptor can be applied in your garden by anyone with a compressor. We used a 100 litre model with a 3HP motor.
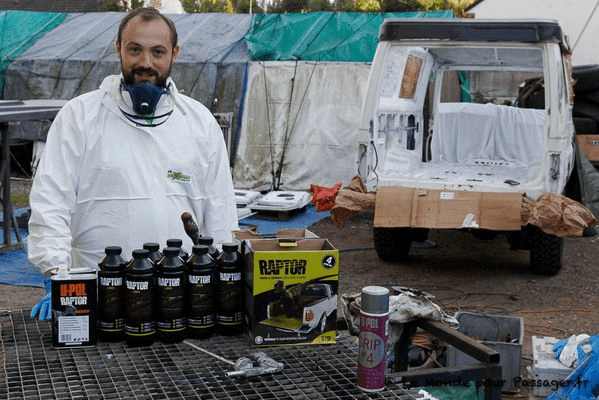
7 - Our Raptor expert Olivier - ready for action!
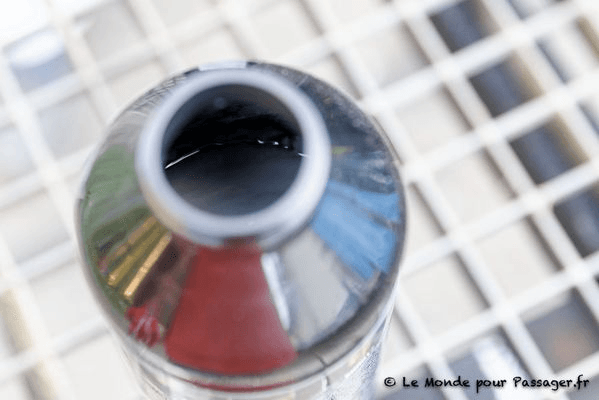
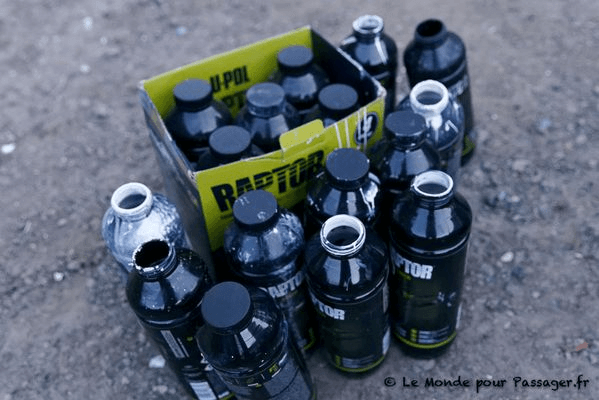
8 - Tintable Raptor is a viscous liquid. Each bottle contains 0.75L and serves as a receptacle for mixing.
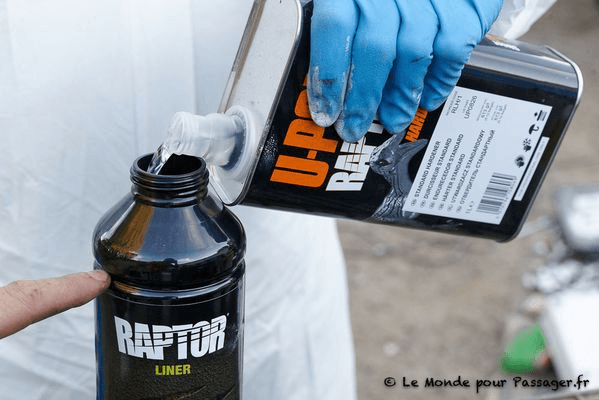
9 - We add 0.25L of hardener up to the level marking on the bottle.
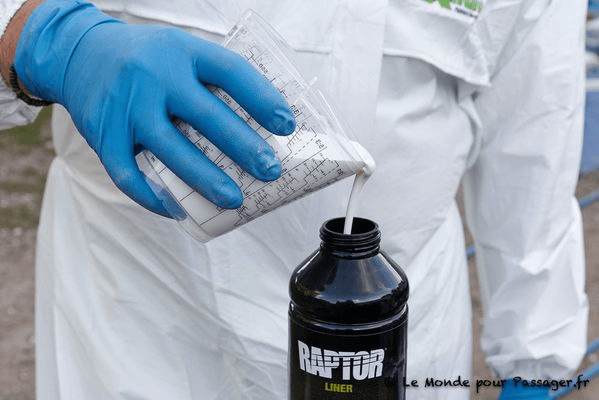
10 - With the tintable version add 10% of a paint containing at least 10% of pigments in solution in an organic solvent base (no water-based paint).
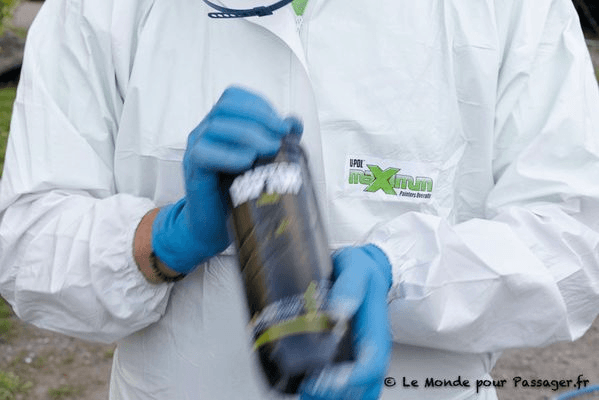
11 - Now thoroughly shake the contents for at least 2 minutes.
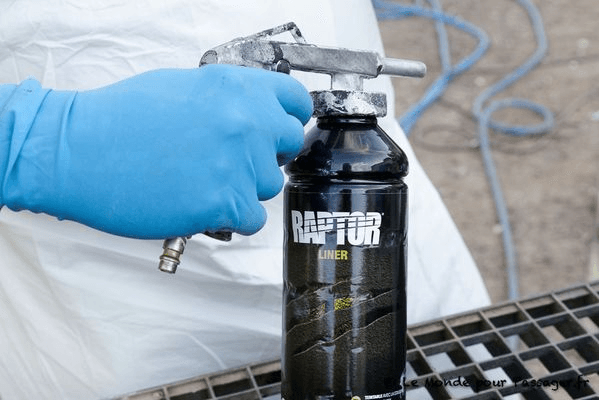
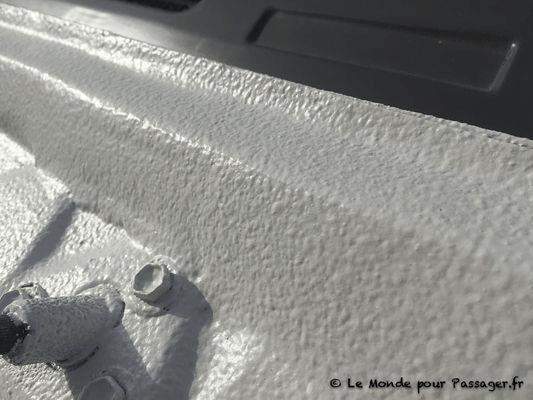
12 - Raptor is applied with a simple spray gun. For achieve different effects, it can also be applied by brush or roller. The ideal temperature is 20 ° C with less than 60% humidity.
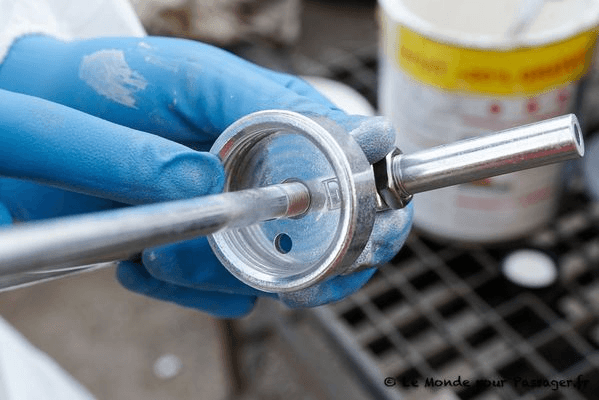
13 - Tip : Olivier recommends unscrewing the pipe slightly so it can reach the bottom of the bottle and avoids wasting any of the product.
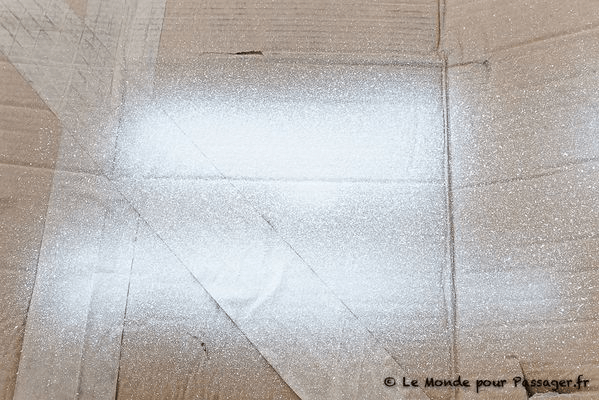
14 - Now it's time to have a test run on a sheet of cardboard to see the spray zone and the texture.
A dirty nozzle will affect the spray. Always wear your protective mask.
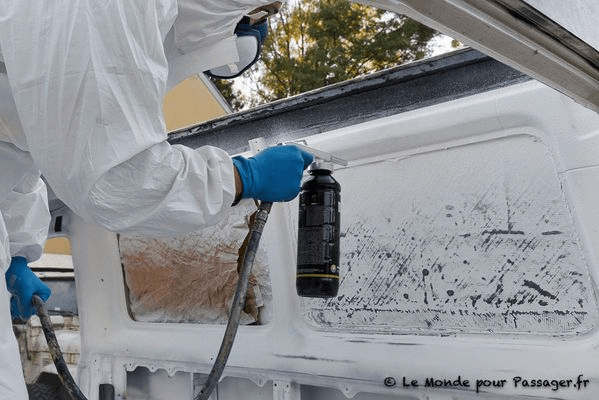
15 - The product is applied with a pressure between 2.75 & 4 bar. In terms of distance, Olivier recommends about 10cm per bar of pressure. So with our compressor set to 4 bar we are spraying at 40cm.
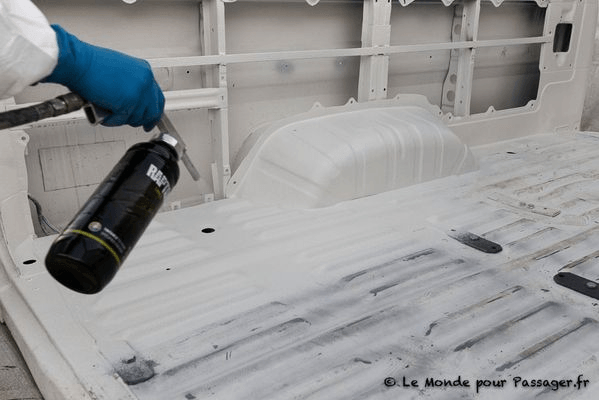
16 - Spraying works both upwards & downwards. It is best to use a criss-cross movement to cover the surface.
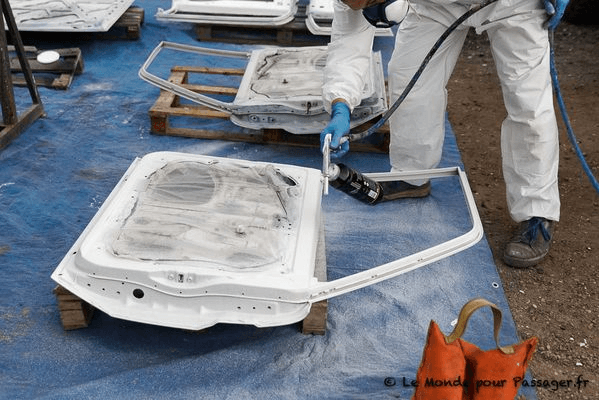
17 - Spraying enables the product to get into those awkward irregular shapes.
18 - The Raptor coating will be touch dry in under an hour. Complete drying takes five to seven days. You need to leave at least an hour between two coats.
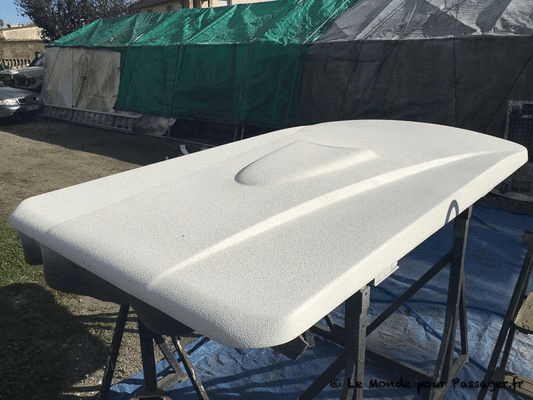
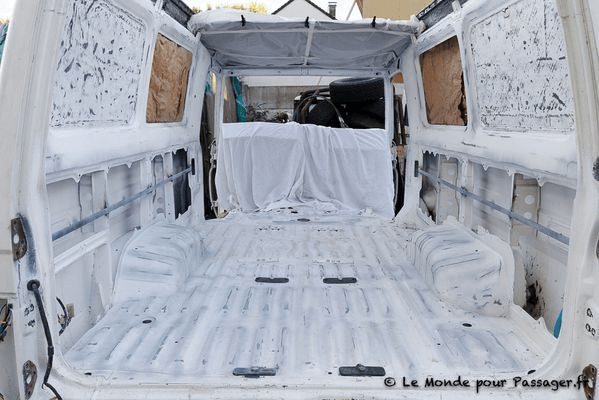
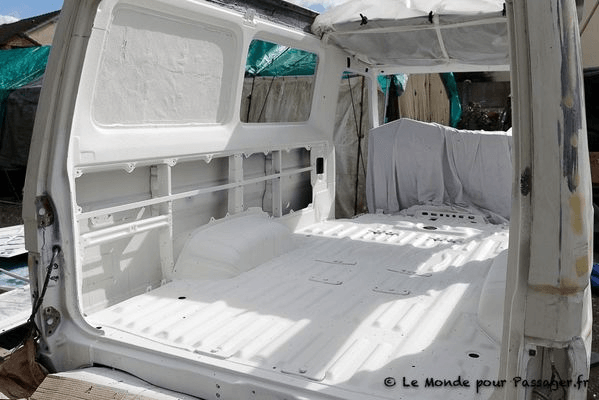
19 - We're also covering the roof with Raptor. The white tint means we have to use a few layers to fully cover the original black colour of the carbon roof panel.
20 - For the interior of this Toyota HZJ 75, doors and roof, four Raptor U-Pol kits were needed, or sixteen liters of product.
U-Pol recommends 1 kit to cover the 12 m2 of a pick-up bed in standard black. If you are working in white tint it will take more.
Texture
For a smoother finish you can add up 20% of thinners with will reduce the rougher textured finish.
It boils down to a question of taste of what kind of look you are after.
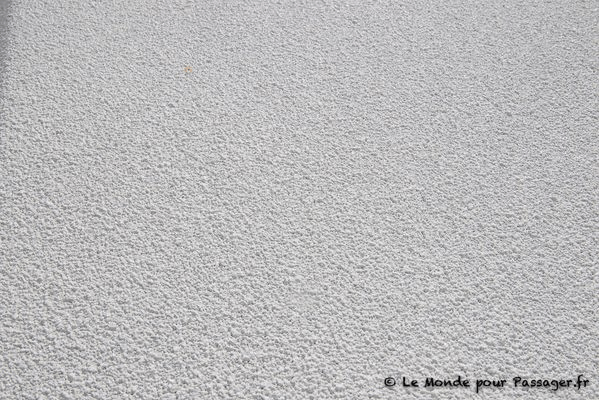
The texture is also dictated by the spray pressure and the application distance.
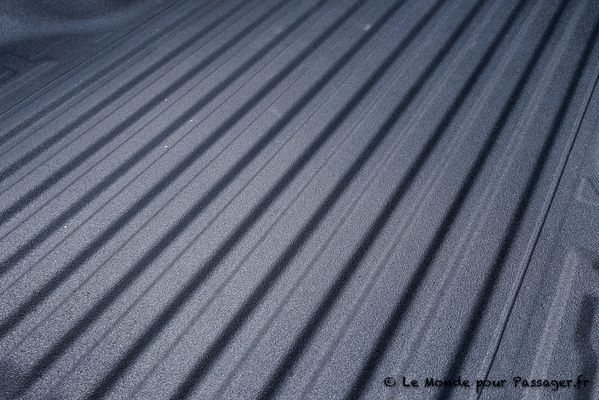
It is worth noting that the black Raptor gives an excellent appearance because its coverage is better. We actually tried to tint the Raptor tintable in black and obtained the same result as the original black Raptor.
Defects
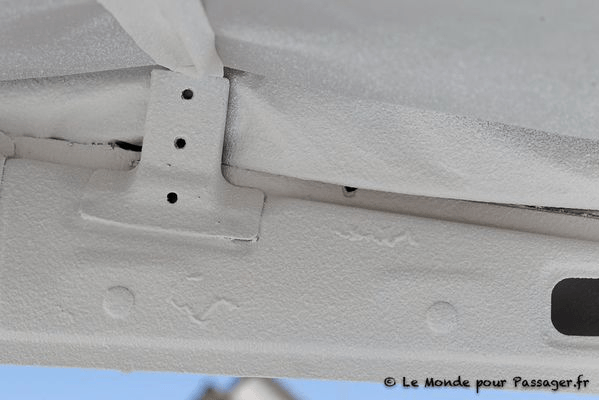
The product rarely cracks without the manufacturer being able to give an explanation. If it does happen you just have to wait twenty-four hours for the product to dry, sand the area and re-apply a layer of product to make the fault disappear.
In this example we didn't prepare the part correctly and forgot to add the Acid8 undercoat. Following a knock, the paint chipped off to expose the rust underneath. As with many other products it is crucial to treat the rust correctly before application. As ever, simply hiding the rust away rarely works!
For small repairs or small areas Raptor is also available in 1L kits.
Different surfaces
Wood
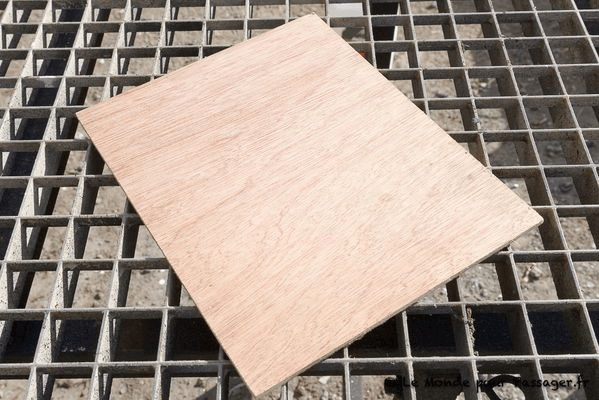
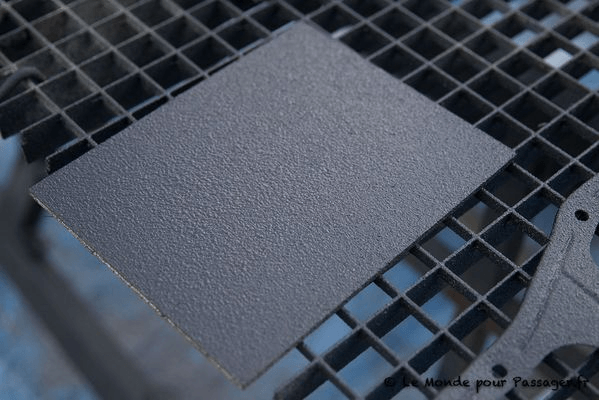
Having sanded down the wood with a rough grain and blown away any dust, Wipe the wood with a slightly damp cloth or acetone to remove remaining dust. Wait for the wood to dry before applying. The Raptor coating sticks to the wood really well and the give a great look. If you have your 4x4 kitted out wooden elements you can imagine how professional the results would look like on a full interior revamp.
Hard plastic
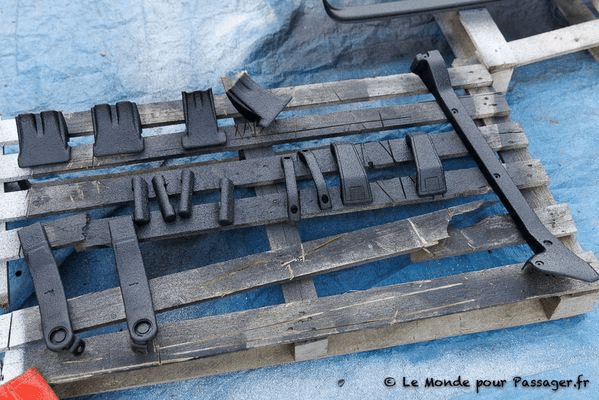
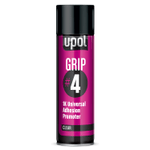
Results can vary on plastic. Depending on the type of plastic you have to test first. For example on a snorkel you can chase away any demold wax with a flame. Sand with a coarse grain and apply a coat of Grip4. This U-Pol product is specially made to increase grip on difficult surfaces.
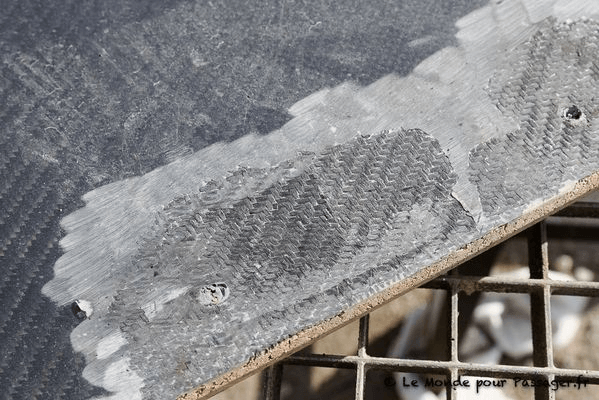
Raptor can be applied directly onto carbon and resin so long as the fibres aren't exposed. If they are then you will need to apply a primer on the exposed parts. After sanding, dusting and degreasing, apply Grip4 so that the Raptor adheres to the resin.
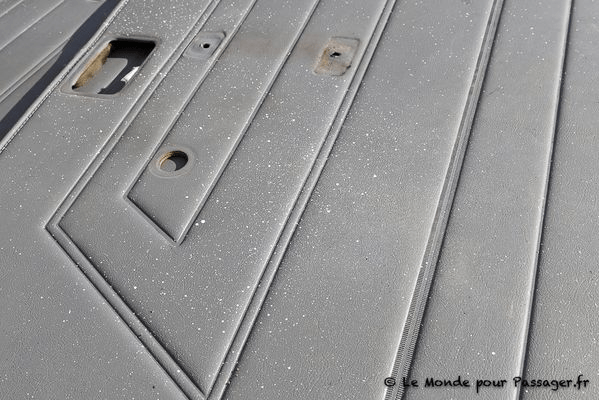
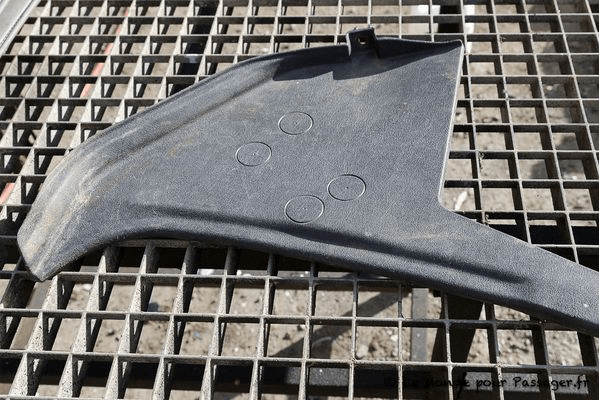
Soft plastic
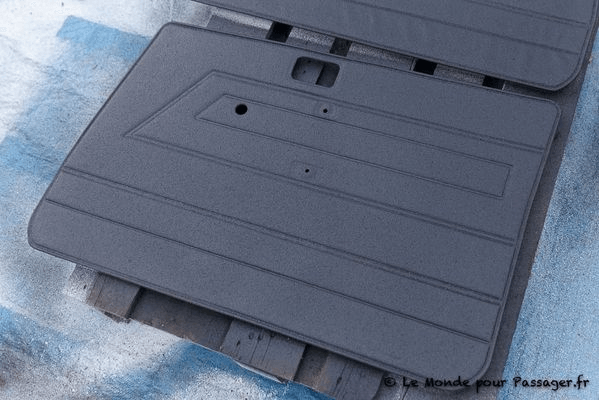
For a door panel the trick is to ensure that the surface is really clean, then sans with a coarse grain, blow ay the dust, degrease and apply a thin coating of Grip4 adhesion promoter. The Raptor coating will work well so long as the plastic isn't too supple.
Long term verdict?
Paola and Philippe have been on the road for eight months (check out their Facebook: "Homme Femme par essence"):
"The Raptor finish probably attracts a little more dust than a traditional smooth paint, but it's not a problem. After a good wash the colour comes back and it looks brand new. The real advantage is that is scratch resistant.
We have had a few areas where the coating has peeled away but this was due to our poor preparation - for example the small 10x2cm patch below the windscreen. Just like a normal paint job we suffered a chip from a stone that was projected next to the headlight but it has not grown since then. The Raptor finish certainly intrigues people we meet on our travels. It's always a great conversation starter!"
Raptor coating - Final verdict
Advantages:
- Easy to apply, even at home
- Tolerance to preparation defects
- Economical (compared to a classic body shop paint job)
- Highly scratch resistant
- Choice of finish (textures and colors…)
Disadvantages:
- Look (plastered appearance not to everyone's taste)
- Can look dusty
- Fragile if applied incorrectly (hard layer which cracks)
- Difficult to remove (heat gun required)
- Rust need to be treated before application.
PRODUCTS
Examples from the Raptor range of products:
Discover the full Raptor range of products
Credits - Thanks to Marc Mellet blog.lemondepourpassager.fr
Please note: Euro4x4Parts publishes this information to help its customers but cannot be held responsible for the advice given here and practical consequences therin.
Do it yourself, you'll be even prouder! To help you out, Euro4x4parts shares its know-how and expertise in mechanics through 4X4XPERT: new products, technical sheets, and personalized tutorials... You've got the keys!
And because we also learn from your experiences, your feedback is essential. Let us know your thoughts and suggestions by email: 4x4xpert@euro4x4parts.com
Check out our complete catalogue of 4x4 parts and accessories!
All the photos in our articles are taken on authorized roads or tracks, private land, or during supervised competitions. Let's all do our part to preserve the environment!
Please note: Euro4x4parts publishes this information to help its customers, but cannot be held responsible for the advice given here and their consequences when used.