


TOOLS
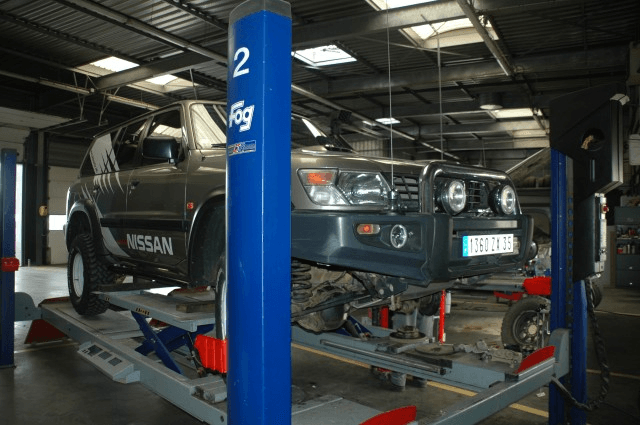
. Jack + axle stands (here we used a post lift)
. Wheel brace
. Ratchet + socket
. Hex key
. Drive pin punch
. Phillips screwdriver
. Mallet or hammer
. Brass drift punch
. Extractor
. Emery cloth
. Degreaser
. Grease
DIFFICULTY
To give you an idea of the degree of difficulty in our tutorials we give them a note of 1 (easy) to 5. This is a level 2 job.
HOW TO
We'll start by removing the wheel!
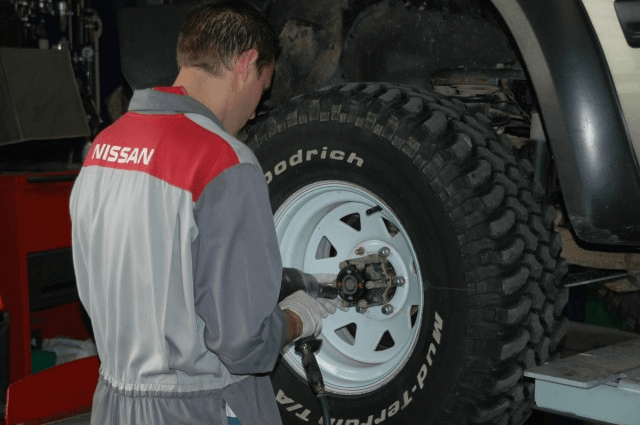
Set the free wheel hub to "LOCK"
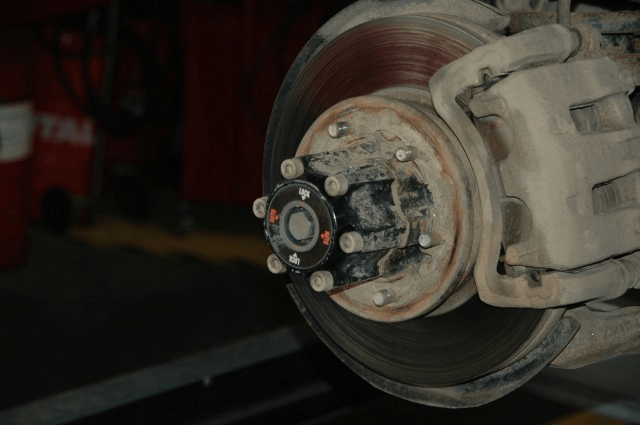
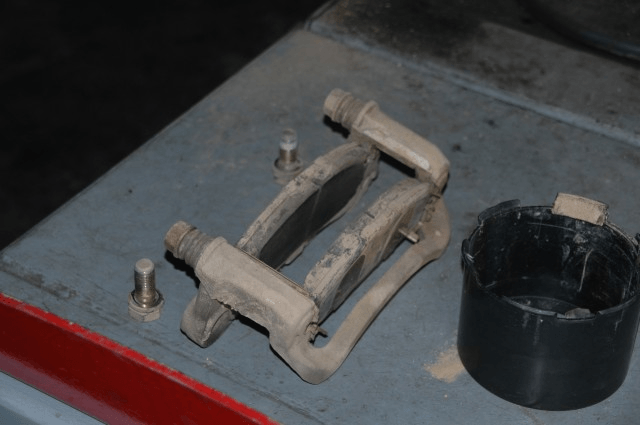
Remove the brake caliper and bracket
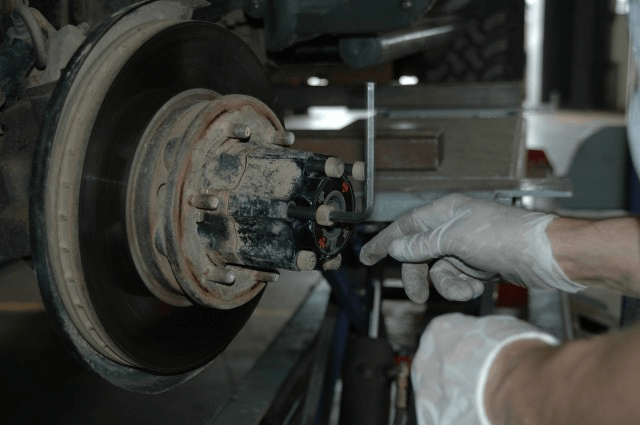
Dismantle the automatic free wheel hub

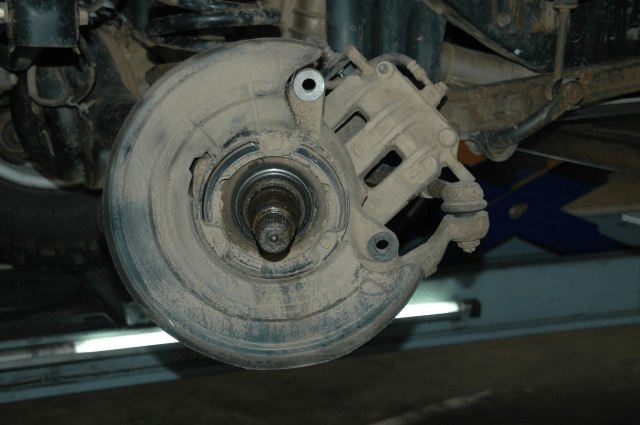
You're getting closer to the bearings!
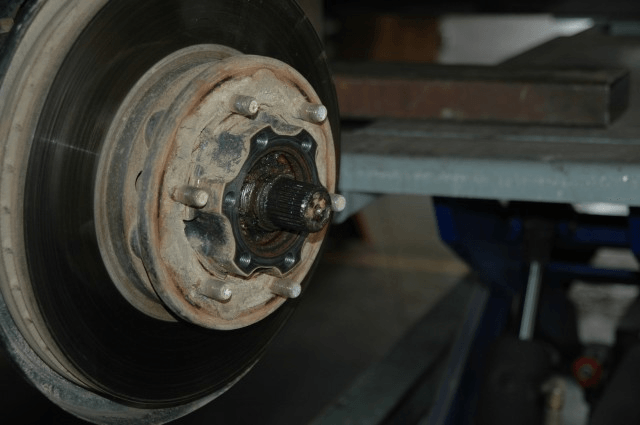
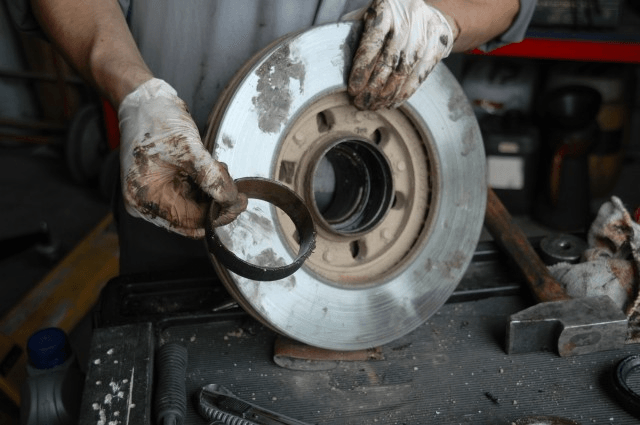
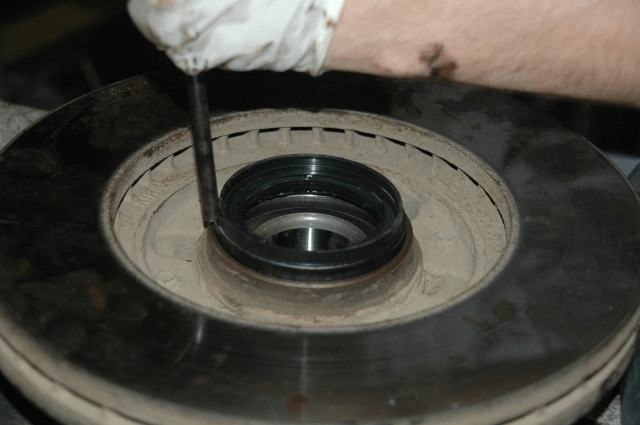
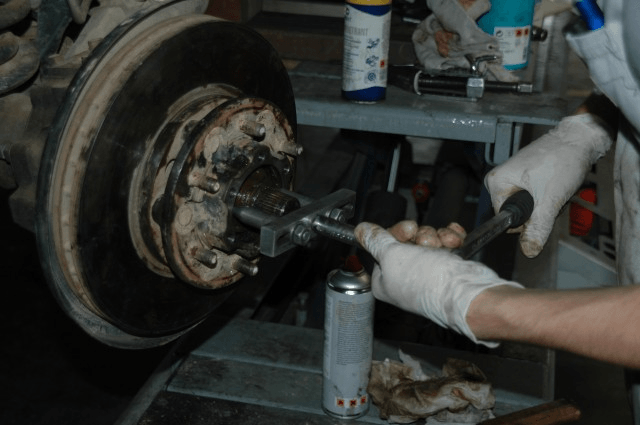
Use a cruciform screwdriver to remove the small ring that holds the bearing
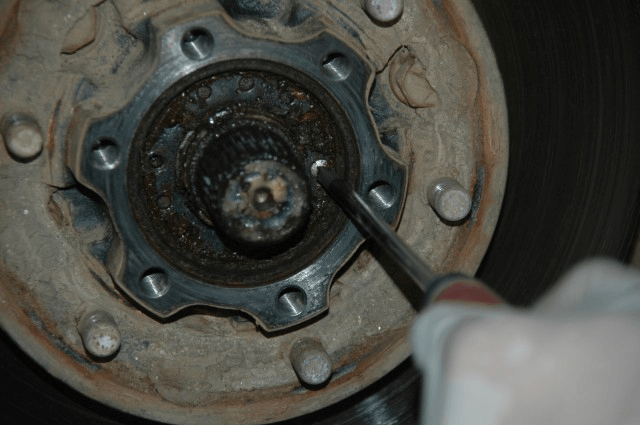
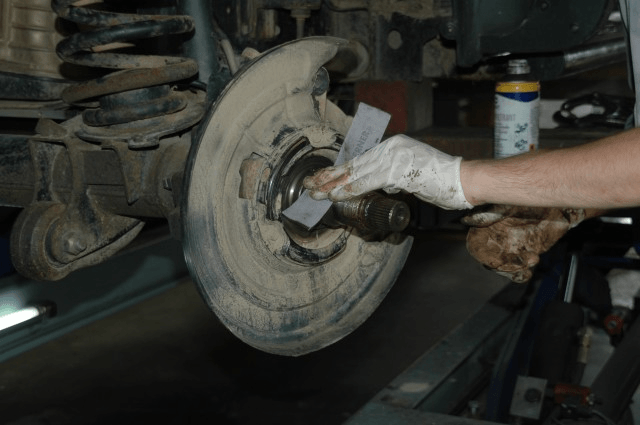
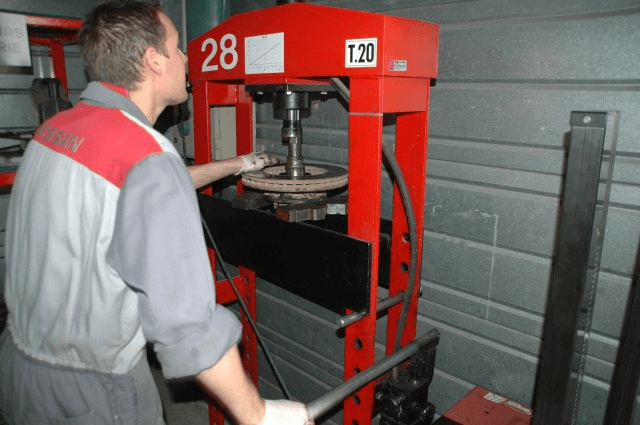
then use the sepcial tool (or a DIY tool) to remove the ring
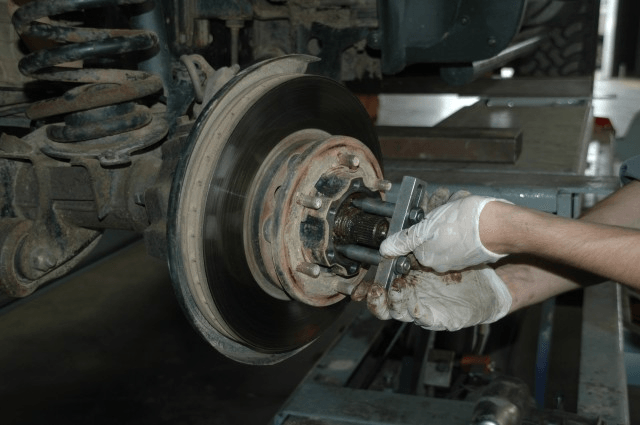
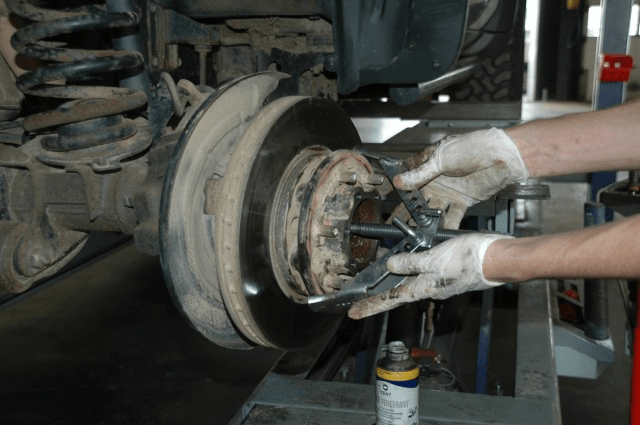
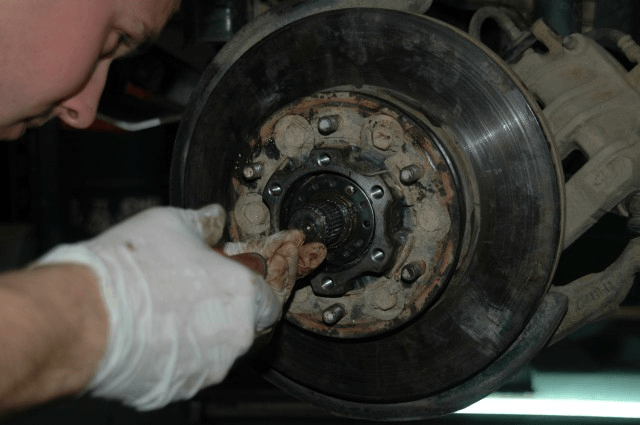
Remove the whole disc and bearing assembly
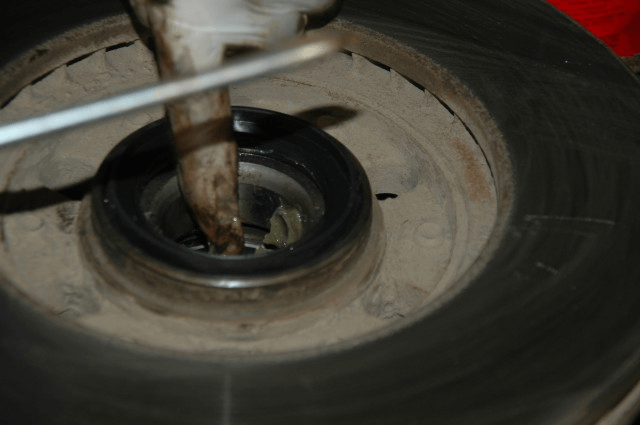
If it doesn't come easily, use an extractor!
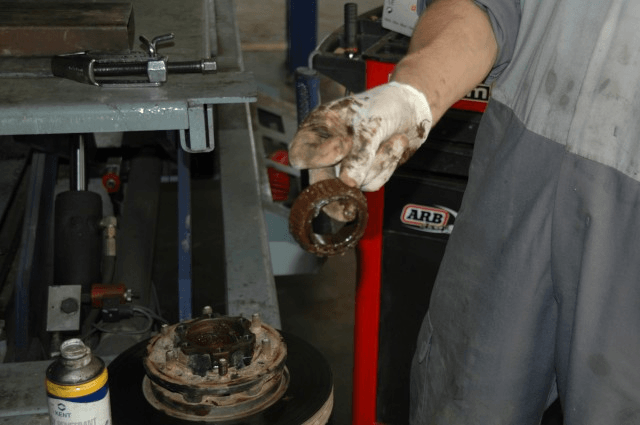
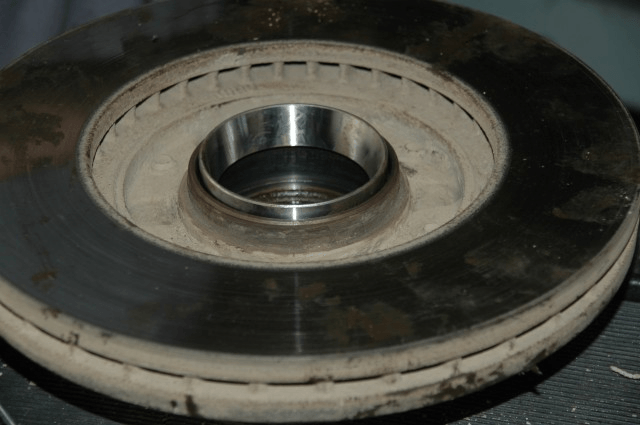
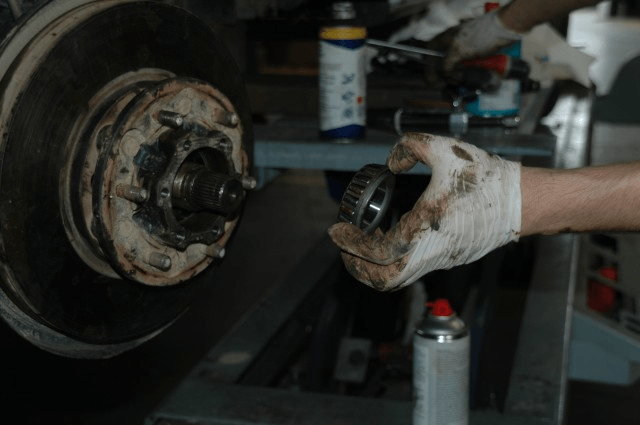
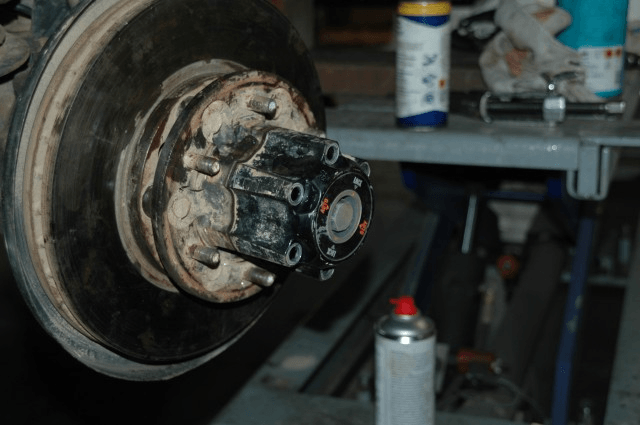
Once removed it will look like this
Here is one of the old bearings - well worn thanks to mud and water
The job continues
Gently clean using fine grade sand paper
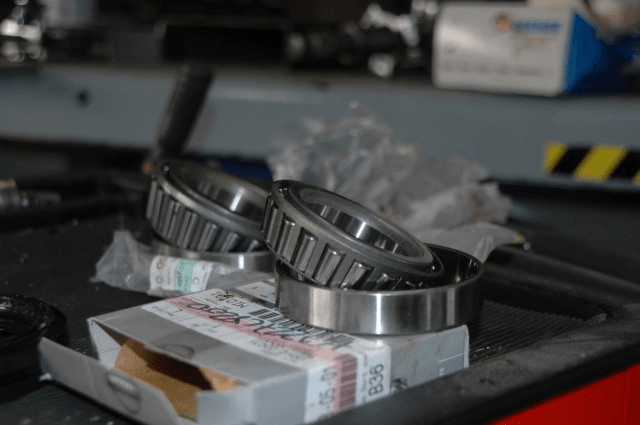
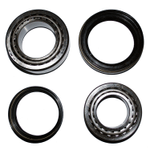
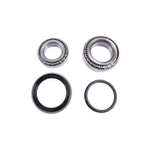
Here are the 2 new bearings with their cages
Remove the old bearing cages

Position the new cages

In goes the first bearing
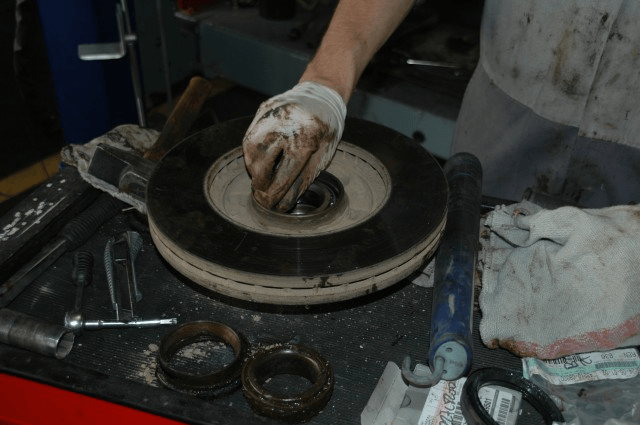
Easy with a press, but can be done manually!
Refit the parts behind the disc
Grease the parts

Put the disc assembly back into position, then the second bearing - adequately greased
Refit the small ring infront of the bearing and tighten up using the correct tool. Cheque on the torque required in the workshop manual, or fully tighten then back off a quarter of a turn
Refit the small screw on the ring
The automatic hub goes back into place
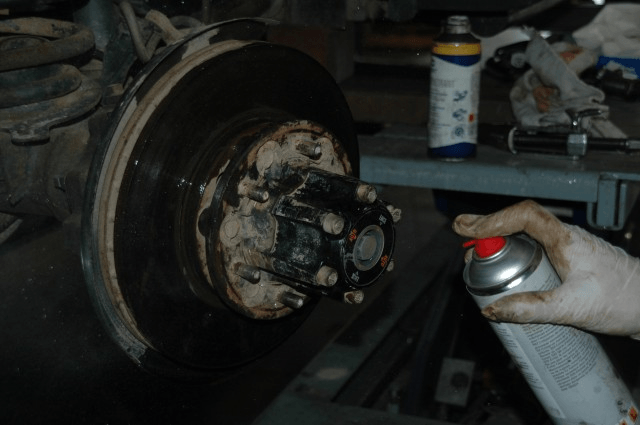
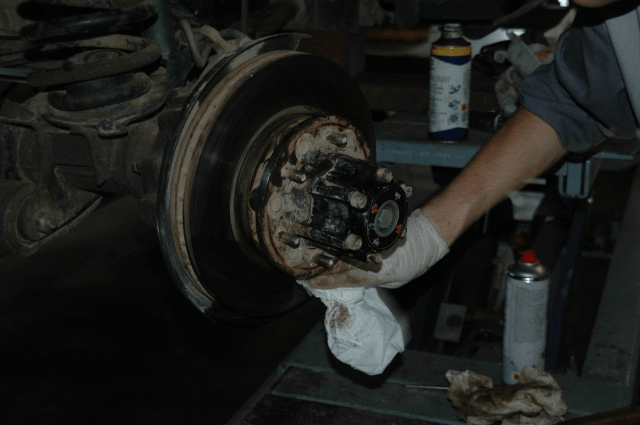
Be sure to carefully degrease the brake disc!
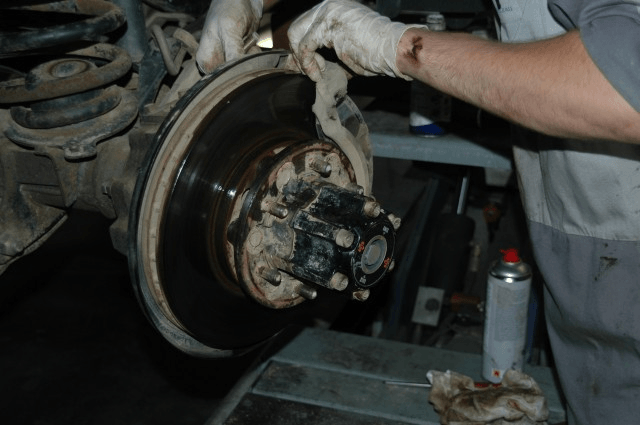
Back on with the brake caliper and mount
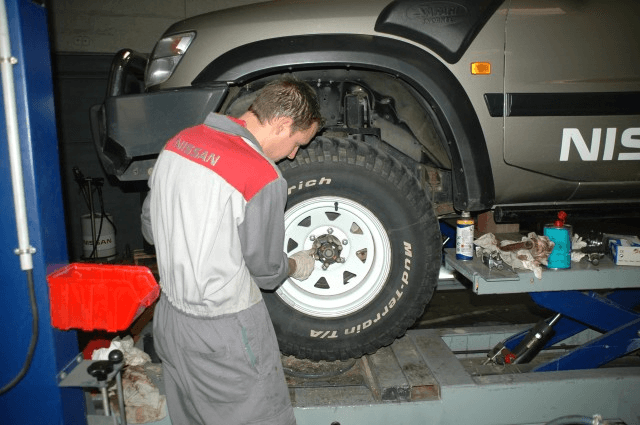
Now you can put the wheel back on, not forgetting to set the automatic hub to "AUTO"
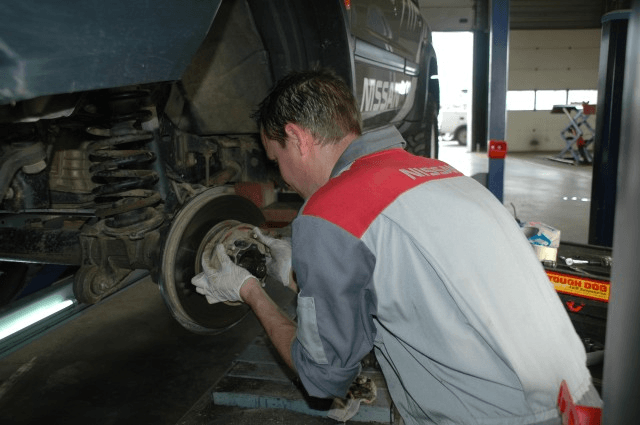
Job carried out at Nissan Esapce 3. Thanks for letting us follow you with our camera!
Parts
Aftermarket quality
Genuine quality
You can also access the front wheel bearings of your vehicle via these links:
Please note: Euro4x4parts publishes this information for the benefit of clients but cannot be held responsible for any use or misuse of this advice.
We'd love to hear from you!
If you have a question about this or any other of our articles ,or any suggestions please feel free to get in touch.
Do it yourself, you'll be even prouder! To help you out, Euro4x4parts shares its know-how and expertise in mechanics through 4X4XPERT: new products, technical sheets, and personalized tutorials... You've got the keys!
And because we also learn from your experiences, your feedback is essential. Let us know your thoughts and suggestions by email: 4x4xpert@euro4x4parts.com
Check out our complete catalogue of 4x4 parts and accessories!
All the photos in our articles are taken on authorized roads or tracks, private land, or during supervised competitions. Let's all do our part to preserve the environment!
Please note: Euro4x4parts publishes this information to help its customers, but cannot be held responsible for the advice given here and their consequences when used.