


Role of the diesel filter
The diesel filter plays a crucial role in a vehicle's operation by removing particles and filtering out water from the fuel. This is particularly important because the mechanical injection pump found in diesel engines is a fragile part.
Why is it necessary to change the diesel filter?
Poor filtration can have serious mechanical and financial consequences. It could damage certain parts further down the circuit, which are much more costly. That's why it's vital to change your vehicle's diesel filter regularly if you want to protect your diesel pump.
In this article, we provide a step-by-step guide on how to easily replace your vehicle's diesel filter. While we demonstrate the process using a Toyota LC 120 as an example, the tutorial applies to most 4x4 models, with the main variation being the location of the diesel filter.
TOOLS REQUIRED
To change the diesel filter on your 4x4, you need :
. A large ratchet spanner + extension + 12" socket
. A Small ratchet spanner + sockets 7 and 8
. Multi-socket pliers
. Strap wrench
. Cleaning cloths
. Container
LEVEL OF DIFFICULTY
To give you an idea of the level of difficulty of our tutorials, we've graded them from 1 to 5.
Changing the diesel filter on a 4x4 is level 1.
WORKSHOP
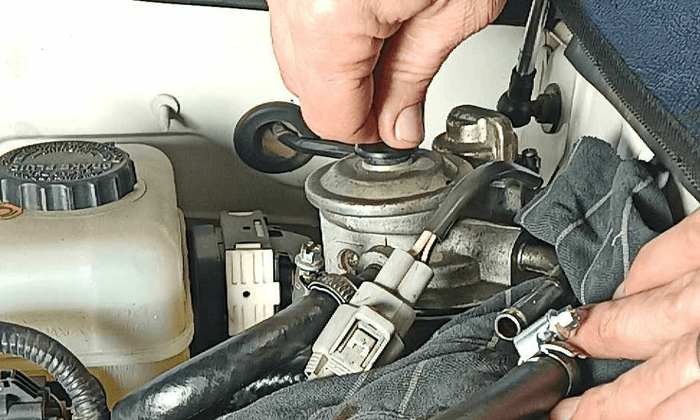
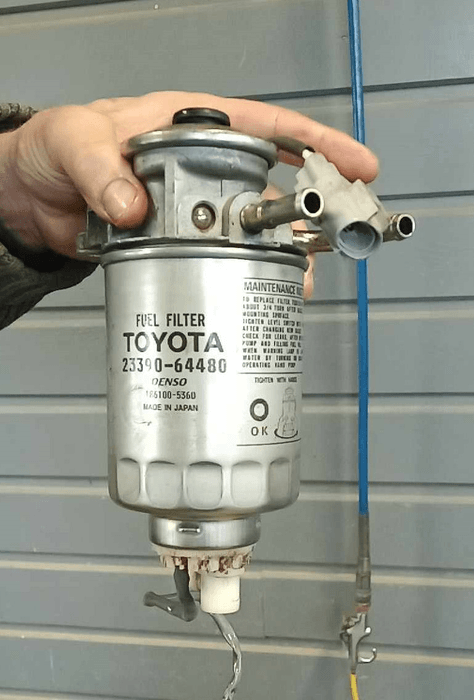
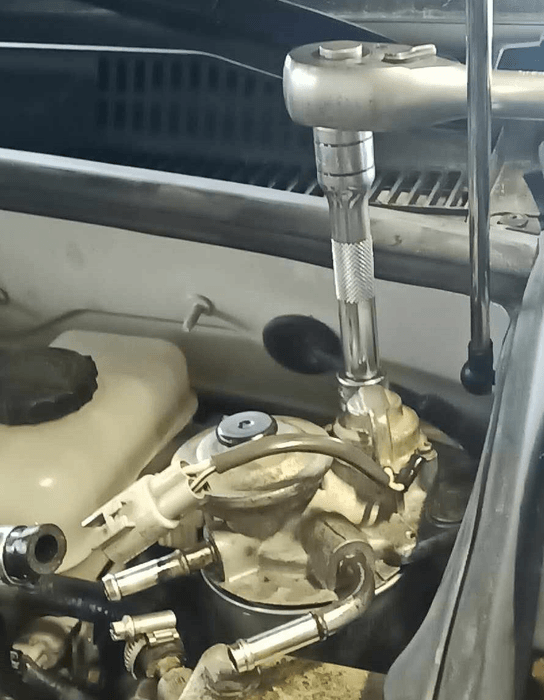
1 - The diesel filter is fairly accessible on the Toyota LC120. It’s on the top of the wing on the driver's side.
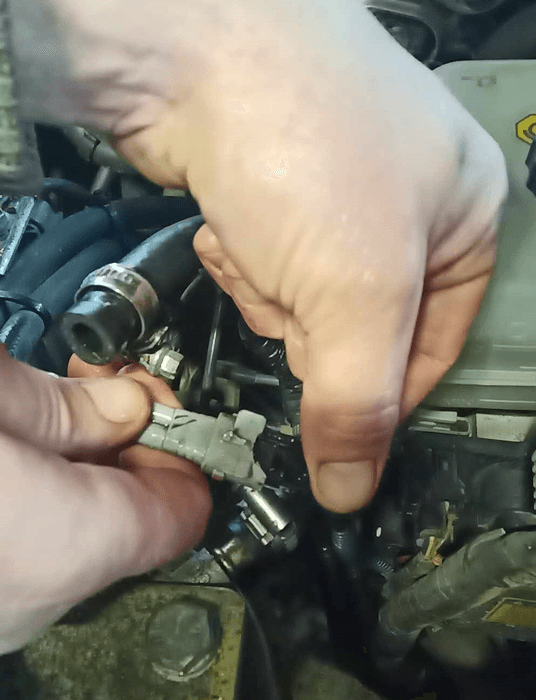
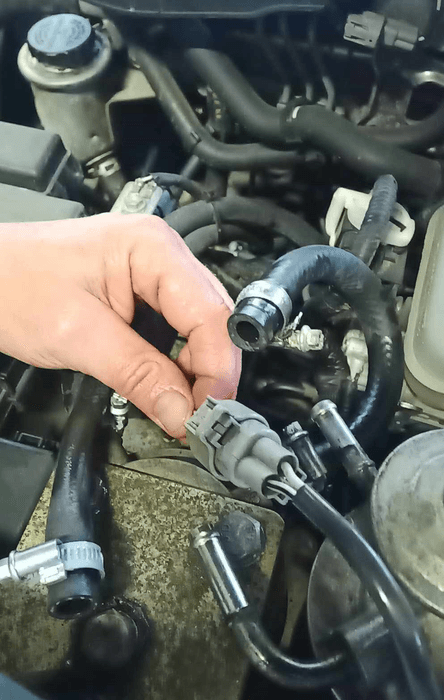
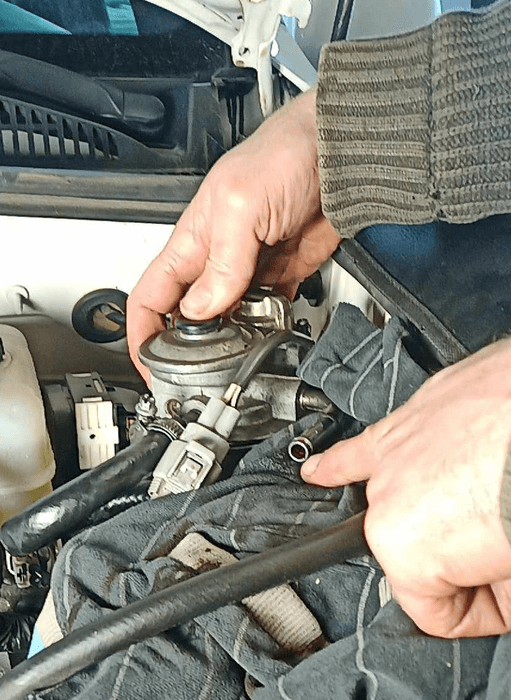
2 - Start by disconnecting the connector located at the top of the filter holder.
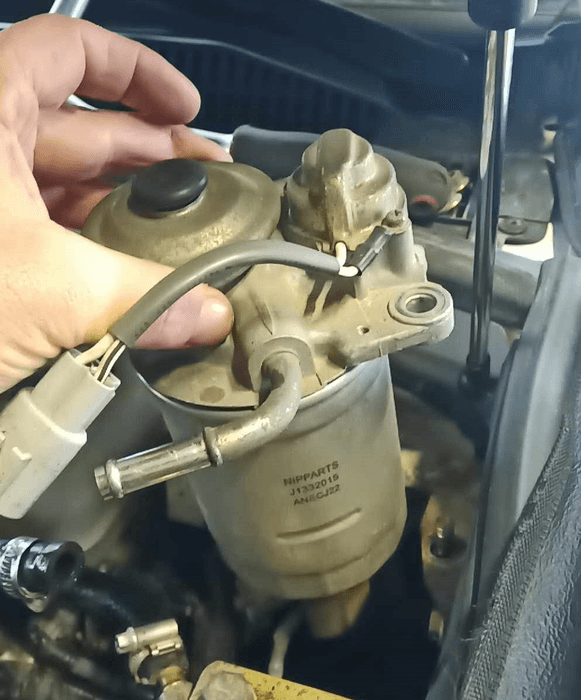
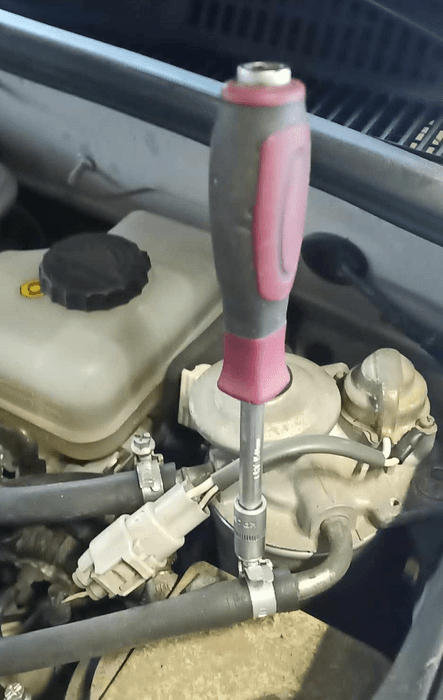
3 - Dismantle the filter holder & filter, this gives you easy access to the actual filter. Don't forget to disconnect the diesel inlet and outlet pipes.
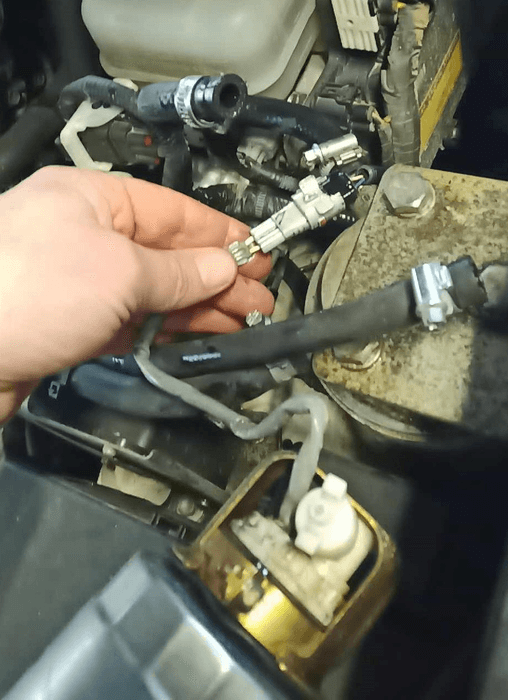
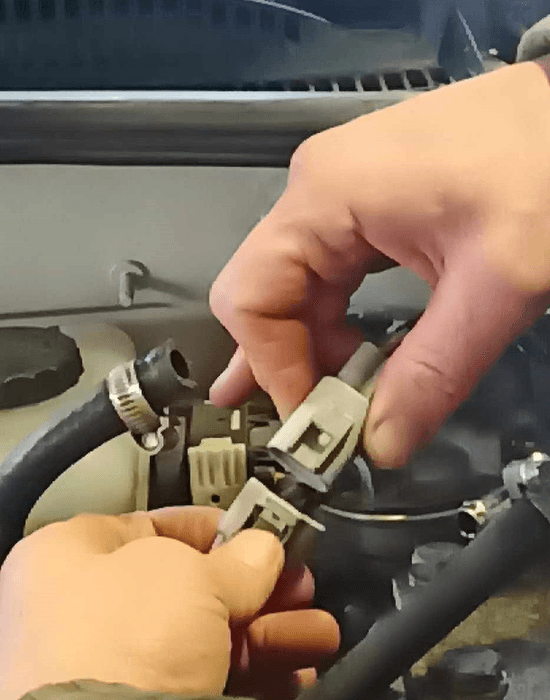
4 - Once the filter holder is free of its support, the small connector under the diesel filter can be disconnected.
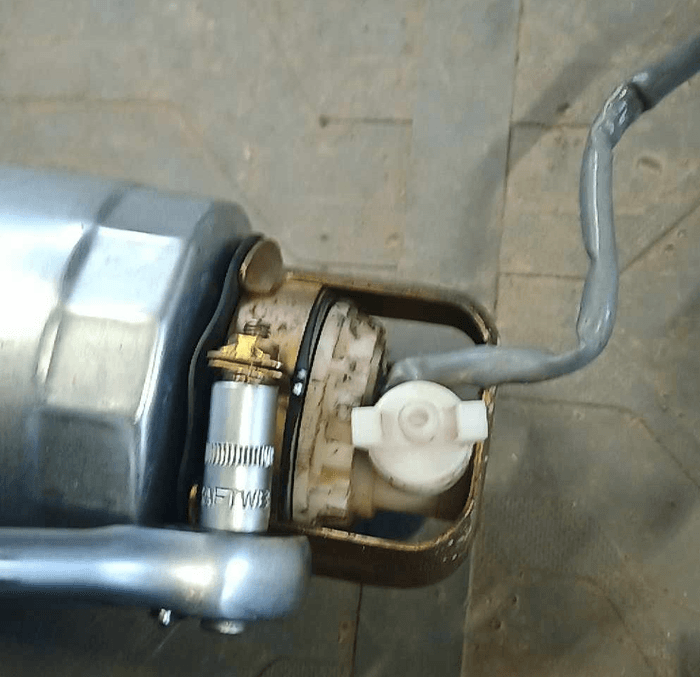
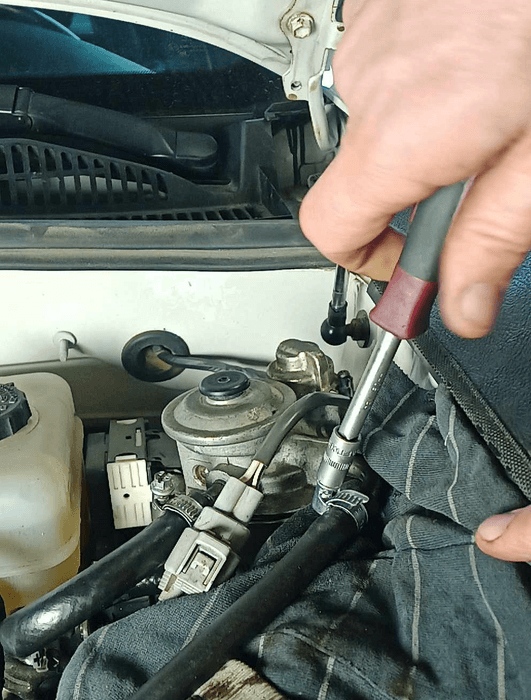
5 - Use a spanner, to remove the connector located on the lower part of the diesel filter. This is the sensor that monitors water present in the filter and filter protection. Empty the diesel from the filter into a container.
Remove the diesel filter support; you may need to use a vice if it's not possible by hand.
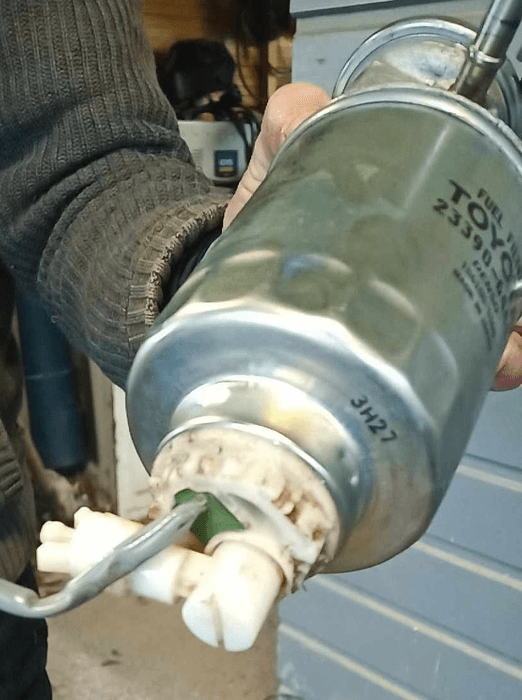
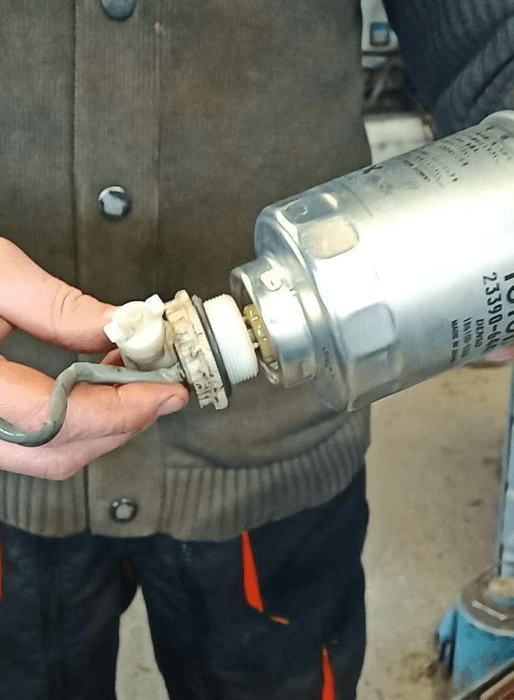
6 - The filter has two threads, top and bottom and two seals. Run your finger over each of them with a little diesel. Then, screw firmly by hand with the water presence sensor on one side and the filter holder on the other side. At this stage, if you have recovered the diesel in a container, you can fill the filter before closing it.
7 - Reconnect the lower connector.
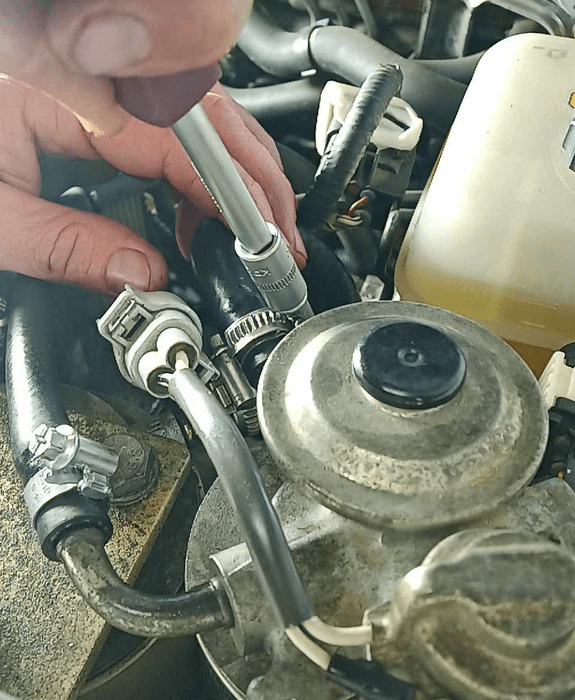
8 - Then reattach the diesel filter support.
9 - Reconnect the upper connector.
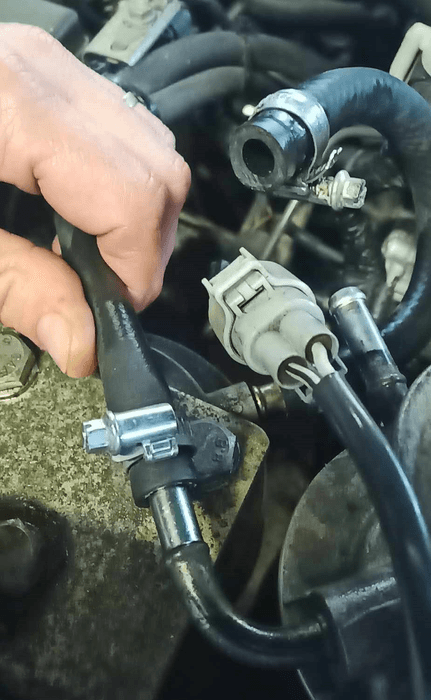
10 - Then the diesel inlet.
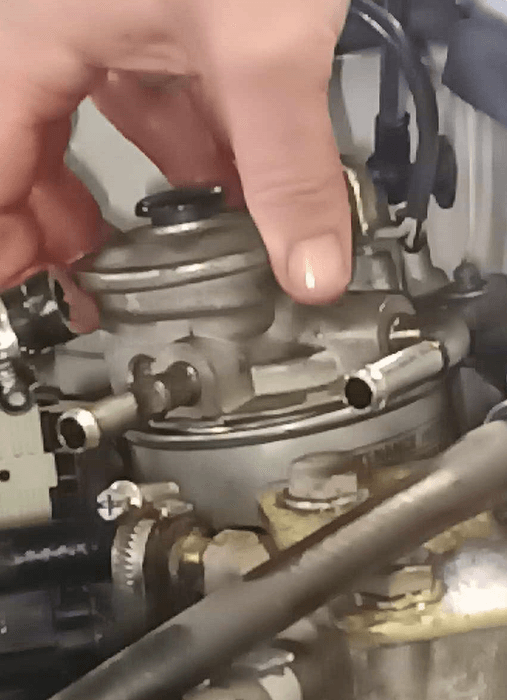
When you change the diesel filter, air enters the fuel system, especially if you haven't completely filled the filter before reassembly. You now need to prime the system.
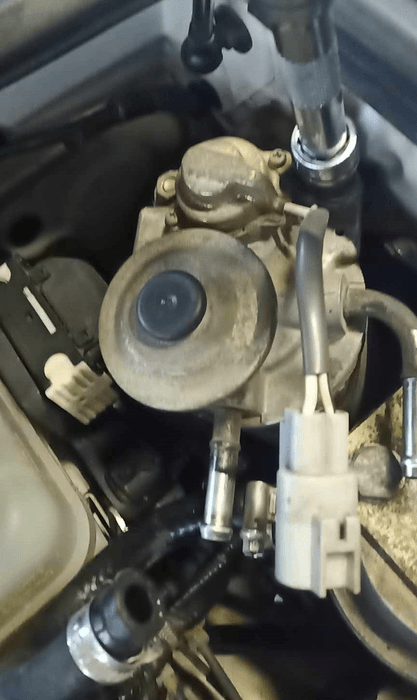
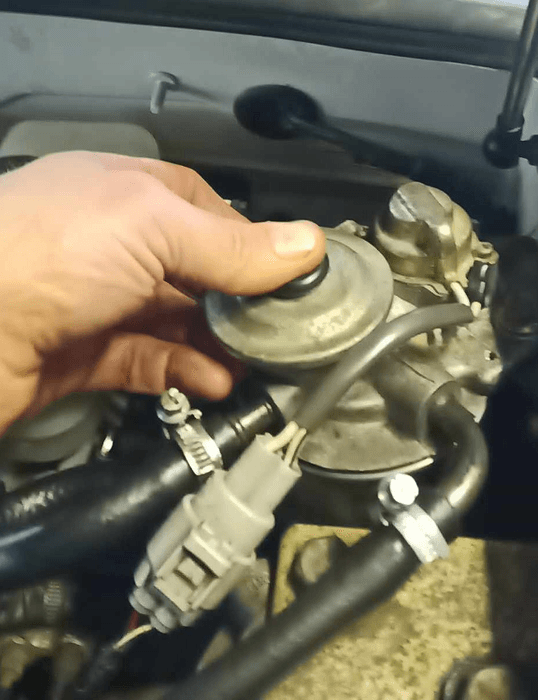
11 - At the top of the filter holder there’s a sort of black "buzzer" it’s a hand pump. You need to pump it until it’s hard enough that diesel comes out of the filter. The duration of the operation will be proportional to the amount of diesel you spilt during disassembly.
Then you can reattach the hose from the pump to the injection pump.
Then start the engine.
12 - If a few seconds after starting, your engine sputters and chokes, you need to pump a little more.
PARTS
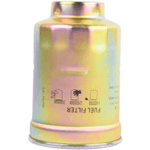
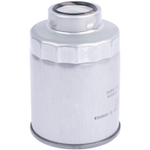

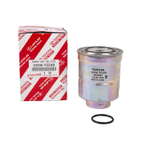
Find the diesel filter to suit your vehicle:
Become a 4X4XPERT contributor!

Euro4x4parts features over a hundred mechanical tutorials on 4X4XPERT, designed to get you started and help you maintain and repair your 4x4. These tutorials, illustrated by photos and videos, have been created by us and by some of our customers who are keen to share their knowledge and experience.
Tutorial produced with the help of Benoit Zuk
Do it yourself, you'll be even prouder! To help you out, Euro4x4parts shares its know-how and expertise in mechanics through 4X4XPERT: new products, technical sheets, and personalized tutorials... You've got the keys!
And because we also learn from your experiences, your feedback is essential. Let us know your thoughts and suggestions by email: 4x4xpert@euro4x4parts.com
Check out our complete catalogue of 4x4 parts and accessories!
All the photos in our articles are taken on authorized roads or tracks, private land, or during supervised competitions. Let's all do our part to preserve the environment!
Please note: Euro4x4parts publishes this information to help its customers, but cannot be held responsible for the advice given here and their consequences when used.