


Changing front brake discs and pads on a Suzuki Jimny
Why change the brake discs and pads?
Changing the brake discs and pads on your 4x4 is important for optimum braking performance at all times, especially on the front axle. It's not a trivial operation, and it can be a little frightening, given what's at stake.
However, it's not as complicated as all that, and if you have the right equipment, it's within your reach thanks to this tutorial.
In this article, we explain step by step how to easily change your vehicle's front brake discs and pads.
The example of replacing front brake discs and pads that we've covered here was carried out on a Suzuki Jimny.
This tutorial is valid for many 4x4 models.
TOOLS REQUIRED
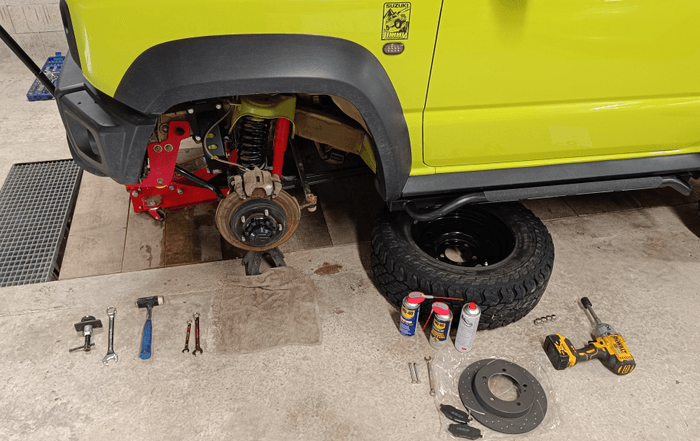
To change the front brake discs and pads on your 4x4, you need :
. Jack (the vehicle's own or a trolly jack)
. Two axle stands
. Ratchet spanner + 19" socket
. Flat spanners 12, 13 and 17
. Piston plunger (or a gasket set and a wooden board)
. Torque spanner + 12 and 17" socket
. Wire brush
. Two M8 screws
. Cloths
. Brake cleaner
. Silicone spray
. lubricant
LEVEL OF DIFFICULTY
To give you an idea of the level of difficulty of our tutorials, we've graded them from 1 to 5.
Changing front brake discs and pads is level 2.
WORKSHOP
1 - On this vehicle, the discs must be replaced if their thickness is less than 8 mm. The pads must be replaced if the thickness of the lining is less than 2 mm.
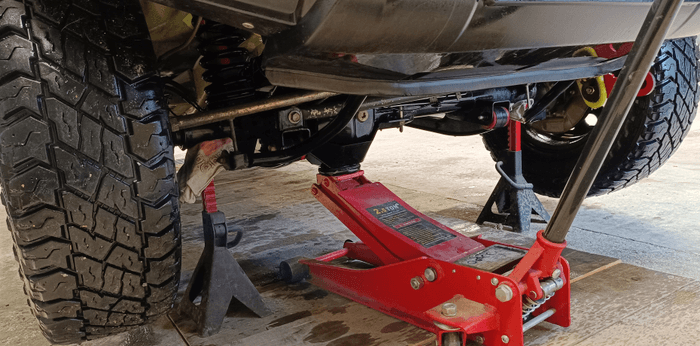
Before accessing the brakes, don’t forget the important basics: before lifting the wheel with a jack, you need to secure the vehicle: on a flat surface, apply the handbrake, change gears (or put the car in Park on an automatic gearbox), and chock a rear wheel. Don’t lift the car yet, release the wheel nuts while the car is on the ground. Then you can lift the car and finally remove the wheel. If you have an axle stand, place it under the car. Remember that the jack must be fitted in the place the manufacturer recommends in the vehicle manual.
Tip: Put the dismantled wheel horizontally, under the car: that way, if by chance the jack gives way and the car falls again, it will fall onto the wheel. This is better than if it falls with all its weight onto the ground, onto the disc, and possibly onto you.
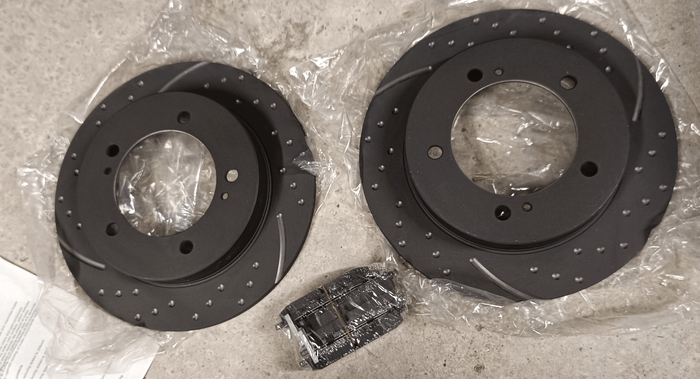
2 - Open the parcel and check that the parts received are compatible.
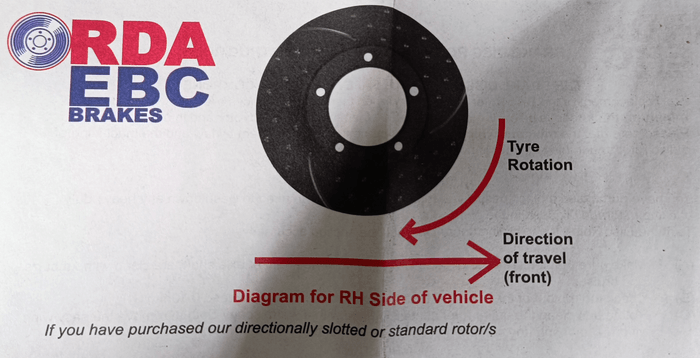
3 - The grooved discs have a direction of rotation. With the help of the instructions, it's easy to find the side of each disc.
4 - You can now remove the two front wheels, placing them under the vehicle for extra safety (as previously indicated). Then prepare a clean, uncluttered workspace.
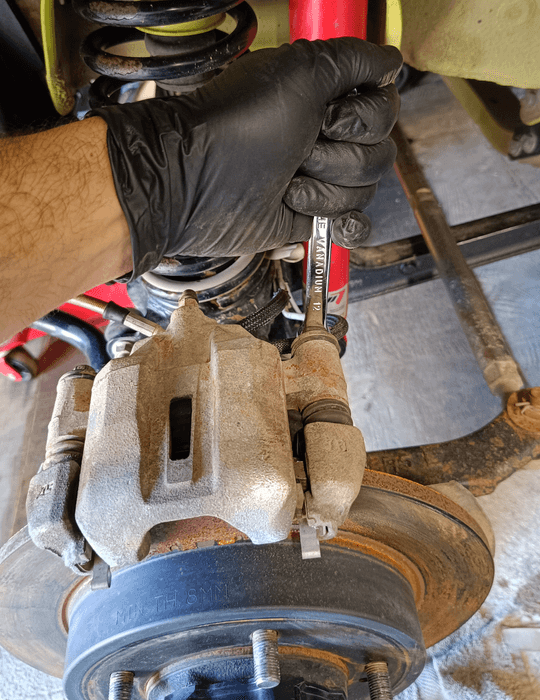
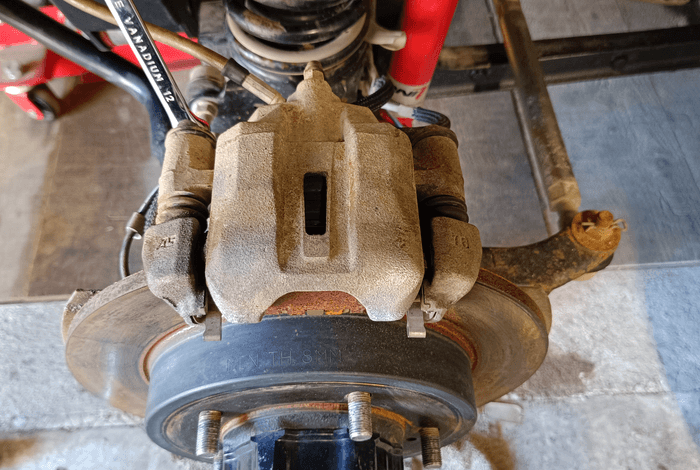
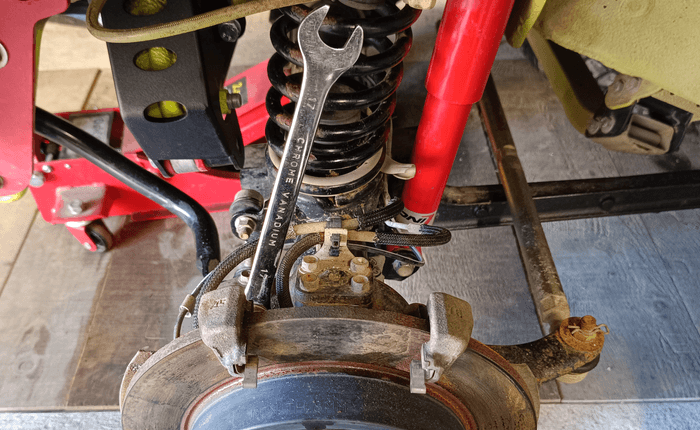
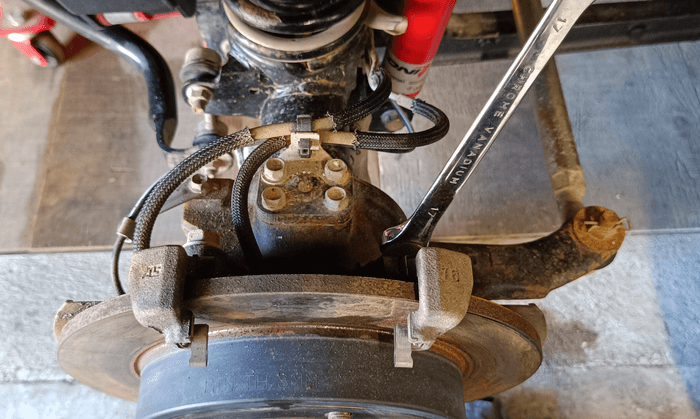
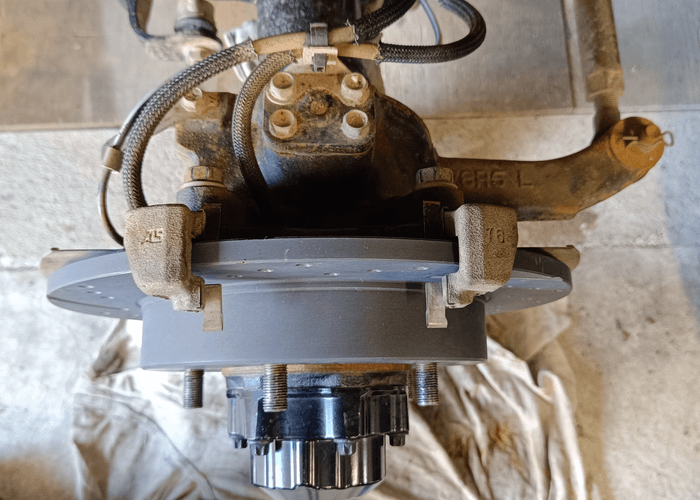
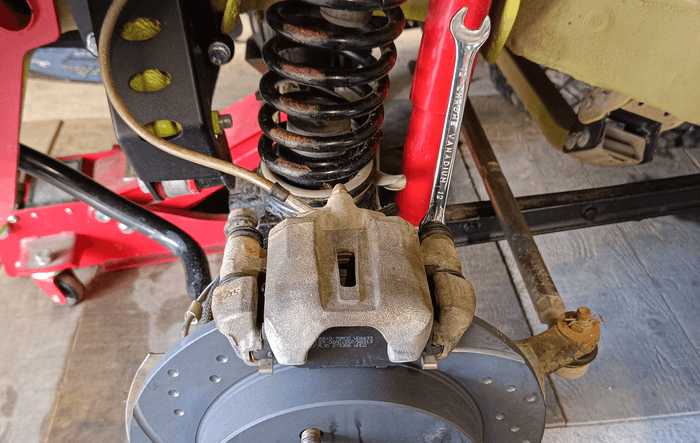
5 - Loosen the two slide screws to remove the brake caliper.
6 - The brake caliper is then removed without disconnecting the brake hose.
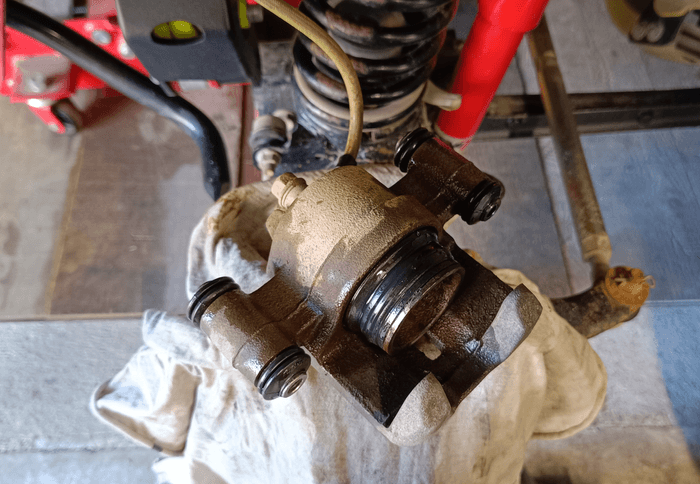
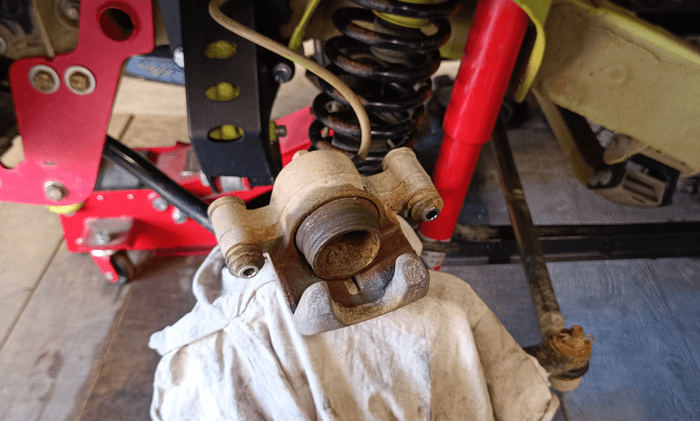
7 - Take the opportunity to clean the slide and piston bellows with silicone spray. This will prevent dirt from damaging the rubbers once they are retracted.
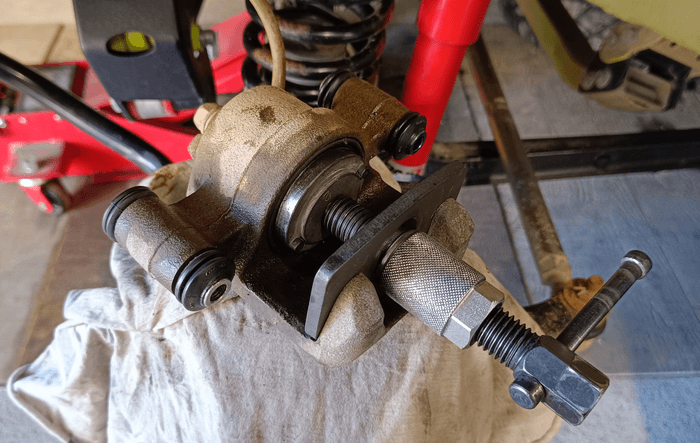
8 - First, open the brake master cylinder reservoir and check that the brake fluid is not overflowing. Then use a special tool or a screw clamp and a wooden wedge to push the piston fully back.

9 - As we've left the brake hose connected to the caliper, we can tie the caliper up high with a cable tie, hook or wire. This prevents it from hanging over the brake hose and damaging it.
10 - Remove the two plates.
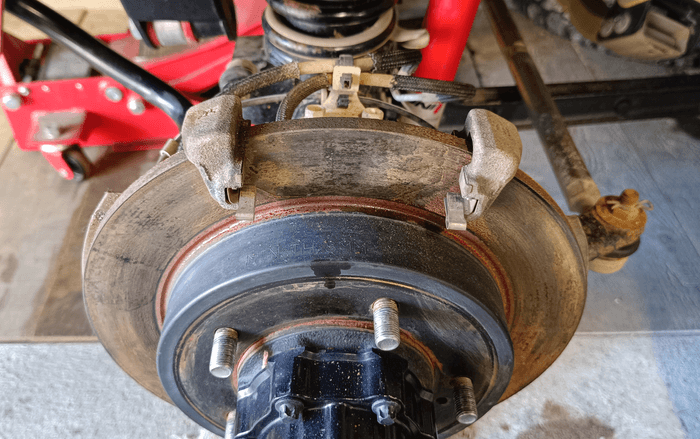
11 - Dismantled the caliper support by removing the two fixing screws.
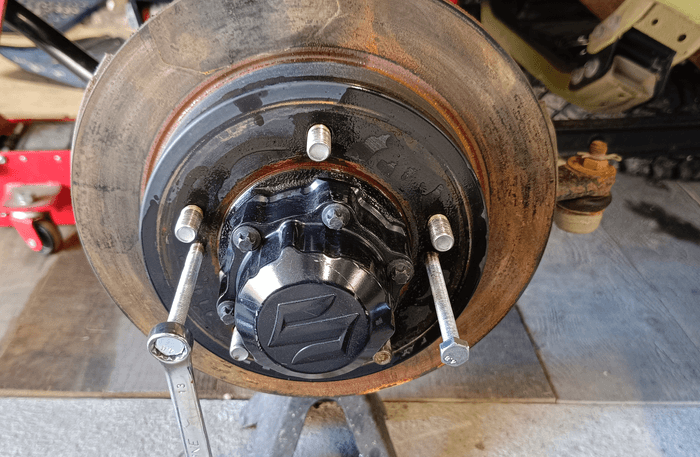
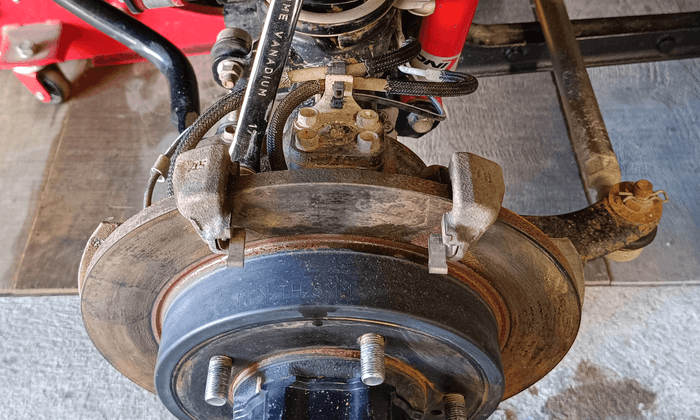
12 - After applying degreaser to the wheel studs, in the two 8 mm holes and in the centre of the disc. Remove the brake disc by inserting two M8 screws into the threads, then gradually tighten the two screws, turning each one a turn at a time to prevent the disc from sitting askew.
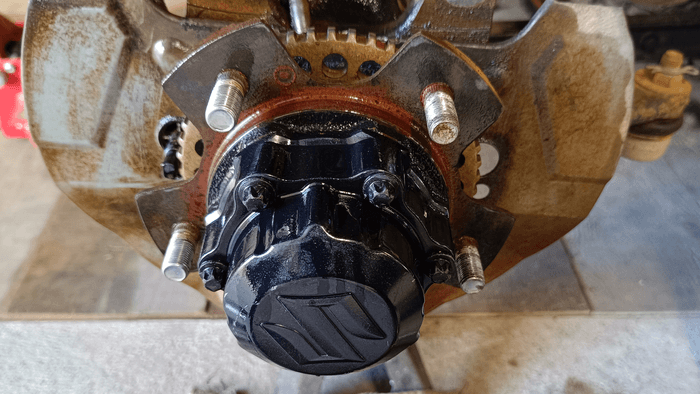
13 - Once the brake disc has been removed, clean the surfaces in contact with the disc with a small wire brush and brake cleaner.
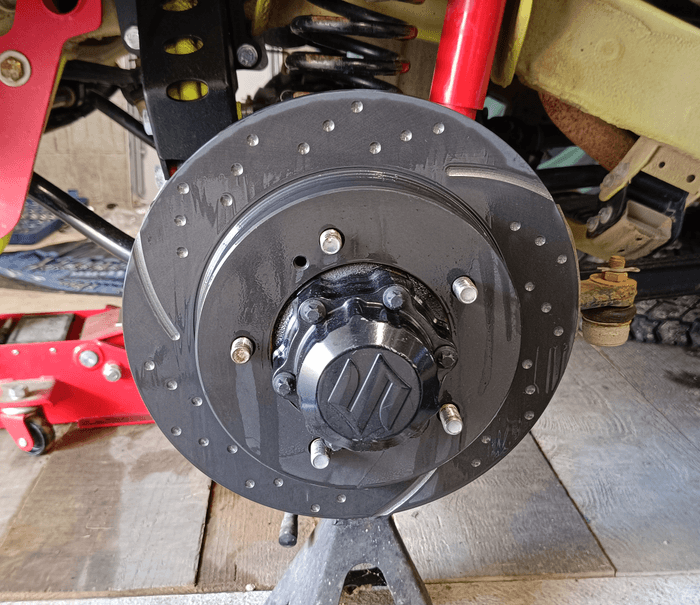
14 - After cleaning the new disc with brake cleaner, put it into place.
15 - If required, check and clean the contact surfaces of the caliper bracket. Then position it before tightening the two fixing screws with a torque spanner to 85N.m.
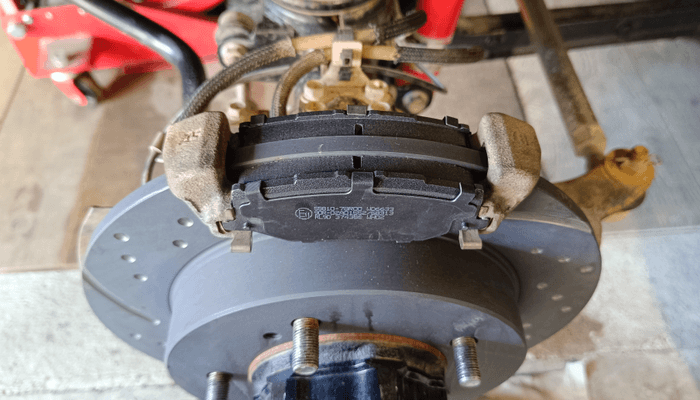
16 - Now you can place the new brake pads in their respective slots.
17 - Detach the caliper from the cable ties and place it on its support, pushing the sliders back slightly. Then place the slide screws and tighten them with a torque spanner to 22N.m.
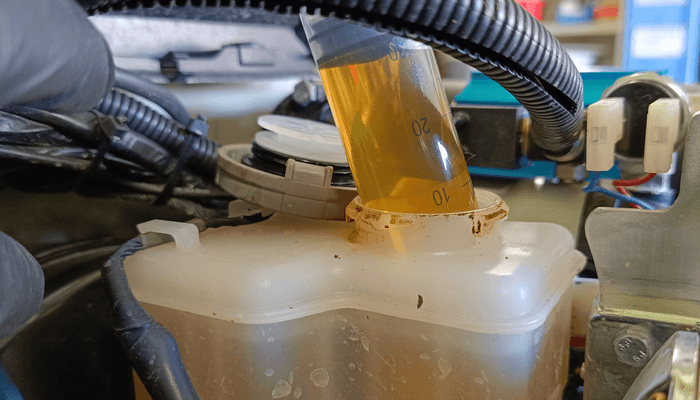
18 - After reassembling one side, check again that the brake fluid level is not above the maximum. If it is, use a syringe to remove the excess.
Now the same operation can then be carried out on the other side.
Once both sides have been done, the wheels can be remounted before the vehicle is lowered to the ground. Then pump the brake pedal to press the pistons against the brake pads. Before driving don't forget to test the brake pedal travel and check the brake fluid level.
Note: Follow the manufacturer's running-in recommendations. In our case, EBC recommends a specific braking procedure described in the manual and a running-in period of 200 to 300 km.
PARTS

Find the brake discs and pads to suit your vehicle:
Become a 4X4XPERT contributor!

Euro4x4parts features over a hundred mechanical tutorials on 4X4XPERT, designed to get you started and help you maintain and repair your 4x4. These tutorials, illustrated by photos and videos, have been created by us and by some of our customers who are keen to share their knowledge and experience.
Tutorial produced with the help of Vincent DI PONIO
Do it yourself, you'll be even prouder! To help you out, Euro4x4parts shares its know-how and expertise in mechanics through 4X4XPERT: new products, technical sheets, and personalized tutorials... You've got the keys!
And because we also learn from your experiences, your feedback is essential. Let us know your thoughts and suggestions by email: 4x4xpert@euro4x4parts.com
Check out our complete catalogue of 4x4 parts and accessories!
All the photos in our articles are taken on authorized roads or tracks, private land, or during supervised competitions. Let's all do our part to preserve the environment!
Please note: Euro4x4parts publishes this information to help its customers, but cannot be held responsible for the advice given here and their consequences when used.