


Why change springs and shock absorbers?
Springs and shock absorbers age with the vehicle. Their lifespan depends not only on the shock absorber itself but also on how the vehicle is used and how it is driven.
In this article, we explain step-by-step how to change your vehicle's springs and shock absorbers. The example of spring and shock absorber replacement shown here was carried out on a Toyota KDJ 95.
This tutorial is valid for a number of 4x4 models with a front axle fitted with suspension wishbones.
TOOLS REQUIRED
To change springs and shock absorbers on your 4x4, you need :
. A jack, ideally a wheel jack to lift the chassis and a bottle jack to lift the hub.
. Adjustable axle stands
. Ratchet set with hexagon sockets and extensions
. Set of flat spanners and ideally tube or eye spanners.
. Lever bar: crowbar
. Torque spanner
. Wire brush
. penetrating oil
. Copper grease
. Black paint
LEVEL OF DIFFICULTY
To give you an idea of the level of difficulty of our tutorials, we've graded them from 1 to 5.
Changing the springs and shock absorbers on your 4x4 is level 2.
WORKSHOP
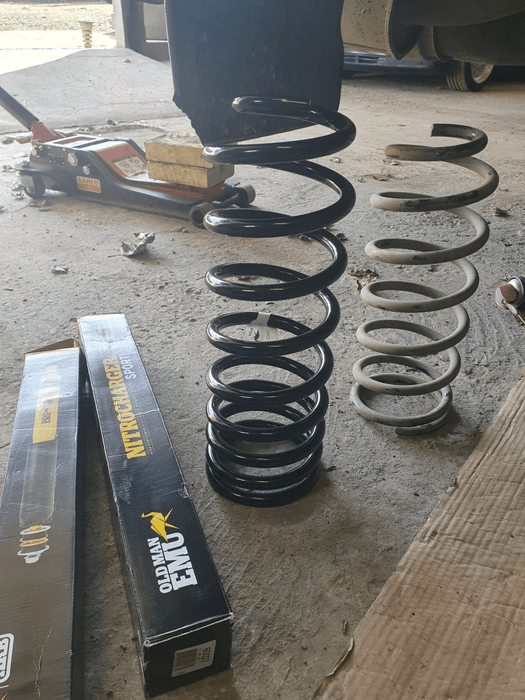
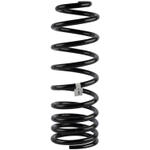
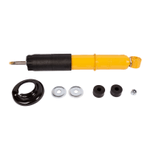
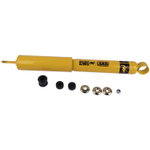
1 - After carefully considering our options, we chose the OME kit. We followed advice and taking into consideration our equipment, we chose "Medium" springs for the front (load + 50 kg): OME881, and "HD" for the rear (load +150 kg): OME891. And, of course, the associated OME 90004 (front) and OME 60028 (rear) shock absorbers.
Whichever brand you choose, and wherever you order from, I can only advise you to buy all the shock absorber silent blocks and cups new. It's a shame to fit new equipment and keep old, tired silent blocs that can cause a loss of comfort and stability, noise, etc...
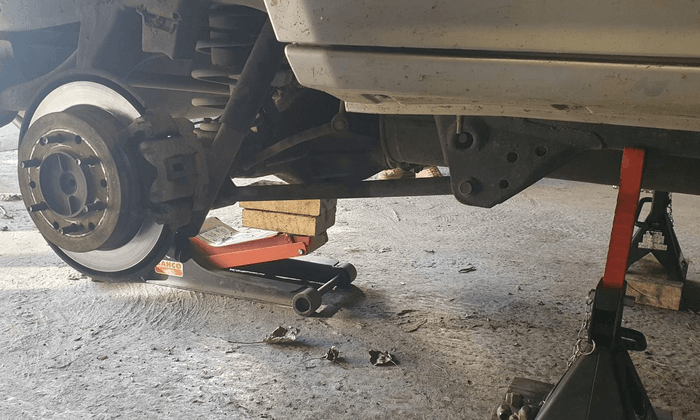
2 - The first step is to lift the vehicle, always taking care to secure it.

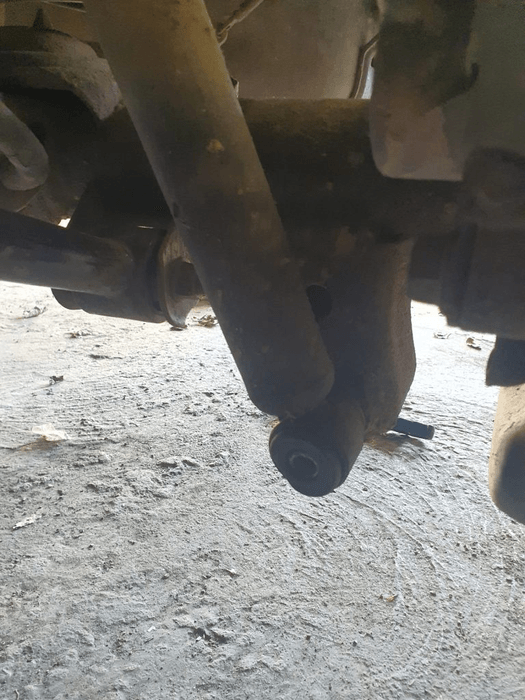
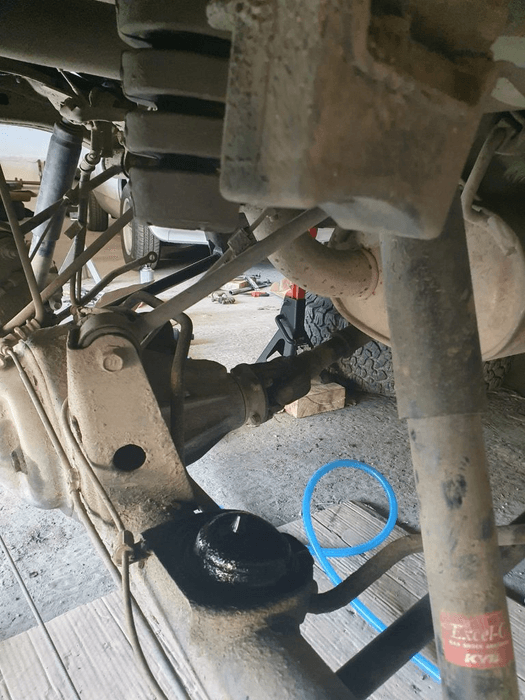
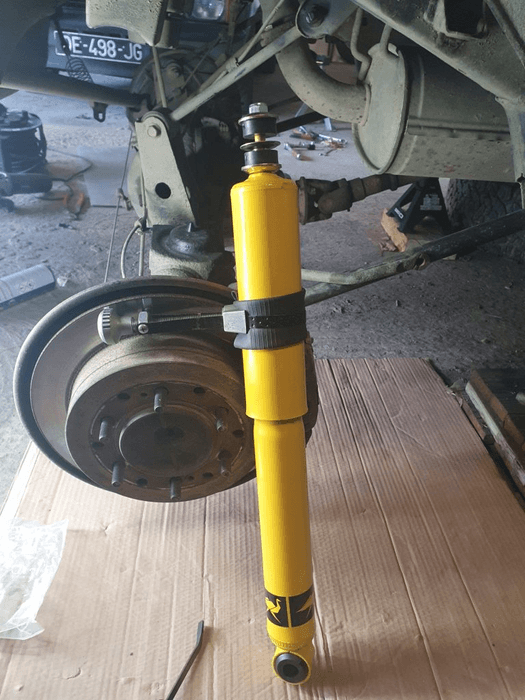
3 - Start with the front. The shock absorber is fixed by 3 nuts on top of the shock absorber and by a bolt on the other end: screw + nut assembly.
For the top part, you can use a 14-gauge socket. But to reach the bottom part, you'll need an angled spanner or a pipe spanner. Don't hesitate to brush and degrease a few hours beforehand to make it easier to undo.
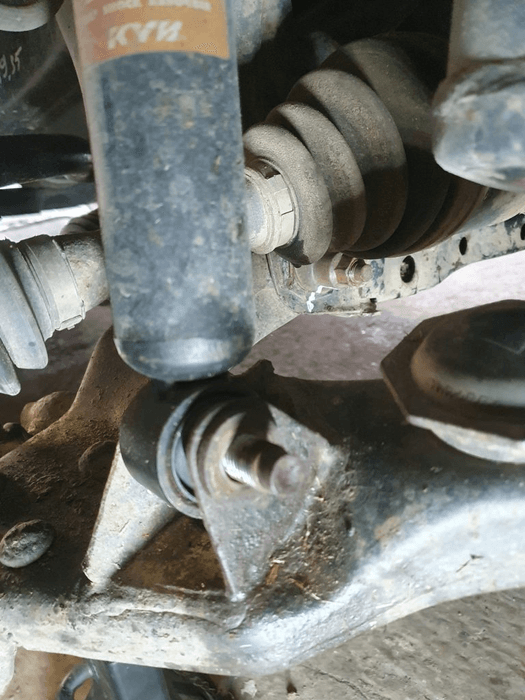
4 - And 17 for the bottom.

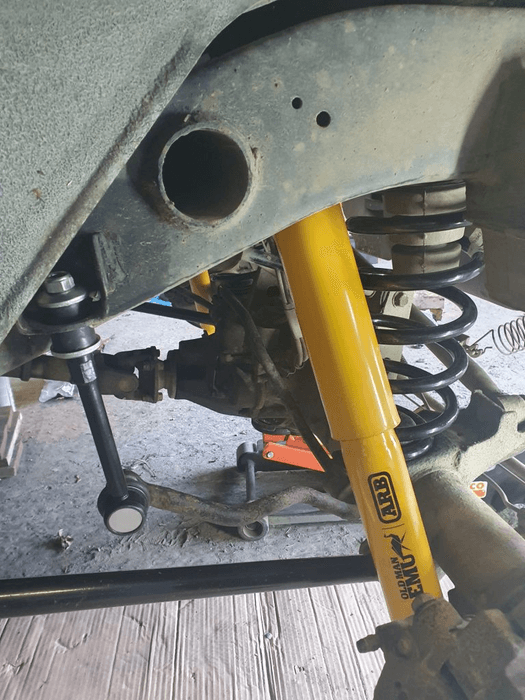
5 - Once everything has been unscrewed, tilt the bottom towards you, then disengage the top. The threads remain on the cup.
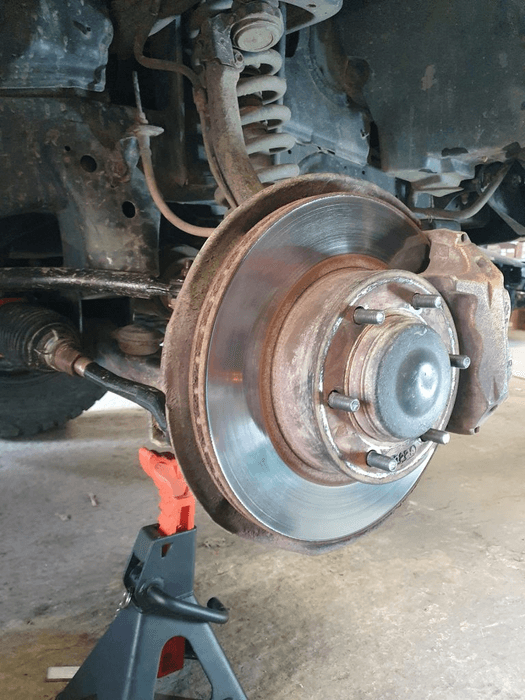
6 - Now we've got room to work properly.
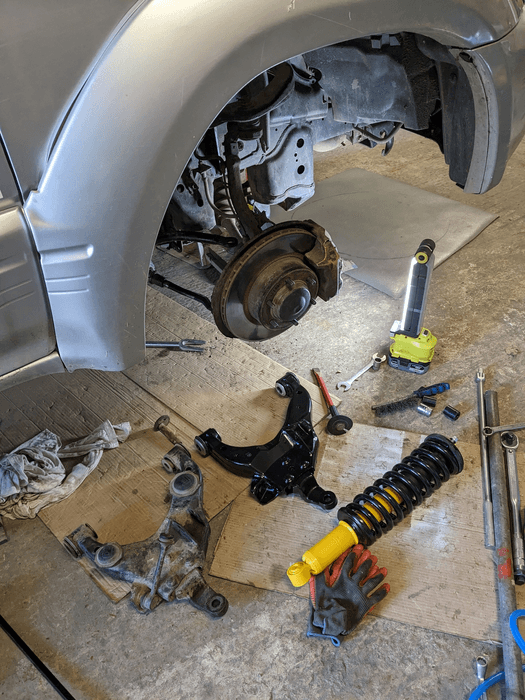
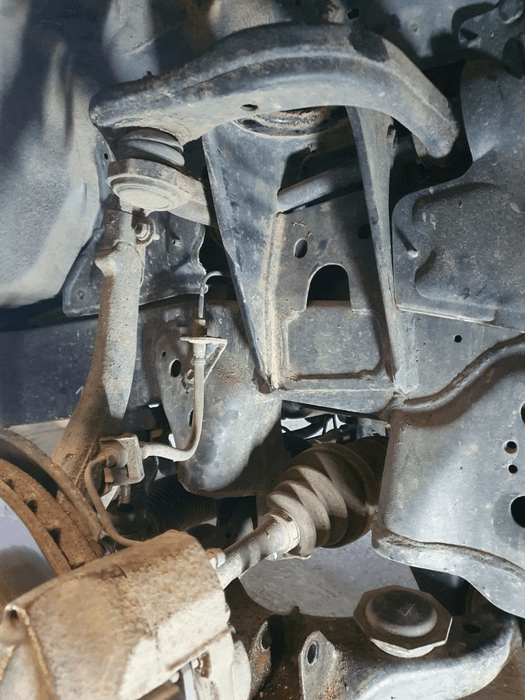
7 - We recommend taking a few minutes to scrape off mud and dirt. And if there are any rust spots, now's the time to remove them. As explained in the first part of the tutorial, we're also taking the opportunity to change the wishbones.
8 - Our combination (spring+damper) is already assembled. If you haven't, you'll need to insert the spring on the damper, compress it and lock the assembly with the cup on top. These operations are described in more detail HERE.
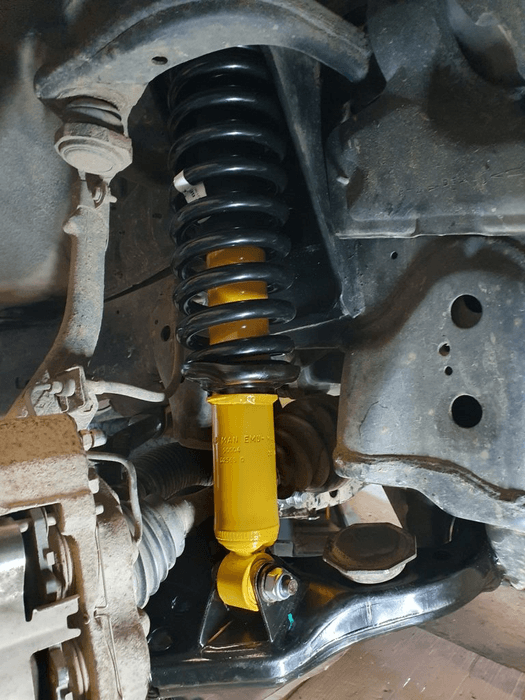
To reassemble, you need to do the reverse: fit the top first, then tighten the nuts a little to relieve the weight, but still leave enough clearance to fit the bottom.
In our case, it was very simple, because we changed the wishbones at the same time. The spindle was disconnected from the wishbone, which gives you room to manoeuvre. If this isn't the case for you, you'll have to use a lever arm to tilt the lower wishbone just far enough to get the base of the shock absorber into place.
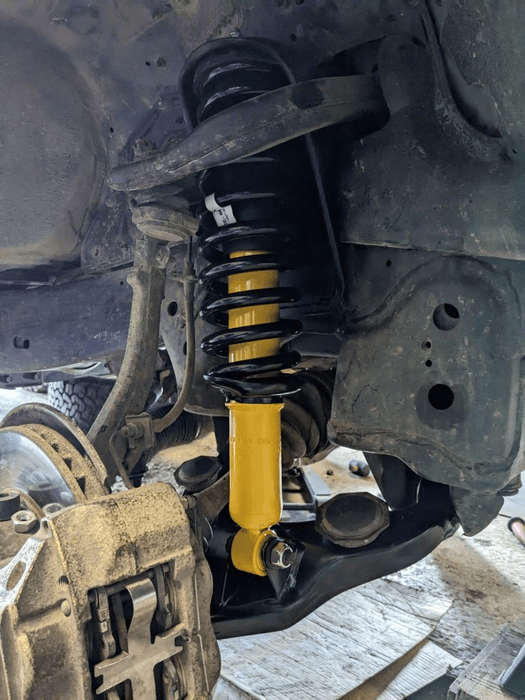
9 - Tighten the 4 nuts, but not fully at this stage. This will need to be done once the wheels are on the ground so that the silent blocs are in their final position when tightened.
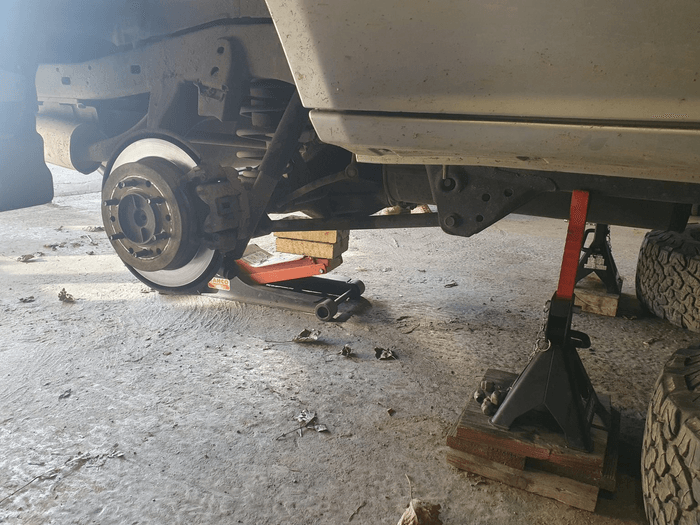
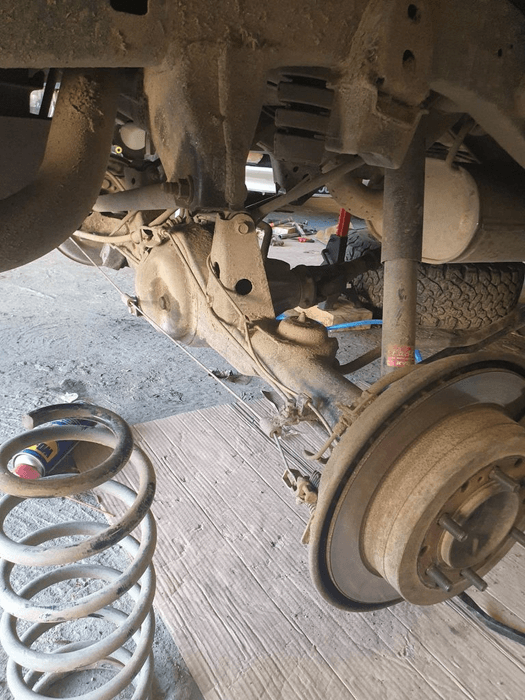
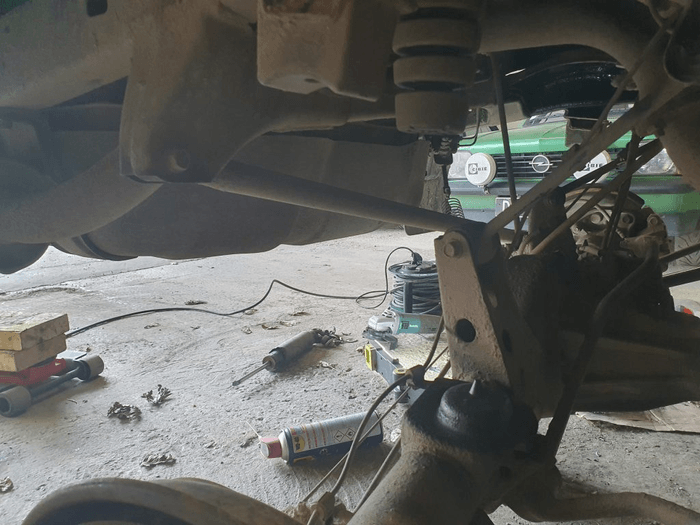
10 - We've done the two front wheels, now it's time to work on the rear axle. Once the wheels have been removed, the axle stands are fitted to the chassis. The axle must be completely free, as it will need all its flexibility to remove and fit the new springs.

11 - We're also going to have to remove the sway/stabiliser bar links. The bar itself remains in place, it won't get in our way.
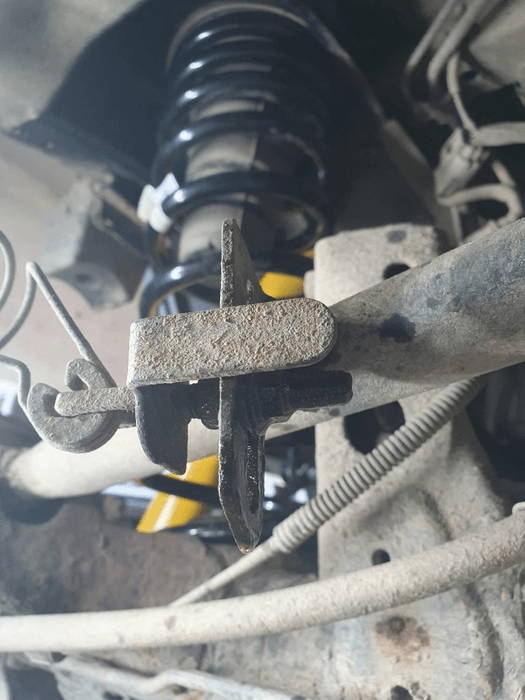
12 - Then loosen the lower part of the shock absorber.
13 - Use a small bar or crowbar to free the shock absorber silentblock from its support.
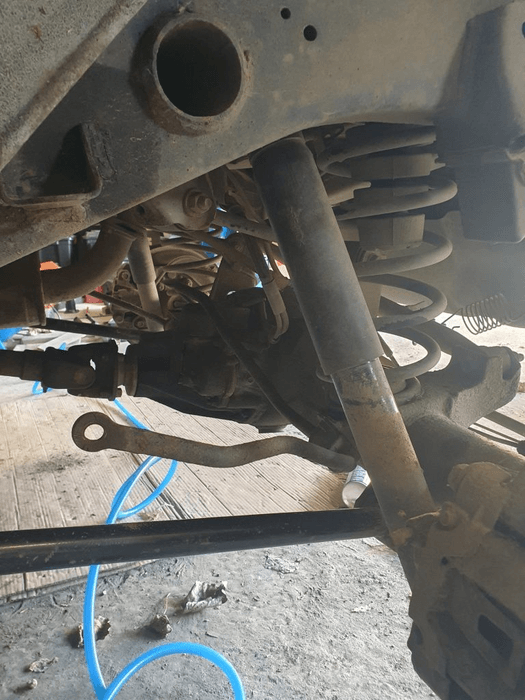
14 - Once both sides are done, you can "slacken" the axle to gain more clearance.
15 - To remove the spring from its position, simply pull on it - there is no fastener to hold it in place.
16 - Once again, it's time for a good clean and a lick of paint if necessary.
17 - While that dries, we continue disassembly the upper part of the shock absorber. Anyone who's ever done this on a 9 Series will know it's not an easy job.
There's very little room and very little grip to loosen the top nut.
If you still have your original shock absorbers, I suggest you use the following method: block the spanner against the chassis and loosen the rigid body of the shock absorber (which is attached to the rod) using a tape spanner or, in our case, an oil filter spanner and a piece of inner tube.
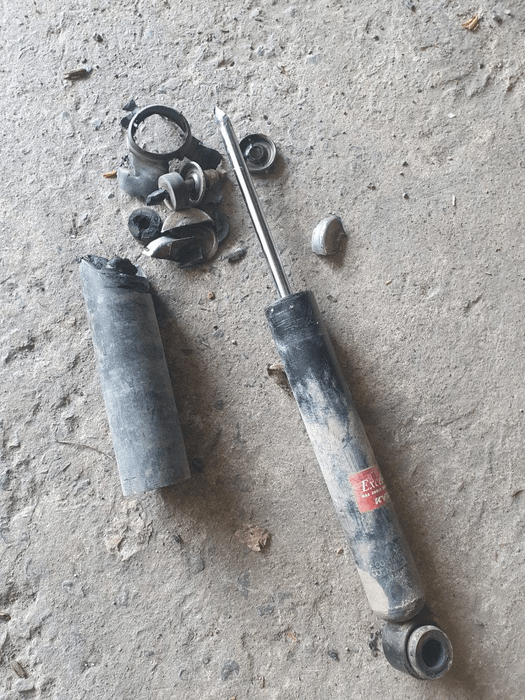
18 - On our vehicle, the shock absorbers are Kayaba, with flexible protection not fixed to the rod. In fact, when you unscrew the nut, the rod turns... and you don't unscrew anything at all.
The only 'simple' solution is to cut them out.
19 - We're a bit embarrassed of destroying the shock absorbers that were barely 2 years old and still in good condition. But by this stage, we'd wasted enough time.
Be careful not to damage the chassis or any other parts. Take your time and cut off little by little. The old shock absorbers and springs can now be removed.
20 - Time to reassemble.
21 - If you want to screw on the upper part, you can, but as all the parts are new and not seized up, you shouldn't need to.
22 - We recommend that you fit the springs before the shock absorbers. If you are short of space, you can use a jack to lift the opposite part of the axle, to tilt it and increase the clearance where you need to fit the spring. Be careful to respect the direction of the spring. To do this, there is an indentation for the start of the coil in the strut mount fixed to the axle.
Once everything is in place, remember to replace the sway bars.
23 - The new springs raise the height of the vehicle, so we needed to lengthen the rear sway bars. To do this, we used the same ones as the front, which are 1 cm longer. Once again, don't tighten the shock absorber strut all the way, wait until the vehicle is resting on its wheels before tightening fully.
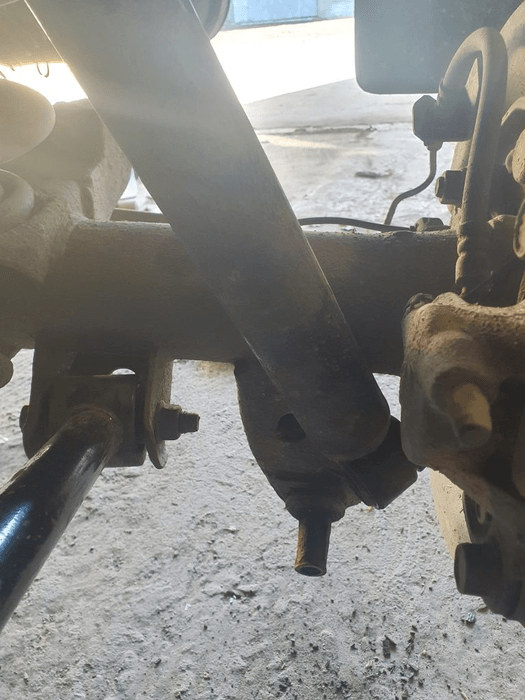
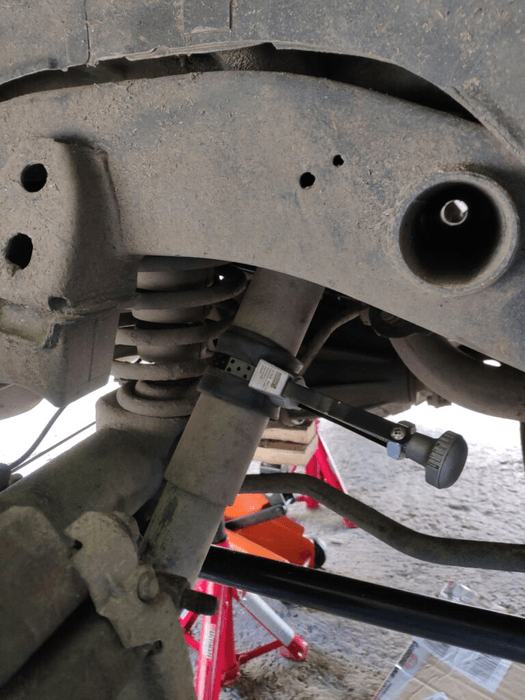
24 - The final operation is to adjust the rear brake proportioning valve fitted to the Panhard rod, to compensate for the new angle of inclination. To do this, simply extend the adjusting rod as far as it will go. Ours was a bit seized up, so don't hesitate to apply a good dose of degreaser before handling it.
With all the parts now in place, it's time to put the wheels back on, put the vehicle back on the ground, and tighten everything fully.
For the rear axle :
shock absorber struts: 65 Nm
upper shock absorber nut: 20 Nm
stabiliser bar links: 69 Nm and 20 Nm
For the front axle:
shock absorber foot: 135Nm
upper nut: 25Nm
shock absorber cup: 64Nm
Now it's off to the garage for some geometry work, as the vehicle has been raised by 40 mm, so the old settings are no longer any good. This will improve comfort and preserve your tyres from irregular wear of.
PARTS

Find the OME springs and shock absorbers to suit your vehicle:
Become a 4X4XPERT contributor!

Euro4x4parts features over a hundred mechanical tutorials on 4X4XPERT, designed to get you started and help you maintain and repair your 4x4. These tutorials, illustrated by photos and videos, have been created by us and by some of our customers who are keen to share their knowledge and experience. Why not join us?
Click here to find out more.
Tutorial created with the help of Alix and Gauthier - Pumba overland
Do it yourself, you'll be even prouder! To help you out, Euro4x4parts shares its know-how and expertise in mechanics through 4X4XPERT: new products, technical sheets, and personalized tutorials... You've got the keys!
And because we also learn from your experiences, your feedback is essential. Let us know your thoughts and suggestions by email: 4x4xpert@euro4x4parts.com
Check out our complete catalogue of 4x4 parts and accessories!
All the photos in our articles are taken on authorized roads or tracks, private land, or during supervised competitions. Let's all do our part to preserve the environment!
Please note: Euro4x4parts publishes this information to help its customers, but cannot be held responsible for the advice given here and their consequences when used.